
Get an old chandelier and turn it into a DIY Bird Feeder in just a few easy steps given in this tutorial!

Materials Required for this DIY Bird Feeder
- Old Chandelier
- Plastic Cups
- Epoxy Or Strong Adhesive
- Pliers
- Spray Paint
- Washers
1. Get an Old Chandelier
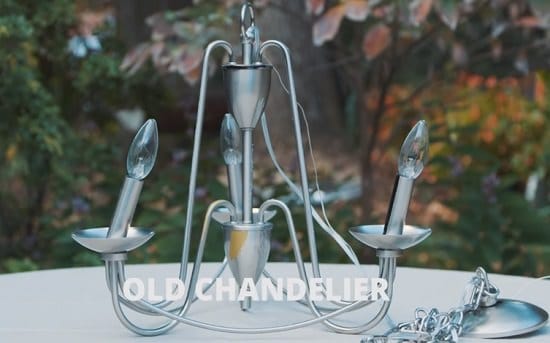
Find an old chandelier in your nearby thrift store. Make sure that the design of the chandelier is such that it can hold feeding cups.
Also Read: Repurpose Old Chandeliers Into Stunning Chandelier Planters
2. Remove Wiring and Bulbs
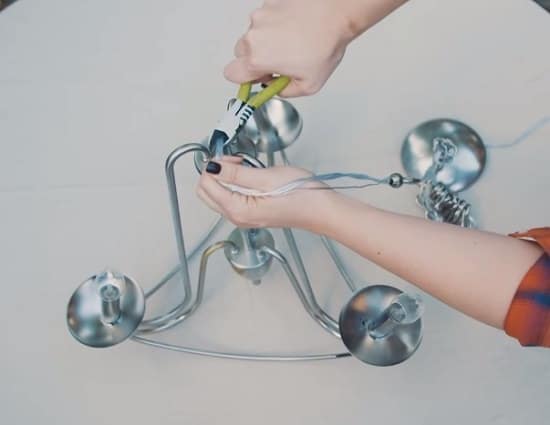
Put your chandelier on a flat surface and with a plier remove all sorts of wiring and bulbs out of it.
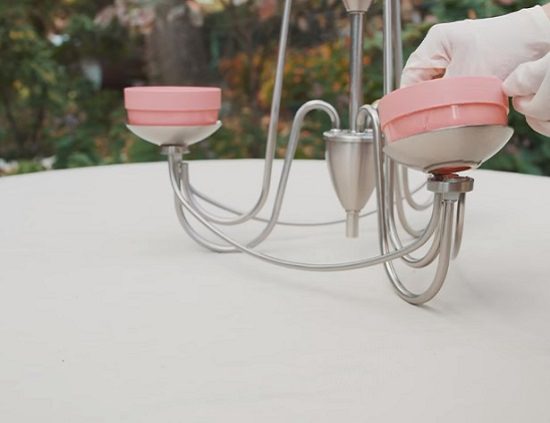
3. Install Washers and Bolts
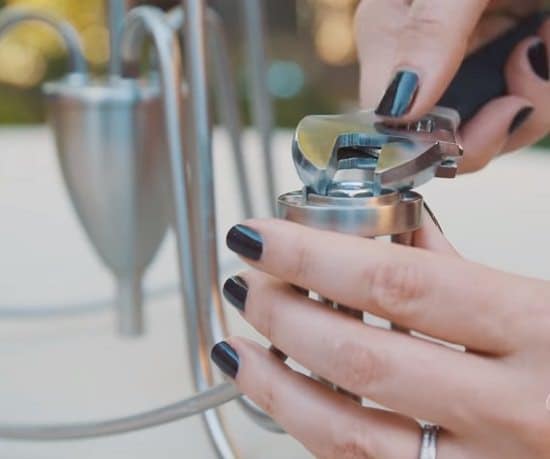
Add washers and bolts to level up the surface to hold your cups in place.
4. Make Drainage Holes
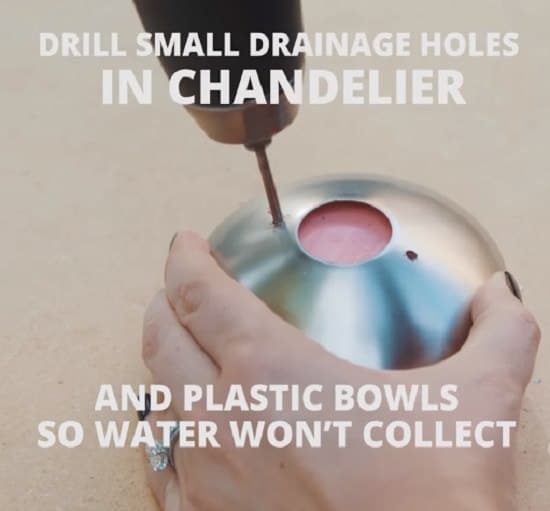
Drill mini holes in both, the chandelier and plastic bowls or cups so water won’t collect.
5. Attach Cups
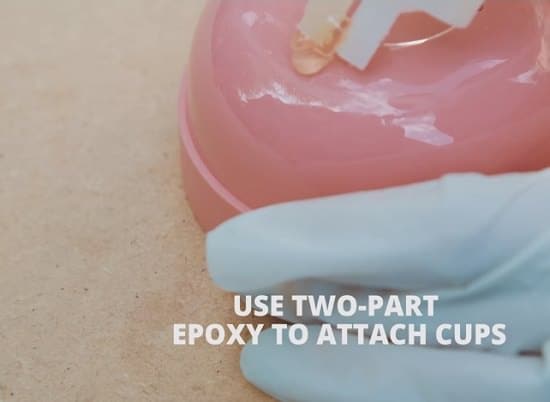
Attach cups to the chandelier using epoxy or any strong adhesive.
6. Let it Dry
Now allow the adhesive to dry out completely. This might take a few hours or as per the information mentioned on the epoxy label.
7. Paint it
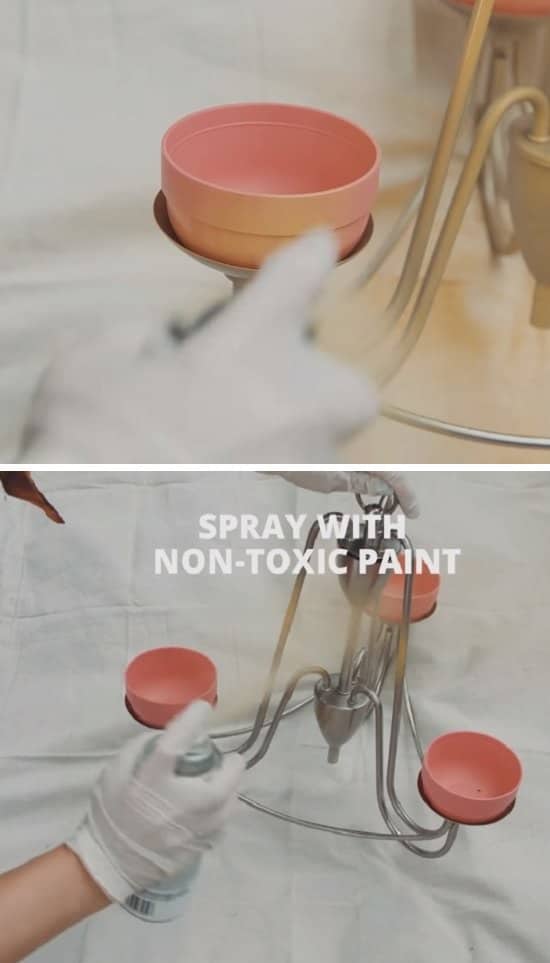
Spray paint whole of the chandelier including the inside of the cups using spray paint. Be sure to use non-toxic spray paint to ensure the safety of your little friends.
8. Allow it to Dry
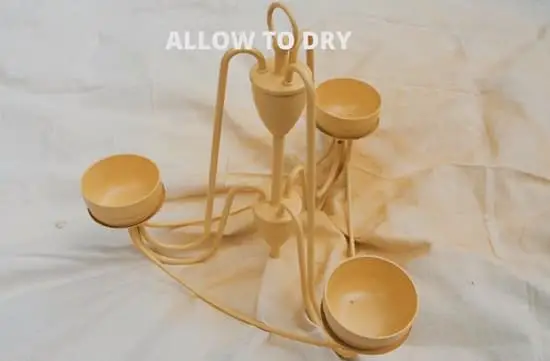
After you’re done with spray paint, let the chandelier dry out for a few hours.
9. Add Some Food
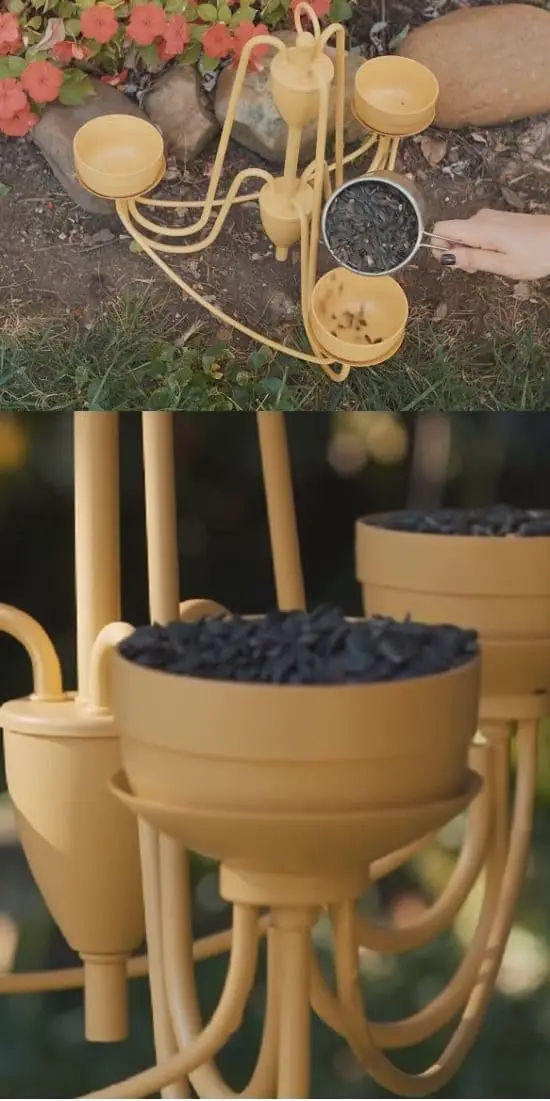
Fill in the cups with ample bird food and hang your DIY chandelier bird feeder near a spot in your garden, where birds visit often!
Check out these Birdhouse Plans And Tutorials