
Learn how to make a chair planter out of an unused chair you have. A DIY chair planter is an apt way to upcycle old and broken chair.
An old chair that is no longer useful in the house can still have a second life in your garden. Upcycle any chair as a planter to brighten up a dull corner of your home or garden and create an interesting focal point for visitors.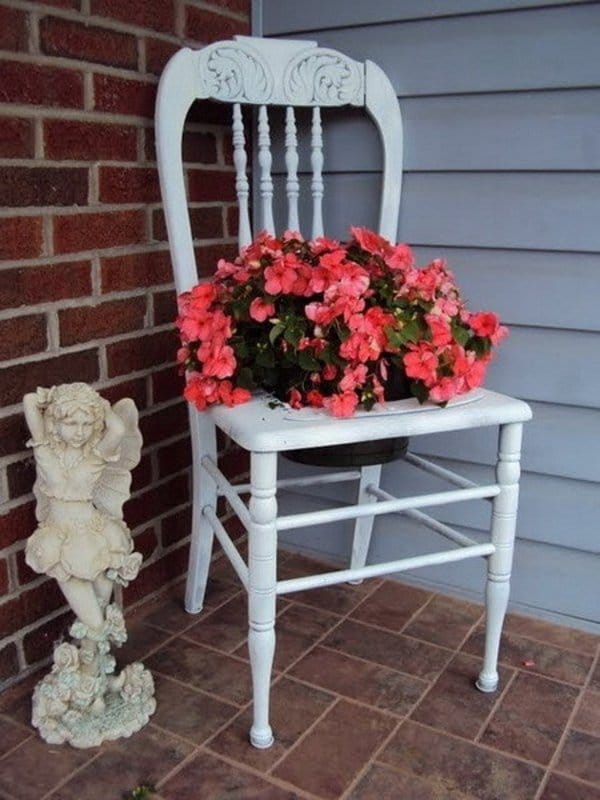
Things you’ll need
- An old chair (wooden is better)
- Screwdriver
- Jigsaw and drill
- A marker
- Paint
- Plants
How to Make a Chair Planter
Step 1. Choose a chair
It will be great if you have a wooden chair because customizing it is easy. If you have a metal or plastic chair or of any other material, you can still make a chair planter from that but you may require a little more work for it.
If you don’t have a broken chair at home, you can pick up a chair for free or in low cost at garage sales or roadside sales, besides this, there are many other ways to find out a broken chair.
Step 2. Removing the seat
Upturn the chair and remove its seat by loosening the screws with a screwdriver.
Step 3. Making a space for pot
Measure around the pot a little below from its brim to find its diameter from there. Now draw a circle with a marker of the same diameter in the center seat of your wooden chair. Once done, make a slight hole from where you are starting to cut in the circular line to accommodate the sheet of the jigsaw.
Step 4. Cutting out the circle
Cut out the circle with the help of a jigsaw.
Step 5. Painting and decorating
You can skip this step if you are satisfied with the looks of your chair. If not, paint it well in the color that suits the style of your garden and the type of the plants you’re growing in your chair planter.
Step 6. Place the pot
Place your pot to check if it is fitting if the seat has been removed, the hole is cut and the paint is dried.
Step 7. Planting
Remove the pot again and fill it with potting soil. Mix a slow-release balanced fertilizer if it is not included in the potting mix. Pick a combination of plants to grow in your DIY chair planter. Grow an upright plant in the middle and trailing plants around it. Consider the shade or sun loving plants according to the spot where you are showcasing your chair planter.
Im going to be doing this with 2 chairs, i cant decide to buy the flowers seperatly and plant or buy them already planted in a pot?