
If you’ve got some spare plastic soda bottles in your home, use them to make a DIY water sprinkler. This water sprinkler is simple, economical and functional!
You’ll Need:
- Two Liter Plastic Bottle
- Electric Tape
- A Garden Hose
- A Screwdriver
Steps to Follow to Make A Homemade Sprinkler
1. Clean The Bottle

Rinse the soda plastic bottle thoroughly under running water until it’s clean. You don’t need to dry the bottle.
2. Make Holes

Once done with cleaning, make 12-14 holes in the bottle using a screwdriver or any sharp tip tool. These holes will allow water to come out as it does in a sprinkler.
3. Attach the Hose

After making the holes, join the top of the bottle with the hose and use electric tape to hold it in place.
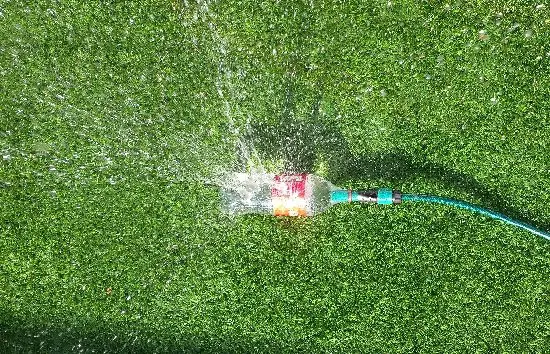
4. Attach Hose To Tap

Attach the other end of the hose to the tap and enjoy the uninterrupted service of your sprinkler.
Also Read: DIY Sprinkler System Ideas For Lawn
Or Make an Outdoor Shower
Instead of putting it on the ground, try to hang it from a higher place to let the water drip as a shower. You can also make holes in the bottom of the bottle to get more shower like the stream of water.