
Here are the best and easiest Ways to Rejuvenate Old Potting Soil and Make it All-Powerful Again! Use these tips to recharge an old growing medium!
If you are wondering whether you can re-use an old growing medium, then the answer is yes, you can! Here are the Best Ways to Rejuvenate Old Potting Soil and Make it All-Powerful Again!
Learn some helpful hacks to improve your soil for free here
Can You Re-Use an Old Potting Soil?
Before answering this question, you have to look at what you have grown in the soil. Plants like pepper, cabbage, tomatoes, potatoes, and lettuce are heavy feeders and suck the soil off its nutrients. While using the soil you have used to grow these plants, you will have to add plenty of organic matter and use a lot of fertilizer to rejuvenate it.
On the other hand, plants like peas, carrots, and herbs are light feeders and keep the nutrients in the soil maintained. While re-using the soil previously used to grow these plants doesn’t require much effort. There are some steps you should follow:
Best Ways to Rejuvenate Old Potting Soil
1. Sterilizing
To remove pests and microbes, sterilize or pasteurize the old potting soil. You can opt for two methods for sterilizing potting soil:
- Solarizing: Fill the soil in a large black plastic bag or a bucket. Cover, and put in a sunny area outdoors for up to 4-6 weeks. When the heat is generated inside the bags or buckets, it will kill the harmful organisms present in the soil.
- Baking: Bake the soil at 180 to 200 degrees Fahrenheit for 30 minutes or microwave for 90 seconds; however, this might technique emit unpleasant odors. Also, avoid exposing the soil to temperatures above 200 degrees, as it will release toxins.
2. Perform a Soil pH Test
Though this step is optional, you can perform a soil pH test before and after adding nutrients to the soil. Depending on the result, adjust the nutrients and soil pH properly according to the needs and requirements of the plant you plan to grow. You can buy a pH meter or do it at home as suggested here.
Learn about the DIY soil tests here
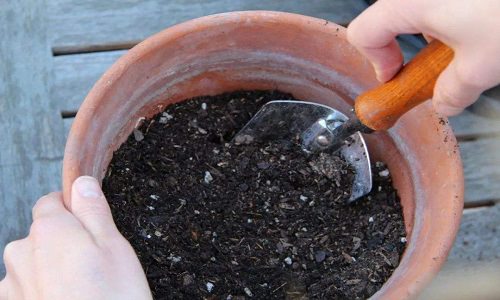
3. Restoring
- Remove the roots, twigs, and leaves from the soil. Also, take out weeds, garden debris, and dead plant parts.
- Spread the soil and till it. Create a layer of 3-5 inches, and break any large blockheads while loosening the soil.
- Sprinkle some water on the top and dry in a sunny spot for a week.
- After 1-2 days, compress a handful of the soil into a tight ball and flip it with fingers. If the ball crumbles, the soil is sufficiently dry to use.
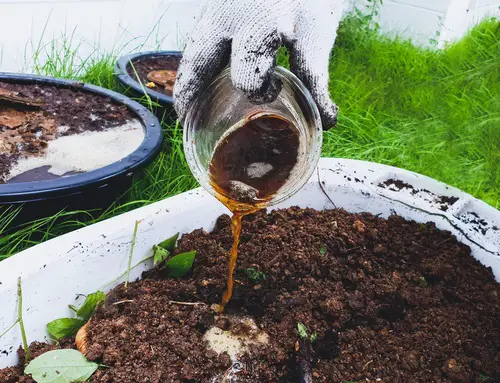
4. Make it Rich in Organic Matter
Some good options are a handful of decomposed cow manure, gypsum, lime dust, humus, worm castings, vermicompost, and well-rotted compost. According to a study:
- This enhances stability by improving water infiltration, soil aeration, and reducing runoff.
- Improves the water holding capacity of the growing medium.
- Reduces the stickiness of clay soil, which makes it a lot easier to till.
- Reduces surface crusting, facilitating seedbed preparation.
Learn about making a super-effective banana peel fertilizer here
5. Use Neem Cake
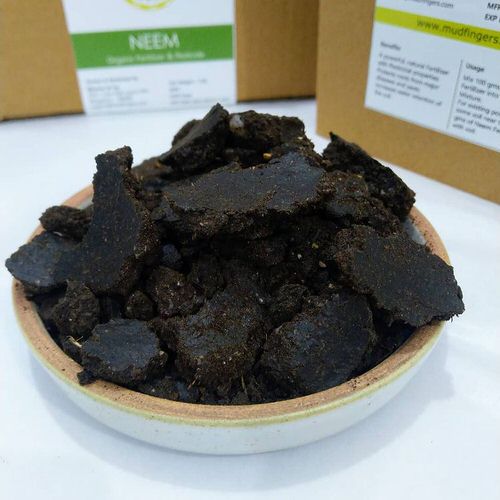
After cold pressing the bars of the neem tree while extracting oil, the leftover is made into neem cakes. What makes it great for the plants and growing medium is its composition.
It is rich in calcium, copper, iron, magnesium, manganese, nitrogen, phosphorus, potassium, sulfur, and zinc.
Simply add 1-2 cups of neem cake per plant’s worth of soil to make it nutritionally rich.
Get the best tips on neem oil uses in the garden here
6. Add Bone and Blood meal
Blood and bone meals are the by-products of the slaughtering in the meat packing units. They have a high NPK content and trace elements and are organic and cheap.
All this makes them one of the best options to boost soil quality. Add 1-2 cups of them in the growing medium, once in 2-4 months, for best results.
Learn how to make a bone meal fertilizer at home here
7. Earthworms

As this study states, earthworms dramatically alter soil structure, water movement, nutrient dynamics, and plant growth.
They also promote microbial activity, mix and aggregate soil, increase infiltration, improve water-holding capacity, provide channels for root growth, and bury and shred plant residue.
Find out how earthworms help the soil here
8. Mix Thoroughly
Once you add the fertilizer and organic matter, mix and till the soil 4-5 times to ensure they mix well. Transfer it to the bucket and lightly water it. Keep it for 1-2 days before using it for the plants.
9. Add Time-Based Fertilizer
This is optional if you want to further increase the nutrient content of the soil–especially when not adding a lot of organic matter. Apply some slow-release fertilizer in low strength. A teaspoon full per gallon would be fine.
You can also add one part of compost to three parts of soil. Keep in mind that too much compost can cause soil compaction.
Have a look at the best homemade fertilizers here
Some Important Points to Keep in Mind
- Disinfect the pots before filling the rejuvenated soil. Scrub both interior and exterior of the containers with a scrubber and a solution of one part bleach and nine parts water. After this, wash the pots with plenty of water to eliminate bleach residue and allow them to dry in the air.
- If your previous plant had a disease, it’d be good to use a new pot. Also, if you suspect the previous soil is causing the soil-borne disease, it is better to discard it.