If you’re growing a monstera, try one of these watering tricks and see the unreal changes happening to your houseplant.
When nurturing a Monstera, precision watering is key to unfurling its iconic split leaves’ lush and tropical charm, and for that, these Monstera Watering Tricks below come in handy.
Learn about monstera fenestration stages here
Monstera Watering Tips
1. Using Aquarium Water To Boost the Growth
Aquarium water is like a natural fertilizer rich in nitrogen and other micro and macronutrients. Bingo! If you have one at your home, remove some of the water from it and dilute it with regular water in the ratio of 1:2, and irrigate your monstera with this.
2. Use a Sponge to Your Advantage
Bury a large, clean sponge near the roots. When you water the plant, the sponge absorbs excess water, releasing it slowly. This method helps in maintaining consistent soil moisture and is useful for a monstera growing in a really warm climate.
3. Go for an IV Irrigation System
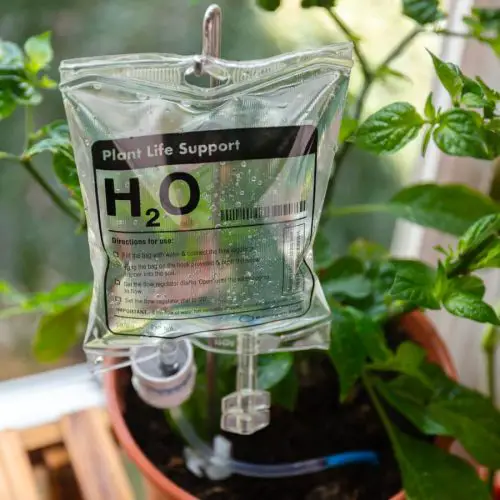
Create a DIY drip system like arrangement using an IV bag. Fill the bladder with water, adjust the drip speed, and let it slowly water the plant.
It mimics a slow, natural rainfall, providing moisture without overwhelming the plant.
Using Monstera for Room Partition: 20 Crazy Ideas 😱
4. Use Leftover Cooking Water from the Kitchen
Water from boiled vegetables contains minerals and vitamins that can boost the health and growth of your monstera plants. Before using, ensure the water is completely cool and free of oil or seasoning. Dilute it with RO water in a ratio of 1:1.
5. Go for an Olla Pot
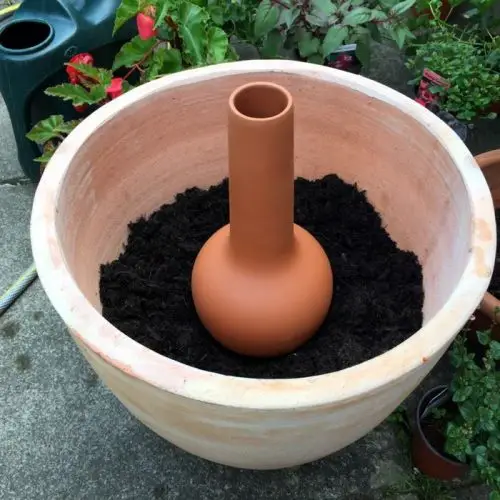
Bury an olla pot (a porous clay pot) near your Monstera after filling it with water. The water will seep through the pot, providing a steady moisture source; it’s a good trick when you are going out on a vacation.
This method waters the roots directly and minimizes evaporation, you can see more such ideas here!
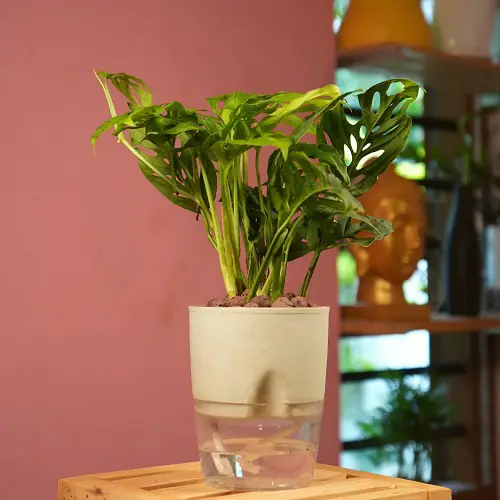
6. Create a Self-Watering Planter
Use a self-watering pot system for your indoor monstera if you forget to water often. We have great DIY planter ideas like this; check them out.
A consistent water supply without the risk of overwatering. You can check out a great DIY here.
7. Keep the Aerial Roots in Water
Aerial roots emerge from the stem and are easy to identify. They are often thicker and have a brownish color. Choose a small glass deep enough to submerge the aerial roots fully.
As aerial roots naturally search their way into nearby water sources in the forest places, this trick will help your houseplant similarly and encourage it to have lush growth.
If You Want Everything Explained, We Have a Great Article on it here
Note: Gently place the aerial roots into the water. Avoid forcing or bending them.
8. Bottom Watering
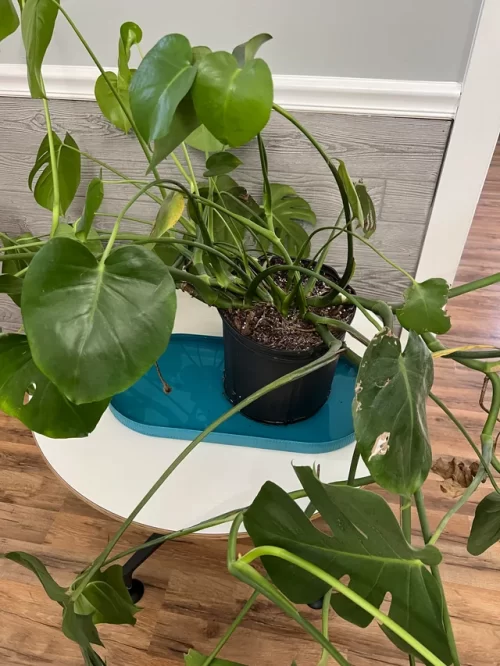
Bottom watering is a method where water is absorbed from the bottom of the pot, encouraging the roots to grow downwards and strengthening the plant.
Leave the pot in the water for about 15-30 minutes. The soil will wick up the water it needs. After removing the pot, feel the topsoil. If it feels moist, the watering is adequate.


