Learn Growing Peas in Containers & Pots to plant them on your apartment balcony or patio and enjoy a fresh harvest!

Follow this article and learn every bit of detail on Growing Peas in Containers and enjoy a bountiful harvest in no time!
Check out our article on growing grapes in containers here
Common Names: Pisum sativum (Scientific Name), garden peas, shelling peas, snap peas, sugar peas, sugar snap peas, snow peas, Chinese peas, edible-podded peas, matar, erbese, batani, ater, pois, English peas, green peas, sweet peas
USDA Zones: 2-11
Best Container Size for Growing Peas
The size of the pot will depend on the types of peas and the varieties you’re growing.
- For tall and large bushier varieties, choose pots that are 8-12 inches deep and as wide as possible. Maintain the spacing of 3 to 5 inches between each plant.
- For dwarf and short varieties, get pots that are 6 inches deep. Maintain the spacing of 2 to 3 inches between each plant.
- Ensure better drainage and promote airflow. If you’re using shallow containers, consider adding a fast-draining potting mix.
- To keep things simple, any 3 to 5-gallon container that is between 6-12 inches deep and at least 12 inches wide and has drainage holes can be used to grow 3-5 plants at least.
Best Types of Peas
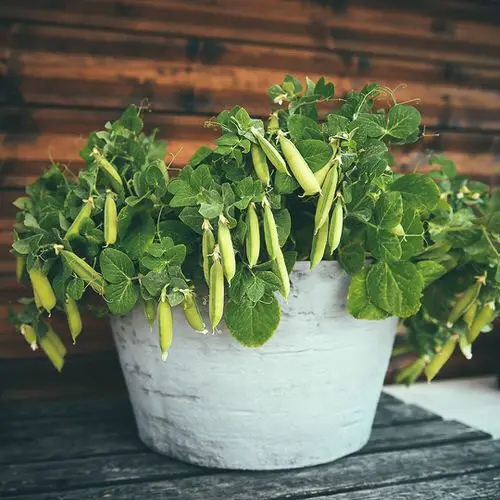
1. Garden Peas
Also known as shelling peas, the peas inside are usually plump and medium to large in size with a moderately sweet to sweet taste.
2. Snow Peas
These have sweet but very small peas inside, and the whole pods are edible. The flavor is moderate, and they can be eaten raw, but it’s best to use them in stir-fries, soups, and salad dressing.
3. Snap Peas
Also popular as snap peas, these are a cross between the garden peas and snow peas. The seeds or peas are noticeable and can be shelled. They can also be used as a substitute for snow peas in recipes.
Want to grow Kiwi in pots? Click here
Selecting the Right Variety of Peas to Grow
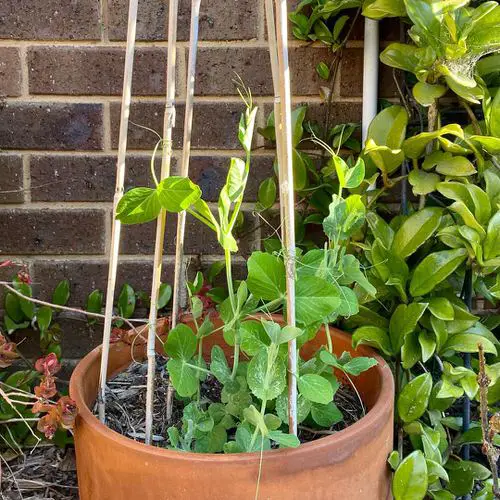
For limited space gardeners, bush varieties that are tall and take less ground space are better. They produce more in lack of space and utilize the vertical space well. If your balcony or patio is windy, choose varieties that are a little short.
We suggest you grow either regular garden peas or snap peas. Snap peas are better as you can use them instead of snow peas as pods are edible and also enjoy them like garden peas.
If you are looking to grow your own peas in a jiffy, there are many early maturing varieties, like ‘Maestro’ and ‘Sugar Bon.’ If you want more information, a quick web search can help you in finding out the best pea varieties for containers. While you pick your favorite cultivars, don’t forget your climate and growing conditions.
Here’s a helpful list of different varieties of peas. Check that out!
Tip: If you’re growing more than one variety of peas, appoint a separate container for each. This will help in identifying them.
Growing Peas from Seeds
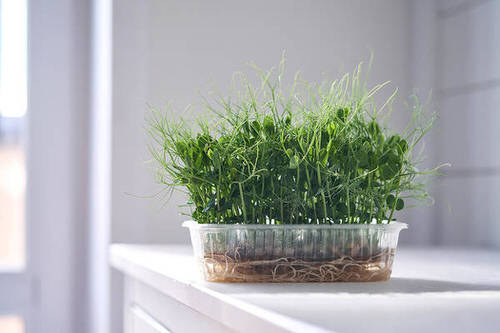
Growing peas from seeds is really easy, and it requires a few steps given below:
- Sow seeds 1 or 2 inches apart in the seed mix or directly in the desired pots, an inch or two deep.
- It’s false that peas seedlings don’t transplant well; you can plant them when they’re 4-5 inches tall.
- You can also scatter the seeds briskly over the growing medium and later cover them with the soil with no more than a 1-inch layer.
- Water well to keep the soil moist but not wet. Keep the germinating seeds in part sun to full sun.
- Seeds will germinate in a window of 7 to 30 days; it depends on the soil temperature. Temperatures above 60 F (15 C) expedite germination.
- You can also soak the seeds in water for 24 hours before sowing to speed up the germination process and pre-treat them with liquid seaweed for better growth.
If you like, at the time of planting seeds, add legume inoculant in the soil or make a slurry with the inoculant and then mix with seeds. It increases the productivity and health of legumes like peas. To learn more about this, click here.
Want to grow watermelon in pots? Click here
When to Plant Peas?
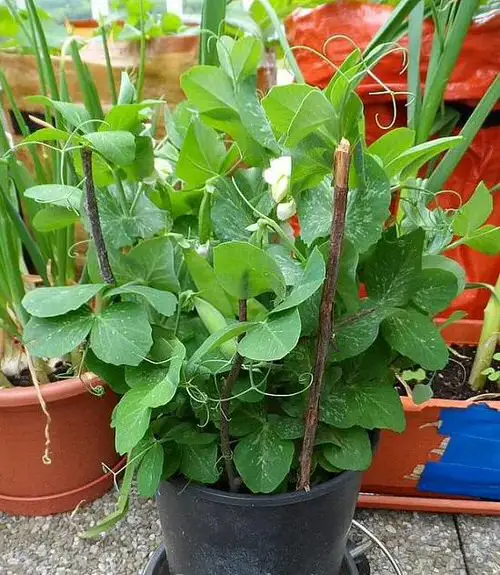 Plant them in early spring and spring for the succession planting as soon as the soil temperature is above 40 F (5 C).
- The best part about growing peas in containers is you can control the temperature and growing conditions. Keep them indoors for a while until the weather starts to warm up or if you’re starting your young plants off outside on a balcony or patio, protect them using a cloche or mini greenhouse.
- If the summers are cool in your area, grow them in summers as well. For a fall and early winter harvest, plant them between mid to late summer. If winters are mild where you live, plant them in fall, say 8 weeks before frost.
- In frost-free zones (hot climates), plant them in late fall and throughout the winter months until spring. For a bumper harvest, sow early-maturing and late-maturing varieties and do succession planting.
- Impatient gardeners are better off growing snow peas as they can be harvested early before maturity.
- Also, you can start with seedlings for sale in nurseries and save 3 weeks in the process.
- While young pea plants are tolerant to frost, pea pods and blossoms are not. Follow this video guide to protect your crop from cold temperatures and frost.
Growing Peas Indoors
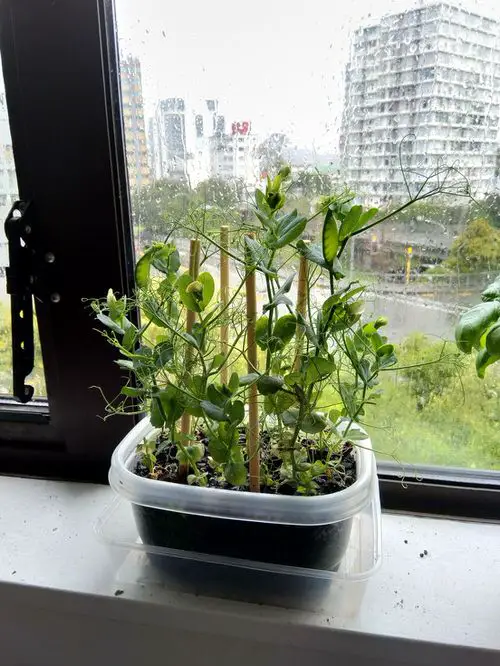
Growing peas indoors is possible if you have a south or west-facing window that receives at least 5-6 hours of direct sunlight. A six inches deep windowbox is OK to grow dwarf varieties of peas.
You can also plant tall varieties if you’ve space. For support, poke short stakes close to the plants when they’re 4-6 inches tall without damaging the fragile roots.
Water carefully and moderately to avoid diseases. Rest all the other growing requirements are similar to growing peas in pots outdoors, which you can read below.
Find out the best vegetables for pots here
Requirements for Growing Peas in Pots
Position
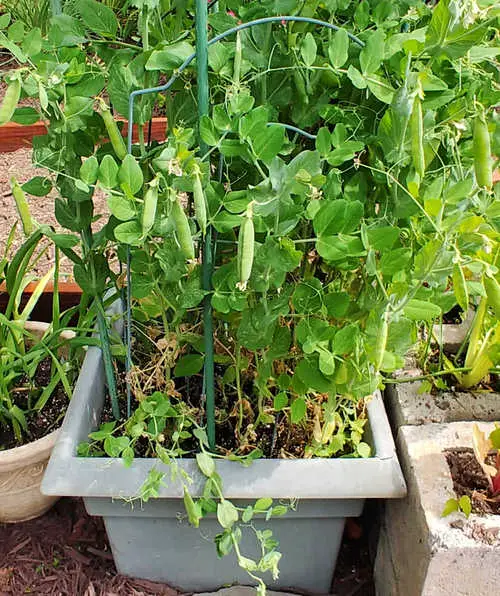
Peas can grow part sun to full sun but prefers a sunny location with a steady wind and good air circulation. However, if you’re growing peas in warm weather, i.e., summer or in a hot climate, keep them away from the intense afternoon sunlight.
Soil
Use a loamy and well-drained commercial potting mix or prepare your own but never substitute it with regular garden soil when growing plants in containers.
If you’re planting peas in a very sunny location, increase the moisture-holding capacity of your soil or water more frequently.
Peas are not fussy about soil pH and do well in slightly acidic to neutral soils.
Watering
Peas prefer cool and moist soil but avoid overwatering and constantly soggy situations. Otherwise, the plants will rot or produce a lower yield.
Also, you can’t let the soil to dry out completely, especially when the plants are germinating or producing pods.
Container-grown peas need a greater supply of water than their garden-grown counterparts. Make sure the topsoil is never dry, and the plants don’t show signs of wilting.
Temperature
Peas grow well in moderately cool weather. They don’t tolerate extremes of temperature. They grow best in spring and early summer in the cool climate and late fall and winter in the tropics.
Peas grow well in temperatures between 45-80 F (7-27 C). At the same time, the optimum temperature falls in the range of 60-75 F (15-24 C).
Spacing
If you are growing several varieties together in the hope of a quicker harvest or to experiment, ensure to develop each of them in a separate container.
Maintain a spacing of at least 3-4 inches between individual rows. For example, if you’re using a window box of 6 or 8 inches breadth, don’t create more than two rows.
You can grow the peas closely, 2-3 inches apart from each plant. For really tall and bushier varieties, maintain 3-5 inches of spacing. Also, place a stake or bamboo pole in the container, especially if you are dealing with tall or climbing varieties.
Green Pea Care
Mulching
Mulching is a great way to curtail weeding and conserve moisture. But it’s often not required in container gardening. However, you can add a thin layer of organic mulch over the topsoil.
Wood chips, grass clippings, straw, twigs, and shredded leaves are some of the mulching options.
Fertilizing
Peas don’t require heavy feeding as they produce nitrogen intermittently on the ground. However, in containers, fertilizing peas moderately is necessary.
Add 1 tablespoon potassium (K) per 2-gallon of potting soil before planting peas in containers. Later on, fertilize with 5-10-10 or 20-20-20 general-purpose fertilizer (*in 1/2 or 1/4 strength, depending on how your plants are doing) once in 2-3 weeks as soon as your young plants establish themselves or from 10 to 14 days after the germination.
If you prefer to choose an organic way to fertilize peas, side-dress the plant with compost or well-rotted manure twice during the growing period; as banana peels are rich in phosphorus and potassium, you can also use them to feed your plants. How? Click here to learn more.
Support
Peas are natural climbers, and they require support to grow. Dwarf or bushier varieties can do without support but don’t produce a bountiful crop.
Vining peas are just the opposite. They need trellises for support; some varieties can grow up to eight feet tall. If you are too lazy to make a trellis, just place a stake near the plant when it’s young without disturbing the delicate roots.
Here is an easy DIY video tutorial that will teach you a quick way to create support for peas.
Check out our article on growing cilantro in containers here
Companion Planting: What to Grow with Peas?
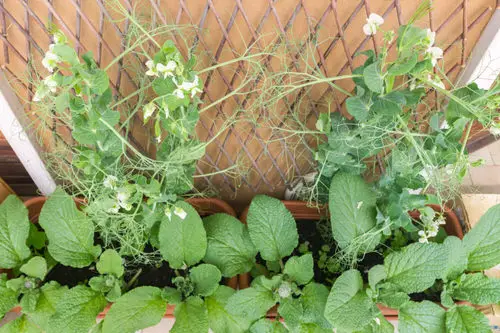
The good thing about planting peas in pots is that you could grow additional crops in the same space. Avoid growing chives, onion, and garlic as they outcompete the plants in the vicinity and retard their growth.
Peas do best when grown along with slow-growing crops like turnips, carrots, and radish. Take advantage of the nitrogen-fixing ability of peas by growing leafy greens like lettuces, celery, and spinach.
Pests & Diseases
- Climbing varieties of peas are generally more resistant to diseases. It’s always better to grow these plants away from the soil where all the pathogens and pests lurk in search of a hospitable host.
- Giving support to peas using trellis or stake improves the air circulation and saves this vegetable from many diseases and pests.
- Crop rotation is a necessity to prevent seasonal diseases. Don’t grow peas in the same container for more than five years in a row.
- Preclude the onset of root rot by avoiding overwatering and growing peas in well-drained drained soil.
- Spring plantings carry the risk of developing powdery mildew. Use bicarbonate sprays intermittently in summer.
- Of course, your best bet is to grow hybrid varieties or those that are resistant to wilt and mildew.
- Spray liquid seaweed on the leaves and vines on hot days to strengthen disease resistance.
- As you’re growing peas in containers, you can easily control the pests. Keep your eyes on aphids, a major problem for peas. If you see them, wash them with a blast of water or use insecticidal soap.
- A minor pest infestation can be removed by hands by squeezing with fingers.
- Spider mites are one more menace. To remove them, target them with a jet of water or use insecticidal soap. Neem oil is also a very effective organic way to get rid of them.
Harvesting Peas
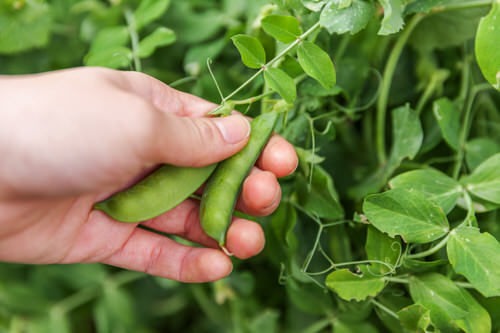
1. Harvesting Garden Peas
Harvest whenever the pods become bright green, round, and turgid. To find that out, you can gently touch the pods if they’re looking full.
Begin working from the bottom to the top, snapping off individual peas while holding the plant gently to avoid snipping off the stem. Remember, the more you’ll pick, the more peas you’ll get.
2. Harvesting Snow Peas
Snow peas have flat, edible pods; they give you greater and quicker yield because you get to eat the entire pod with tiny peas inside them before they mature.
You should pick snow peas early, soon after the flowering and pods are forming. Before picking, gently squeeze the pods and see if peas are there and moving.
3. Harvesting Snap Peas
Snap peas pods are edible, and you can harvest them like snow peas–early, before the peas start bulging in pods. Or harvest them to your liking to eat the peas raw when they’re really sweet.
You can also pick them late like regular garden peas till the pods become fat and round. This will happen in 2-3 weeks after flowering.
Learn about growing Armenian Cucumbers in containers here
Harvesting Pea Shoots
Not just the pea pods, you can also harvest the flowers and top young growth of your pea vine as all parts of it are edible.
Snip off the top growth, including young and tender pea shoots and tendrils that cling to the trellis for support. This trimming will also encourage bushier growth.
Frequently Asked Peas Questions
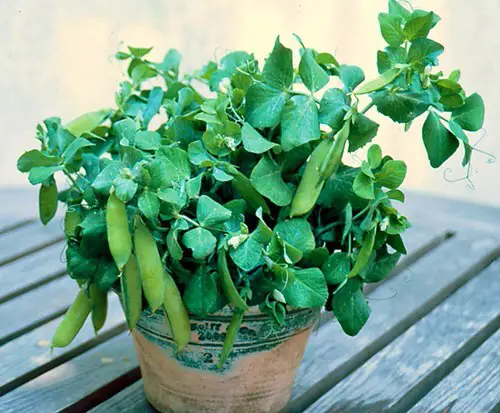
1. How Tall Do Peas Grow?
Depends on the variety! Some pea plants can climb up to 6 to 8 feet in height. There are dwarf varieties as well that can’t grow more than 1 to 2 feet tall.
Average pea varieties restrict only to 3 to 4 feet in height.
2. How Many Peas Should You Plant for Adequate Yield?
Plant at least 20-30 plants to have a bountiful harvest for one person. If you’re growing 5 plants in a container, you’ll need 5-6 containers like that.
3. How Long Do Peas Produce?
Remove all the pods, or else your plant will stop producing them at all. And don’t uproot the pea plants yet after harvesting them the first time. Look out for flowers, if they’re appearing and the weather is favorable, they may bear more pods.
In another case, after picking up all the peas, if your vines are turning brown, leaves are yellow, and flowers are falling, it’s due to the hot weather, and your vines are about to die. Time to remove them!
Also, if you see a white coating on plants, it’s mildew, and if you already had a successful harvest, it’s better to say goodbye to your pea vines.
4. How to Grow Peas in a Hot Climate?
Peas are grown as a traditional crop in many tropical regions in late fall, winter, and spring. The trick to growing peas in hot weather is to water them a lot. Keep the soil evenly moist all the time.
Also, if the sunlight is very intense in your area, save them from the afternoon sun.


how do you get peas tp latch on to the sticks
Train them.
As they grow, they will put out feelers that will tangle themselves around an object like a stick, or a string. Be aware of which way the wind is blowing, as it may blow them in another direction. That said though, normally, if they’re situated in the same spot, they’ll find them.
But mainly, once they start to grow, you can attach them lightly to the stake or trellis with a soft form of tape or string, if you can’t just wrap them around them.