
Learn Growing Celery in Containers in easy steps with the help of this comprehensive guide, and enjoy it fresh in your food!

Growing celery in containers is a smart way to save space and still enjoy fresh, homegrown stalks. It needs a bit more care than other veggies, but with the right setup, it’s totally doable. Here’s everything you need to know!
Celery Plant Information
Celery (Apium graveolens) is an herbaceous plant from the parsley family (Apiaceae), which is commonly used as a delicate flavoring in various dishes such as stocks, soups, and casseroles and cooked as a vegetable.
The long fibrous stalk of celery tapers into leaves and is consumed and used in cooking, along with its hypocotyl or leaves, depending on the location and cultivar.
In the United States, it is served raw as an appetizer, with dips or spreads, and also used in salads. Celery seed, which has a taste and aroma similar to the plant, is used as a seasoning, especially in pickles and soups.
Best Celery Varieties for Containers
Here are the best varieties you can go with!
- Tall Utah: This stringless variety with 12-inch stalks has a light flavor and a 100-day growing season.
- Golden: It has a quick growing season, 85 days from germination to harvest. This celery has thick, stringless stalks and a light color.
- Pascal: With a 120-day season, Pascal is a frequently cultivated celery variety in North America. It grows up to 12 inches in height and is suitable for container gardening, tolerating some shade.
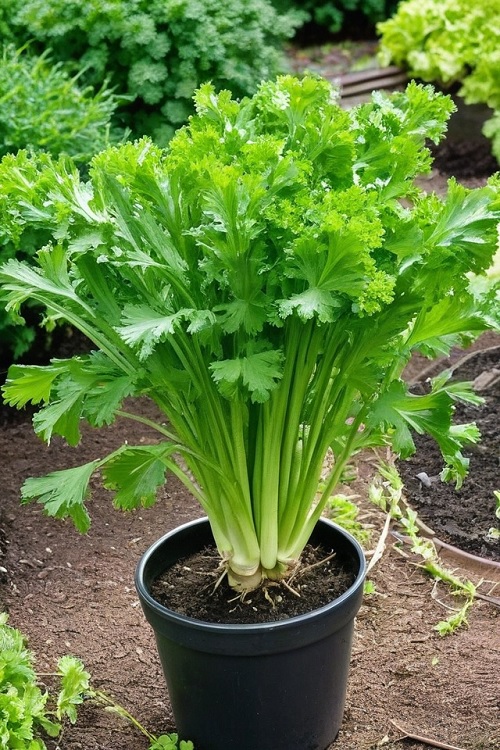
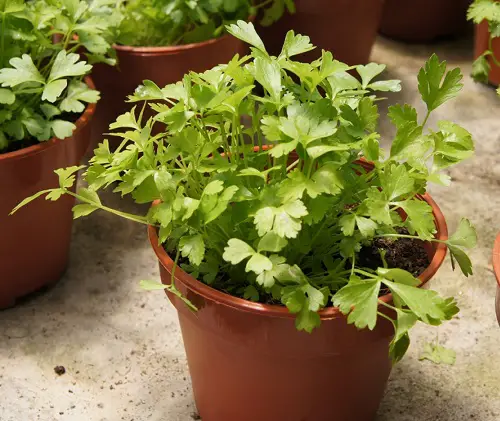
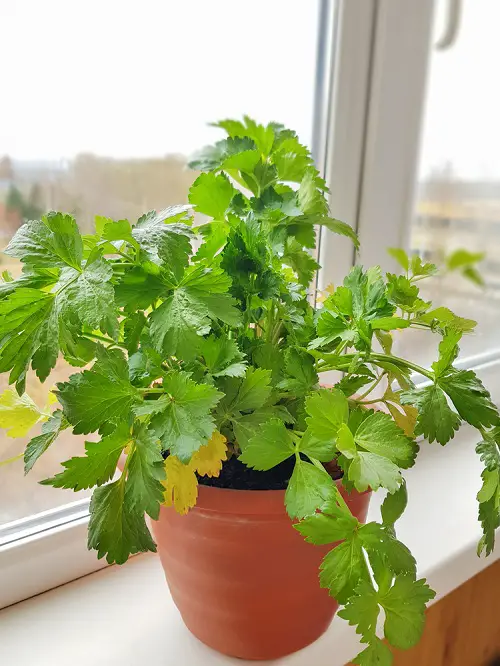
Best Container Size for Celery
Now that we’ve covered the variety, it’s time to choose a pot! Select a container that is at least 8 inches deep. As celery roots only grow a few inches deep, a moderately sized pot with a diameter of 8-10 inches is adequate. If you possess an extra small container, it could be a good option for growing celery.
It’s best to avoid terracotta or clay pots, as they dry out quickly and absorb moisture, which isn’t ideal for celery growth. Since celery requires moist or wet soil, plastic or glazed containers are a better choice.
If you plan to grow multiple celery plants, it’s advisable to use a long, shallow planter.
When to Grow Celery
Fall or spring are the best seasons for growing celery in containers, owing to favorable climatic conditions. If you do not reside in a cool climate throughout the year, we recommend plant celery during mid-winter or mid-to-late summer.
For people who live where there is a brief cool season, container gardening is beneficial for growing celery. Starting the celery in pots indoors during the early season and then shifting it outside for the rest of the cool period can be helpful.
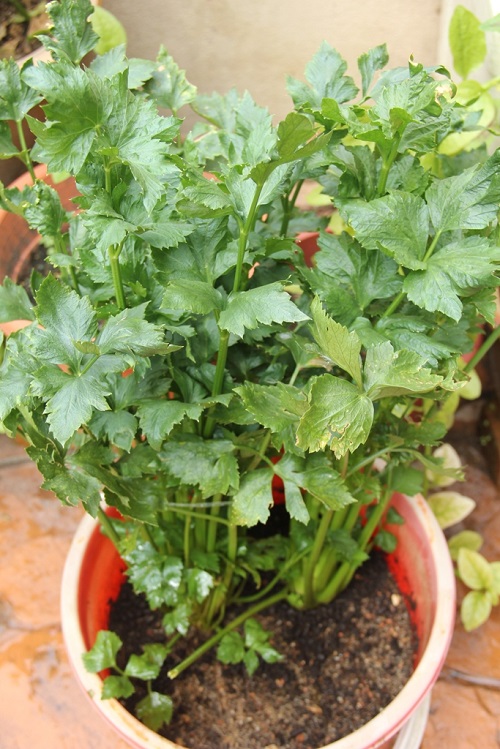
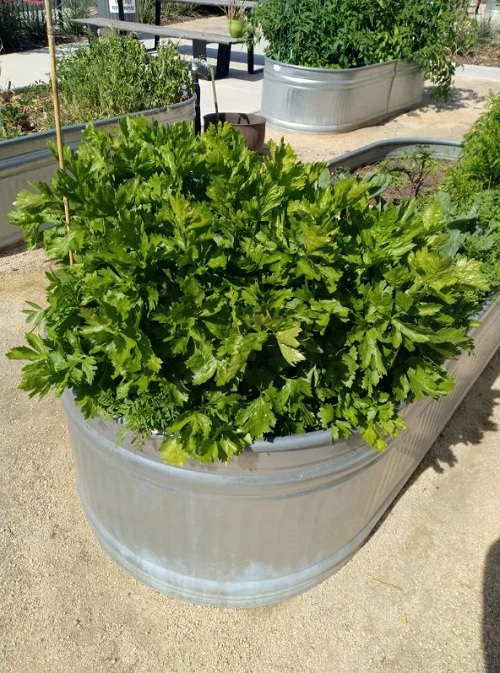
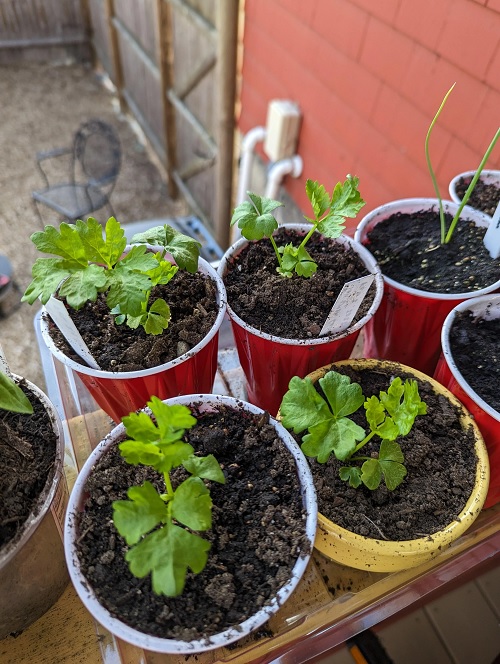
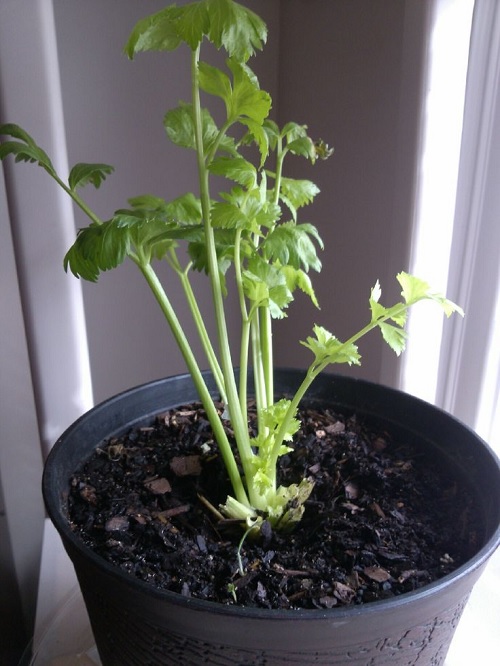
Growing Celery in Containers
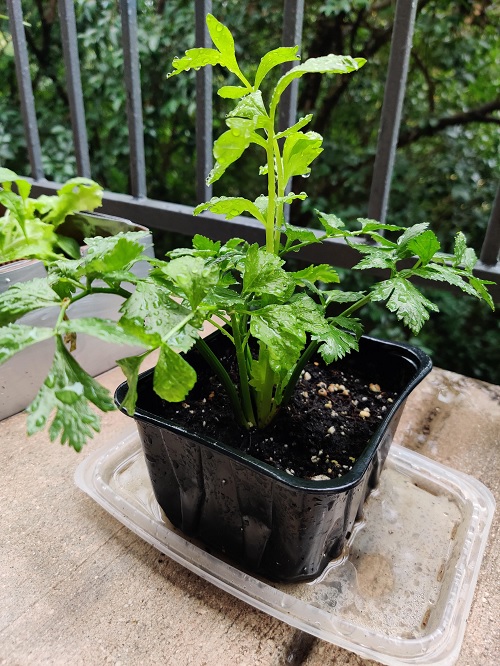

Celery thrives in cool temperatures and has a slow growth rate, taking around 80-130 days from germination to harvest. The optimal temperature is between 40-70 F (4-21 C) over 15-16 weeks.
Note: Deviations from this temperature range, either higher or lower, can lead to the plant producing flowers and seeds, stunting its growth.
Starting Celery from Seeds
1. Make Sure the Time is Right
Celery is intolerant to heat and requires a prolonged cool season for growth; for a spring harvest, it’s recommended to start seeds indoors 10-12 weeks before the final anticipated frost.
For a fall growing season, seeds should be sown 10-12 weeks before the first expected fall frost date. In warmer climates, celery must be planted during midwinter.
2. Planting Seeds Properly
Before planting, soak the seeds overnight in warm water, sow them 1/4 inch deep, and pat down the soil gently. Use an 8-inch pot and sow five seeds with 2 inches of space between the seeds.
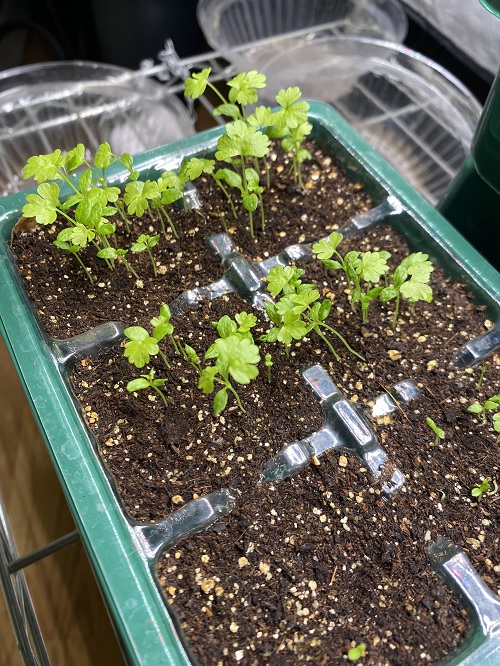
Keep the soil warm and moist. Place the pot in a sunny window or on a heat mat. The seeds will germinate in 1-3 weeks after sowing.
Once the celery seedlings grow to 3 inches in height, use kitchen scissors to thin them, leaving only the healthiest ones. Place the remaining seedlings in a sunny window, and remember to keep the soil moist. You can feed them with seed-starting fertilizer when they are a few weeks old.
Note: Due to its taproot, celery dislikes transplanting. If you started it in seed-starting containers, ensure that you transplant them to their larger pots once they have grown at least three sets of true leaves. After transplantation, it is best to leave the celery alone, as disturbing the delicate roots may have adverse effects.
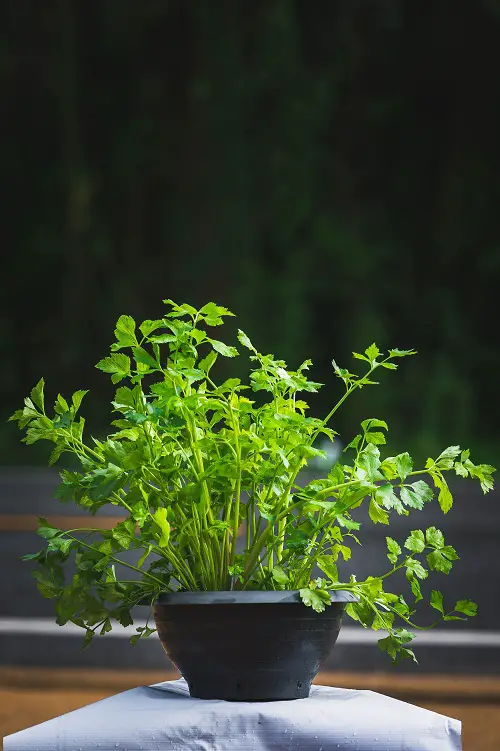
Growing Celery in Water
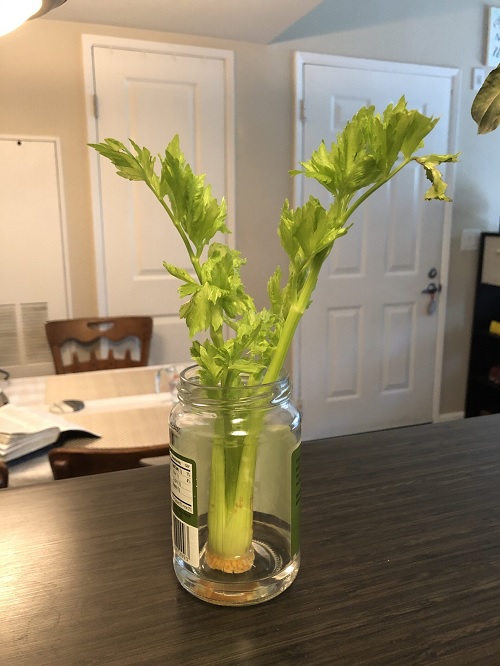
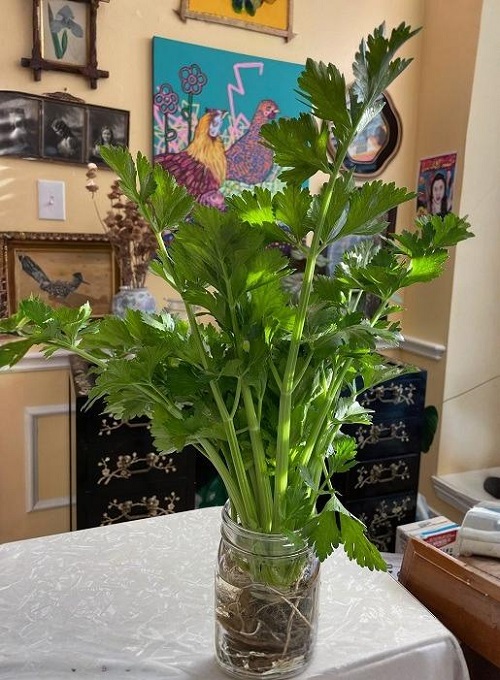

Growing celery in water is just as easy and one of the best options for relishing a fresh harvest at home without ever needing to buy it from a grocery store! Here’s how to do it!
Requirements for Growing Celery in Containers
Sunlight
Choose a spot with at least six hours of sun per day. If feasible, pick a place on your deck, balcony, or patio that receives direct sunlight for a minimum of 4-6 hours daily.
Note: During peak summer, it’s advisable to relocate the containers to a shaded spot in the afternoon.
Soil
For growing celery in containers, use rich soil amended with plenty of aged compost or organic matter and a handful of coffee grounds. Celery prefers an alkaline soil pH of 6.0 to 6.5. To reduce the acidity in acidic soil, add limestone.
Water
Celery requires an abundant water supply to develop its characteristic flavor and crunchy texture. Insufficient watering may cause stunted growth, hollow stems, and bitterness.
Ensure it receives a weekly minimum of 1-1.5 inches of water while maintaining the soil moisture levels almost constantly. Adding mulch can also help retain moisture; try pine needles for that.
Temperature
The best temperature range has to be between 60-70 F (15-21 C). Celery does not tolerate extreme cold or heat, so temperatures below 40 F (4 C) or above 75 F (24 C) can cause stunted growth or even death.
Celery Care in Pots
Fertilizer
Adding compost or manure during the initial planting is recommended, and supplementing with organic fertilizers like fish emulsion every 2-3 weeks or aged compost every month is advised.
Diluting the fertilizer with water and using it as a foliar spray can also help the plant absorb nutrients through both roots and foliage.
Blanching
It needs to be blanched 2-3 weeks before harvesting, or else it will have an unpleasant bitter taste. Blanching involves scalding produce in boiling water, but this method does not work for celery, as it can make it mushy and bitter.
To properly blanch celery, wrap the stalks a few weeks before harvest to prevent exposure to light, which triggers the production of chlorophyll and bitterness. This can be done by wrapping the base of the plant with newspaper or paper grocery bags and tying it with a string or twine. Other methods, such as mounding or using milk cartons, also work well.
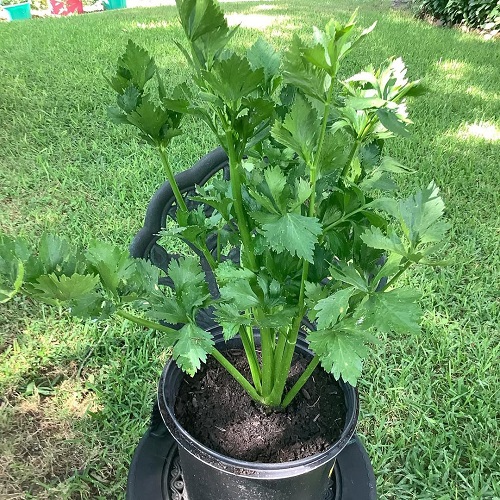
Harvesting Celery
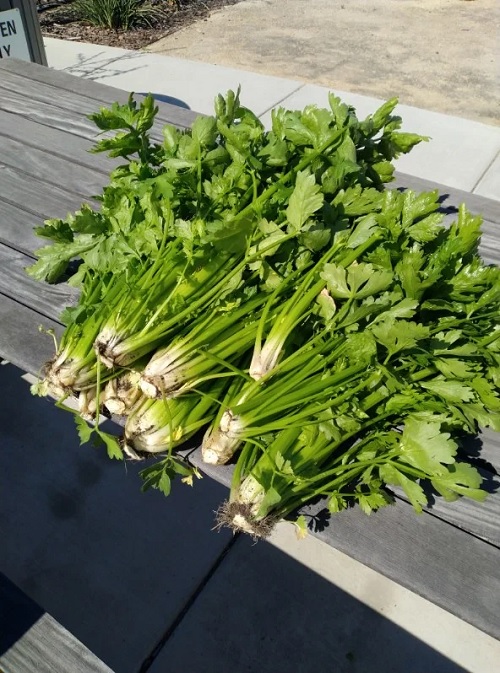
When you grow celery in containers, it gets ready to harvest between 100-120 days after germination, and it should be at least 6 inches tall from the base to the first leaves.
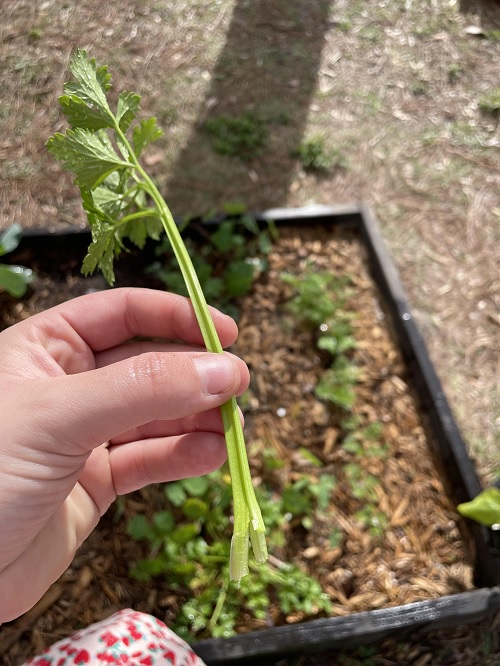
You can either harvest individual stalks as you go or wait until the whole plant is ready and harvest all at once. When harvesting individual stalks, cut them off near the base with a sharp knife, starting with the outside stalks. Cut along the base at the soil level to harvest the whole plant at once.
If you are growing celery in pots, harvesting individual stalks as needed will probably serve you better.
Well, what’s the wait? Time to start growing these lovely veggies in your home today! Do share your experience in the comments below!