
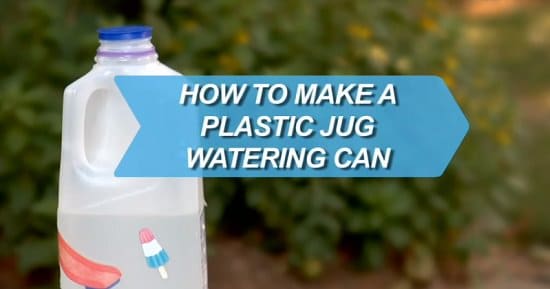
Repurpose a milk jug into a thrifty DIY watering can, following this 5 steps easy tutorial! Perfect idea for container gardeners.
Required Materials
- 1/2 Gallon Plastic Milk Jug
- Hammer
- Nail
- Stickers
- Markers
Procedure
1. Get an Empty Jug
![]()
Empty a 1/2 gallon milk jug and clean it properly. Make sure to choose a jug that has a handle and a plastic lid.
2. Create holes in Lid
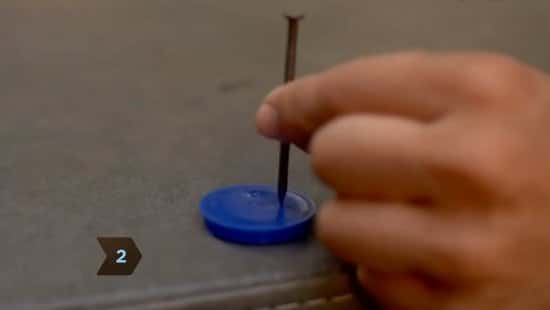
Use a hammer and a nail to make holes in the lid of the container. This will allow water to come out of the bottle.
3. Decorate the Jug
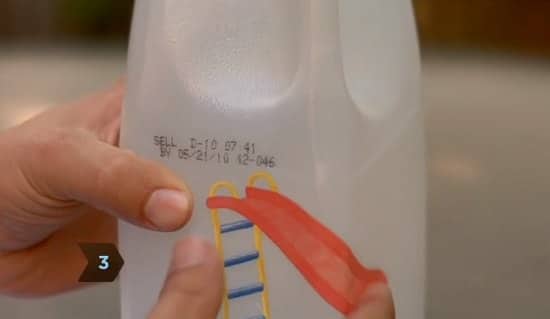
To make your water jug look cool, use glitters or stickers!
4. Fill Water
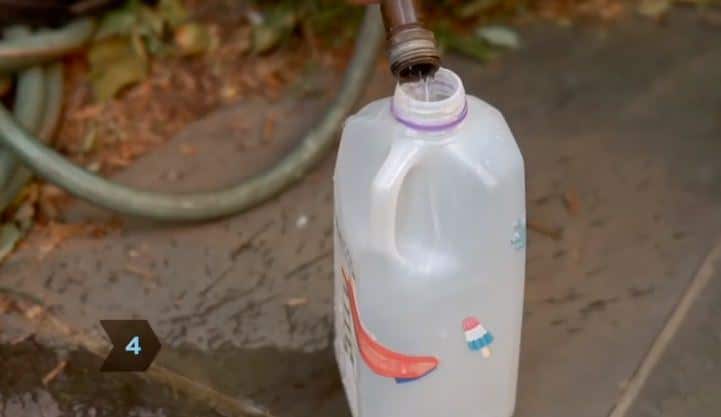
Now fill water into the jug to the full capacity.
5. Water the Plants

Your custom plastic jug DIY watering can is all ready to serve its purpose!