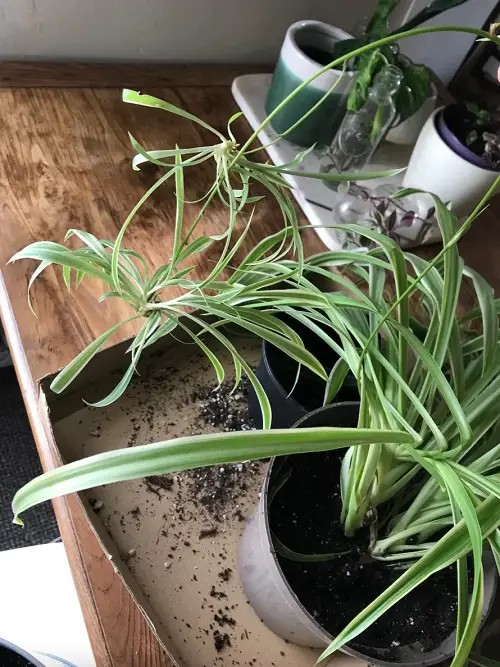
Repotting a Spider Plant is as easy as it gets if you know the right process! It also keeps the plant thriving for years to come.
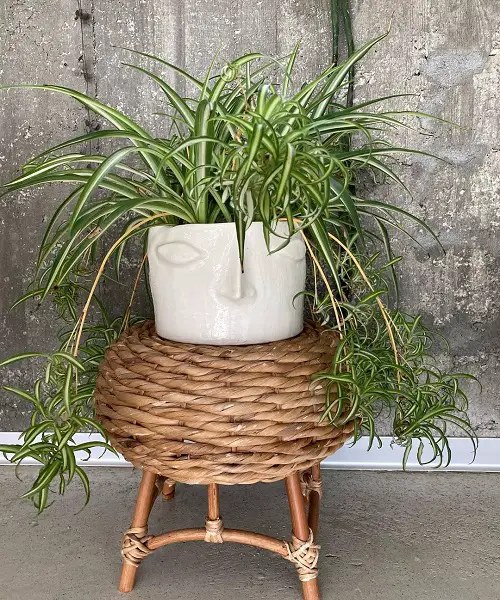
Repotting a spider plant is essential to ensure it continues to stay healthy – it also keeps the roots from detangling and rot.
Why Repotting Spider Plants is Necessary?
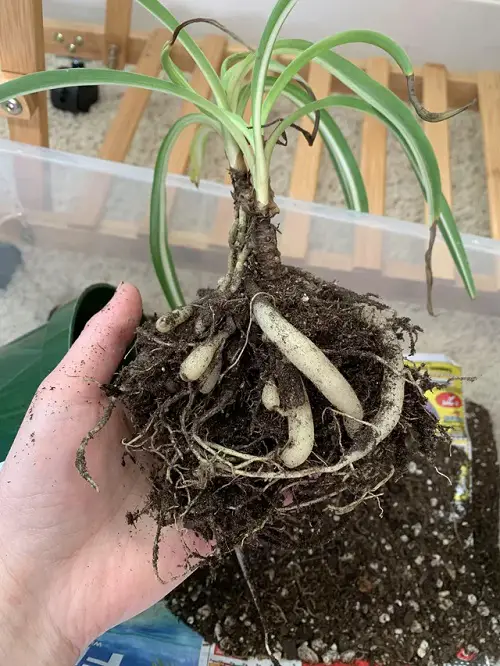
As these plants are rapid growers, re-potting ensures the roots have more room to expand – otherwise they will get cramped in the old, small container.
Re-potting also ensures the use of a fresh growing medium, which promotes nutrients to the plant – an essential requirement to keep them healthy. It also helps to keep certain pests and diseases at bay, thanks to the new container and soil, as the old ones may be affected with the issues.
When to Re-pot a Spider Plant?
- Age of the Plant: If your spider plant is over two years old – it’s probably time to repot.
- Outgrowing Its Pot: If roots are poking out of the drainage holes or the topsoil, it is time to get a new container!
- Pest Infestation: If you notice aphids, spider mites, or mealybugs, it’s important to re-pot as these pests can quickly spread throughout the pot and infect other plants, too.
In warmer states, start re-potting the plant around late January. For a more colder regions, it’s advisable to wait until mid to late April, around the onset of spring.
How to Re-pot a Spider Plant?
The entire process is simple and you can do it in less than 20 minutes!
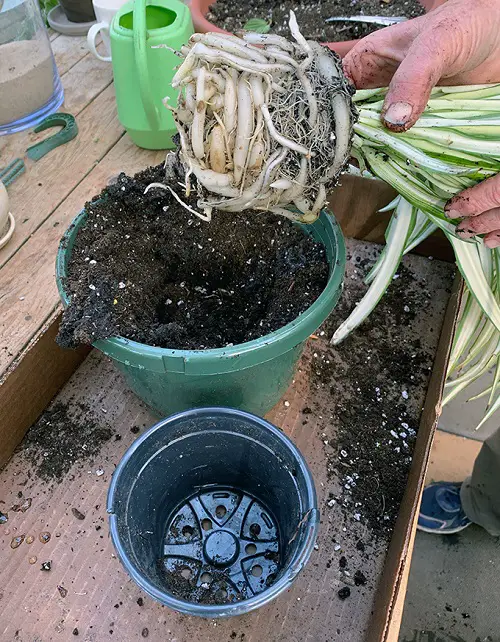
Begin by taking the plant from the pot and look for any signs of damage in the roots – at this point it’ll be a good idea to snip away mushy and rotten parts without damaging the healthy sections. It will also make the rootball fit the new pot better.
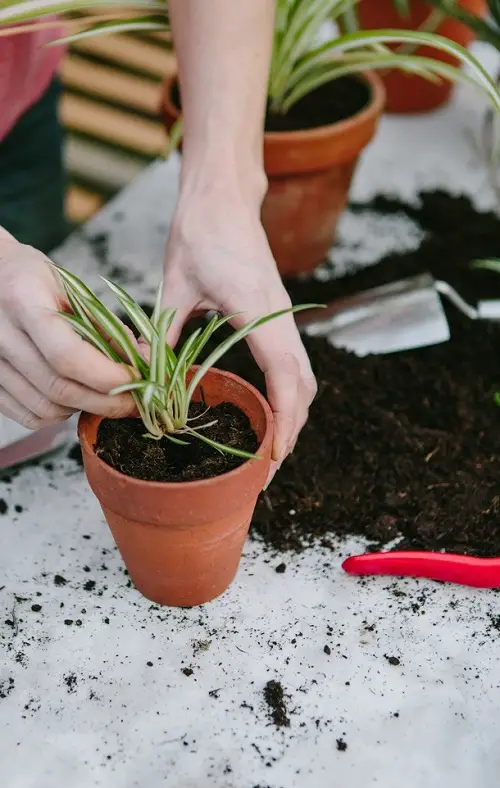
Now, take a new pot that’s one, or maximum two sizes bigger than the old one. Fill it 1/4 with a fresh and good quality, well draining potting mix. Place the plant, and then top it up with the soil. Gently press the growing medium around the base to remove any air pockets.
You are done! Water the growing medium well, and keep the plant where it gets bright but indirect light – avoid placing it in the direct sun for a week or so. Also, water only when the topsoil feels a little dry to the touch.
Tip: After a week, add a balanced liquid fertilizer, diluted to 1/4 of its strength – use it once in 4-5 weeks after that.
Do not miss to divide the spider plant during this time to have more plants!
Mistakes to Avoid When Repotting a Spider Plant
- Remove the old soil from the roots, and give it a gentle wash – it may have pests or other issues.
- Always go with a pot that has a drainage hole at the bottom.
- Do not repot spider plant when it goes dormant, which is in colder months.
- It would be a good idea to remove dead, brown, yellowing, and damaged parts of the leaves while repotting.


