
Learn How to Treat Root Rot in Houseplants and enjoy a lush array of healthy indoor plants before it’s too late!
It is important to know How to Treat Root Rot in Houseplants, especially if you are a new plant parent. We have compiled some of the best remedies for you!
Check out the best weed-killing recipes here
What is Root Rot?
Root Rot in houseplants is mainly caused by two reasons. Firstly, long-term exposure to overwatered conditions. This can kill roots due to a lack of oxygen; exposed roots begin to rot and die while spreading this to the healthy roots.
The second source can be the fungus in the soil that stays dormant obscurely and thrive when the plant is overwatered. The fungus attack roots and result in rot.
Types of Root Rot
Fusarium Root Rot
Fusarium has many species that can cause rot on stems or roots, mainly at a point of a lesion or cut on the plant. It can also seize dying or dead tissues, leading to a fast overgrowth of this fungus in oversaturated roots.
Pythium Root Rot
Pythium Root Rot, parasitic in nature, feeds on decaying plant matter and thrives best in overwatered soil. This bacteria is usually transmitted from pests like fungus gnats through their feet when they move from one plant to another.
You can kill plant fungus with baking soda. Learn more here
How to Check Root Rot?
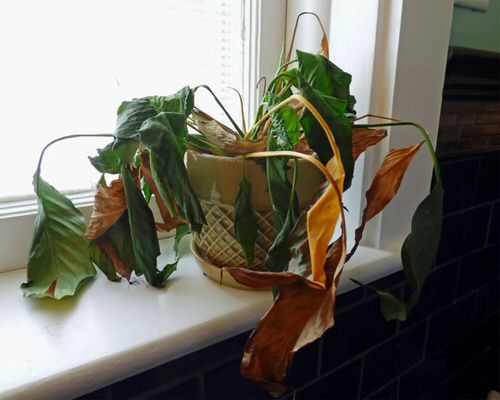
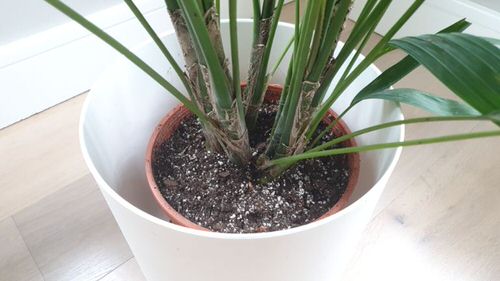
The easiest way to spot root rot infection in houseplants is to detect pale, wilted, soft leaves despite proper sunlight and a healthy growing medium. You’ll also notice overly moist soil!
It happens when roots cannot absorb moisture and nutrients due to a saturated system. Mushy leaves and stems, distorted leaves, brown spots, and stunted growth are also notable signs of root rot.
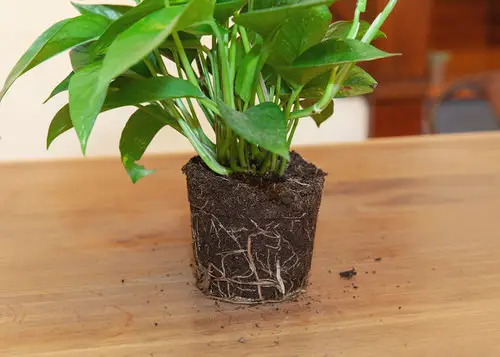
Another way to spot root rot is by taking the entire plant out and examining the roots if you really want to be sure of it. This way, you can exactly pinpoint which roots are in bad shade and which aren’t.
How to Treat Root Rot?
After diagnosing root rot take action quickly. You will require sterilized scissors/shears, fungicide, and a fresh potting mix. Follow the below-mentioned steps:
1. Remove Decaying Brown Leaves
Cut back all dying foliage, and ensure to remove them from the plant as close to the base as possible. This will help the plant to focus its energy into growing new leaves rather than saving the old dying ones.
Prune the leaves at the same rate as you cut the roots. For example, if you cut back 1/3 of the roots, trim 1/3 of the leaves.
Learn how to treat the brown edges of Calathea here
2. Let the Soil Dry Out
After diagnosing root rot, allow the soil to dry, so roots get some air to function. This is important, as pouring more water into the growing medium at this stage will only worsen the situation.
3. Take out the Root Ball
Upturn the pot, tap at the sides and hold the plant base to take it out of the pot gently. Ensure not to exert pressure by doing it forcefully, which would otherwise harm the root system.
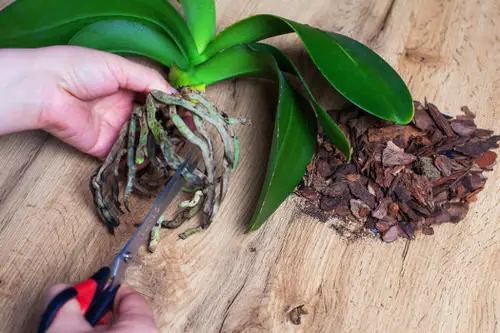
4. Cut Back Dead and Decaying Roots
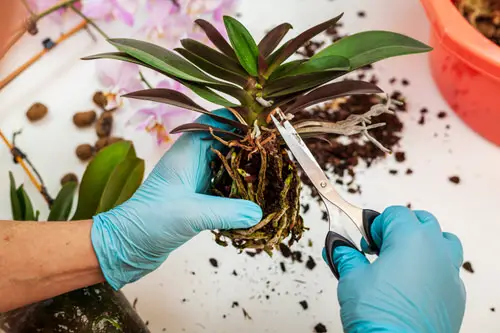
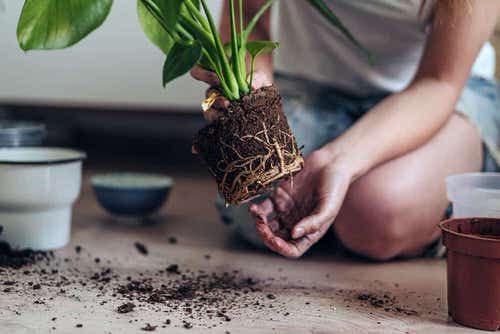
Loosen the soil and wash it thoroughly in running water. Now, carefully look for roots that look damaged, rotten-brown, and too mushy.
Cut back the damaged mushy roots with a sterilized scissor. Ensure not to trim the healthy roots, as that would be fatal to your plants.
Tip: If the plant is overly damaged and beyond repair, consider taking stem cuttings or leaves to propagate new plants. You can also remove the healthy division and plant it separately.
Learn some important tips for indoor plant killers here
5. Let it Dry
Leave the roots exposed to the room temperature for 1 day after giving them a trim. This will dry out the excess moisture trapped within them.As the leaves are capable of holding water, the plant can go without any added moisture for a day.
6. Rinse the Pot
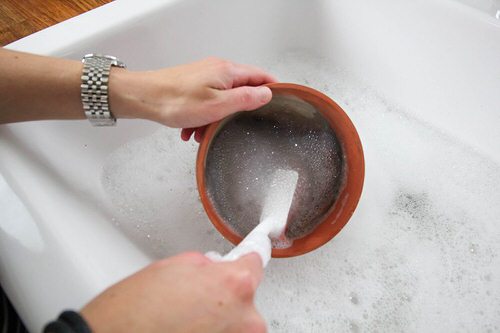
If you’re going to repot in the previous pot, rinse the container with bleach water to get rid of any infection. Use a hard bristle brush to remove any traces. Let it dry completely before planting.
Pro Tip: It is always advised to get a new pot as it will be devoid of any fungal or pests traces.
7. Repot Using New Soil
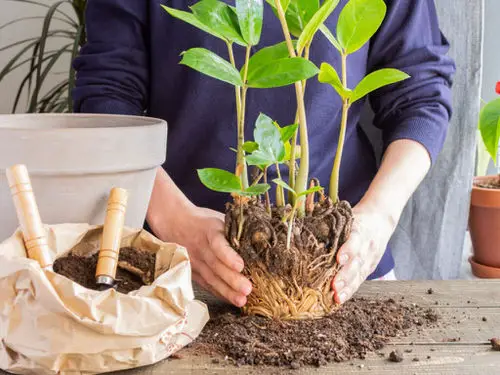
For repotting, use a fresh potting soil suitable for houseplants. It assures that any fungus or bacteria will be removed, barring further damage.
While you repot the plant in a fresh medium, keep in mind not to add any fertilizer.
8. Take Good Care of the Repotted Plant
Now that you have repotted the plant make sure not to water it frequently by doing it only when the topsoil feels dry to the touch. Also, keep it at a spot where it can bright indirect light.
Get the best remedies to get rid of spider mites here
Some More Remedies to Treat Root Rot
9. Use Hydrogen Peroxide
Add a teaspoon of hydrogen peroxide in a liter of water, and drench the medium with this solution. Hydrogen Peroxide helps with root rot by killing the harmful bacteria and further breaking down the soil to release more oxygen for the roots to absorb.
Learn about rejuvenating old potting soil here
Points to Remember
Remember that, due to root rot, plants become vulnerable and stressed, repotting makes them more stressed and can be fatal. The best cure is prevention hence make a watering routine according to your plant’s requirements. Also, follow the below tips to prevent root rot in the future:
- Use a container with drainage holes.
- Make sure to use a well draining potting mix.
- Before watering the plant, check the soil moisture by inserting the finger in the topsoil; if it is dry, it’s time to water. If it is moist, avoid watering the plant.
- Also, do not allow the water to collect and sit in the bottom tray.
- Keep in mind that plants need less water in cold and dry climates.