Discover the secrets to successfully re-potting your aloe plants with this quick and easy “How to Re-Pot Aloe Plants” guide!
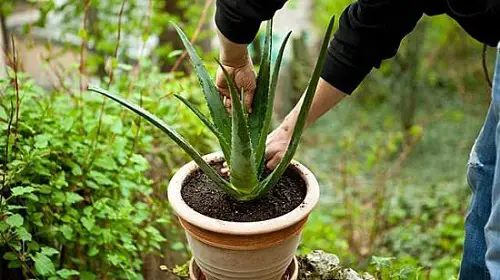
Here is the best “How to Re-Pot Aloe Plants” guide. Learn how to carefully transfer them to new containers, providing ample space for growth with the best way to repot aloe vera. Follow these tips to ensure healthy and vibrant aloe plants that will beautify your space.
Materials Required to Re-Pot Aloe?
Before we get into the “how to repot aloe vera,” you must take note of the gardening supplies and materials you need while repotting aloe vera. Make sure you have the following:
- Clean Knife
- Hand Trowel
- Thick Gloves
- Mature Aloe Plant
- Light Potting Soil
- Sand & Perlite
- 4-5-inch Sized Small Pots
How to Re-Pot Aloe Plants?
1. Prepare the New Pot
Here is How to Re-Pot Aloe Plants. Before repotting aloe vera, prepare the new pot by filling it with fresh potting soil. Make sure the soil is well-draining, as aloe plants don’t like to sit in waterlogged soil. Leave some space at the top to accommodate the plant’s roots.
Don’t know about repotting aloe vera soil? Here is the best soil for repotting aloe vera. Choose a commercial potting mix available for succulents and add extra sand or perlite.
Check out the Best Soil For Succulents here
2. Remove the Plant from its Current Pot
Gently remove the aloe plant from its current pot by carefully turning it upside down and supporting the base of the plant with your hand.
Tap the sides of the pot or squeeze it gently to loosen the soil. Slowly lift the pot, and the plant should slide out with the roots intact.
3. Inspect and Untangle the Roots
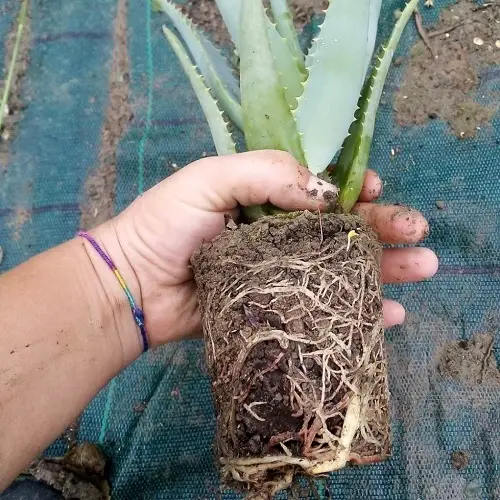
Once the aloe plant is out of its pot, take a closer look at the roots. Gently untangle any roots that are tightly wound or circling around the root ball.
This helps the roots spread out and establish themselves in the new pot more easily when repotting aloe vera.
4. Place the Aloe Plant in the New Pot
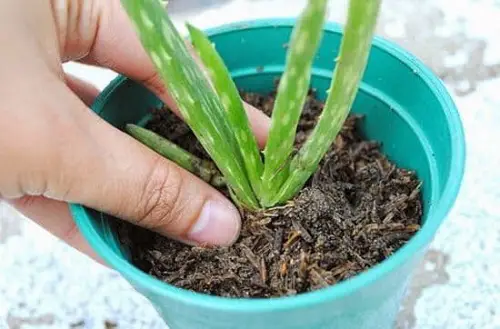
Lower the aloe plant into the new pot, positioning it in the center. Adjust the soil level so that the top of the root ball is slightly below the rim of the pot. Add or remove soil as necessary to achieve the right height. When repotting aloe vera long stems, take care to support the stem and ensure it remains upright during the transplanting process.
Fill in the gaps between the root ball and the pot walls with fresh potting soil. Gently press the soil down. Make sure there are no air pockets. Leave a small space at the top to allow for watering.
5. Water the Aloe Plant
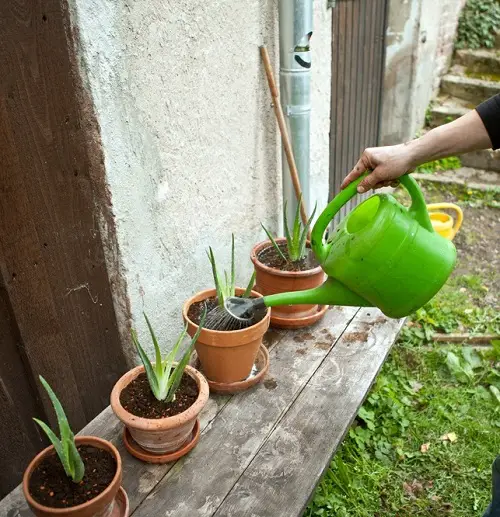
After re-potting, give your aloe plant a thorough watering. Allow the water to soak into the soil until it starts draining out from the bottom of the pot.
This helps to settle the soil and provides moisture to the newly transplanted aloe when repotting aloe vera.
Find How Often Do You Water Aloe Vera Plants
6. Place the Aloe Plant in a Suitable Location
Aloe plants thrive in bright, indirect light, so place them near a sunny window or in a well-lit area. Avoid exposing them to harsh, direct sunlight, as it can scorch the leaves.
7. Monitor and Care for Your Aloe Plant
Keep a close eye on your re-potted aloe plant in the following weeks. Water it only when the top inch of soil feels dry, as overwatering can cause root rot. Feed your aloe occasionally with a balanced, water-soluble fertilizer to support its growth.
It is generally not recommended to repot aloe vera in winter, as this may stress the plant during its dormant period.
How Often Re-Pot Aloe Plants?
Aloe vera plants generally require repotting every 1 to 2 years to ensure their optimal growth and health. As these plants gradually outgrow their containers, repotting provides them with fresh soil and additional space for their expanding root systems.
Smaller, two- to three-aloe plants can be planted together in five-inch pots. It is essential to choose a slightly larger pot with proper drainage to accommodate the aloe vera’s growth and prevent waterlogging, ensuring a thriving and vibrant plant.
Frequently Asked Questions
1. How to Cut and Repot Aloe Vera?
To cut and repot aloe vera, start by sterilizing your cutting tools, then carefully remove a healthy leaf from the base of the plant. Allow the cut end to dry and callus for a few days before planting it in well-draining soil to propagate a new aloe vera plant.
2. When to Repot Aloe Vera?
It is best to repot aloe vera during the spring or early summer when the plant is actively growing. Avoid repotting during the dormant winter months, as it may stress the plant.
3. Aloe Vera Turning Brown After Repotting
If your aloe vera turns brown after repotting, it may be a sign of transplant shock. Ensure that you are using well-draining soil and that the plant is not overwatered. Give it time to adjust to its new environment, and the browning should resolve.
4. How to Repot Aloe Vera Pups?
To repot aloe vera pups, gently separate them from the mother plant using a clean, sharp knife or by carefully twisting them off. Allow the pups to dry and callus for a day or two before planting them in their individual pots with well-draining soil.
5. Repotting Aloe Vera Without Roots?
If you must repot aloe vera without roots, treat it as a leaf cutting. Allow the cut end to dry and callus for a few days, then plant it in well-draining soil. With proper care, the leaf will develop roots and grow into a new aloe vera plant.



My aloe is rather old, fairly large, but it has never had babies. I transplanted it to a larger pot last year so it has plenty of room. Can you tell me why there are no off spring?.
Might have root rot.
Water it less. It tends to produce babies when it thinks it will dry out. That’s the case for mine anyway :)
People coming into our office are always trying to prune my plants…the aloe they uproot pulling the dry tips or dead leaves off. Next thing I know I have plants just laying on top of the soil where they have pulled them out of the soil n not said anything about it. I had a large pot full but now just only 5 left and 3 of them.
The aloe plant on our front porch has gotten so big and menacing I’ve put off repotting it for more than a year. Hopefully this tutorial will give me the courage to tackle that monster. I should have enough new plants for every one on this block!
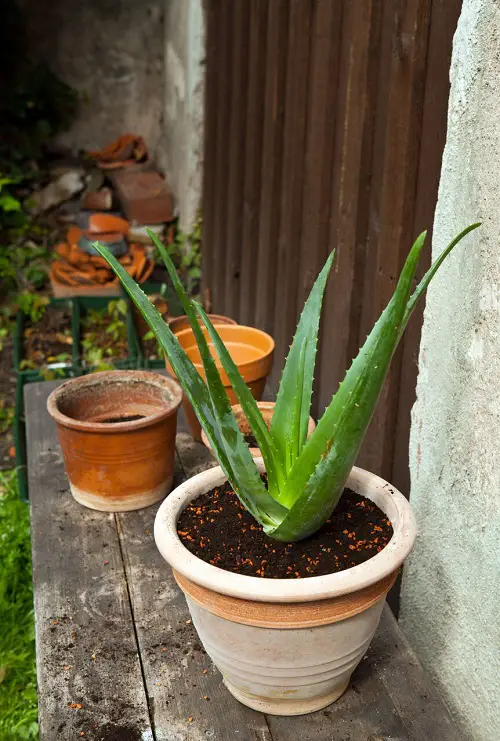
The pictures of the aloes here show the aloe “arms” shooting straight up, even on older plants. My large aloes have “arms” that spread out wide. They look and are very healthy. Why the difference?