
One of the most fantastic herbs for the kitchen, you can Grow Marjoram in Pots successfully and enjoy its fresh aromatic sprigs in your cuisines!
Marjoram, also widely known as the ‘Knotted Marjoram,’ is a perennial herb. It is sometimes confused with the herb oregano, but marjoram is different, both in its appearance and flavor. Its flower buds have a knot like appearance; thus, the name. The herb has a distinctive sweet and pungent aroma, making it a preferred choice for many Mediterranean delicacies. Let’s see how to Grow Marjoram in Pots.
Botanical Name: Origanum majorana
USDA Zones: 7 to 9
Type of Plant: Perennial plant of the mint family
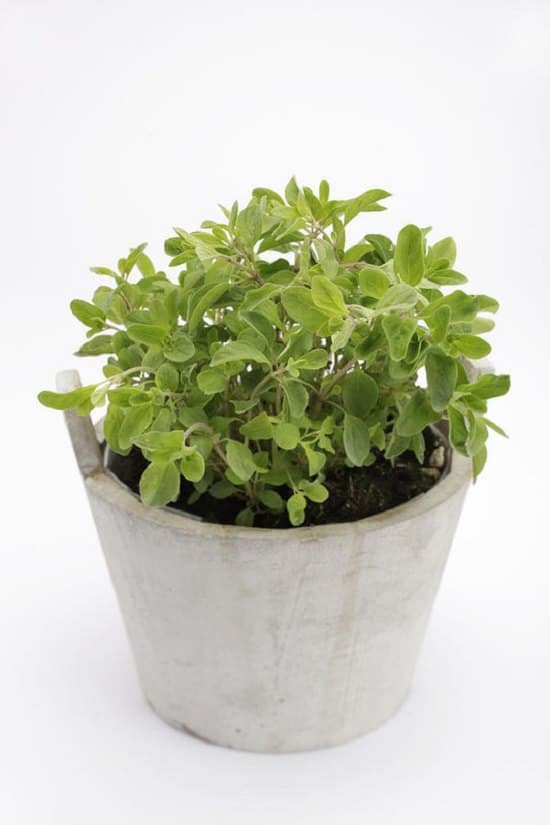
Plant Form and Size: Oval looking foliage, growing up to 1 meter (3 feet) in height.
Soil pH: 4.9 to 8.7
How to Propagate Marjoram
1. Seeds
The seeds of marjoram are very tiny and fine, making them difficult to handle individually. To grow the plant from seeds, sprinkle 5-10 seeds over the soil and cover them up with a very fine layer of multi-purpose compost. Cover the top 2/3 of the container with a cling film, ensuring it is not hindering the light. Place the container in an airy location with plenty of sunlight, at a temperature of around 21-25C (70-77 F). The seeds will germinate in about 8 days.
2. Cuttings and Layering
Marjoram grows relatively easy from cuttings and stem layering, especially in spring and early summers. Take marjoram cuttings in fall and grow them through winters. Weigh down the stems of the plant in the soil for layering; this will cause new roots to sprout. You can then divide the plants further.
3. Division
You can divide the marjoram clump in the fall when it reaches its second season of growth. Using a sharp spade, divide the clump and cut them into mounds of about 8 inches from the edge, severing its root runners. Make sure that you are keeping the crown intact. If you have made a division in fall, do not divide the marjoram clumps again in spring, as it will hamper the growth of the plant.
Marjoram Varieties to Grow
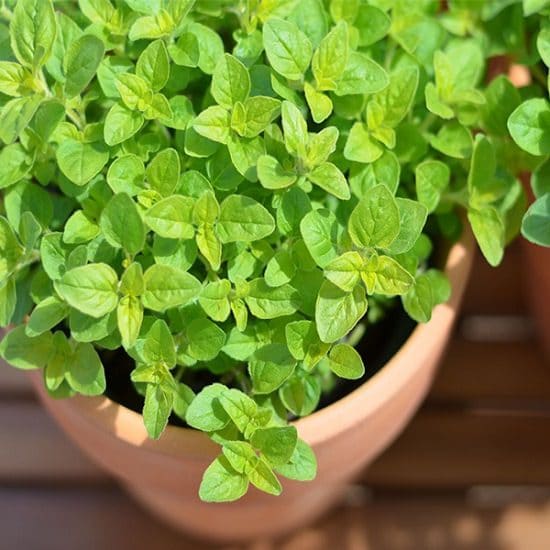
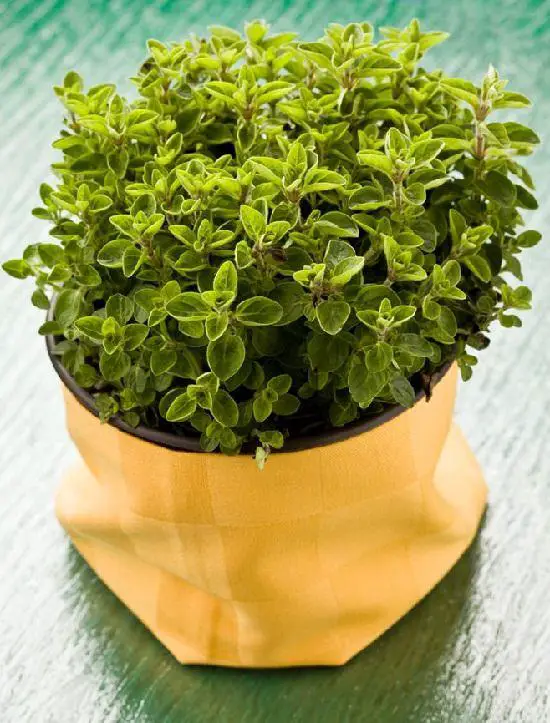
Sweet marjoram (Origanum Majorana) is the most widely recognized form of marjoram, and you can easily find it at a store near you. It has a grey to green looking foliage and grows about 12 inches tall.
1. Pot Marjoram
Pot marjoram (Oreganum Onites) has white or pink flowers, and as the name suggests grows easily in pots. It has wide applications, thanks to its aromatic leaves. The pot marjoram has a much strong aroma than the sweet marjoram.
2. Wild Marjoram
Wild marjoram (Origanum Vulgare), also popularly known as oregano, has a strong flavor and smell. It only grows well in a hot climate with good air circulation. With purple, pink, and occasional white foliage with beautiful looking flowers; it attracts lots of bees and butterflies as well!
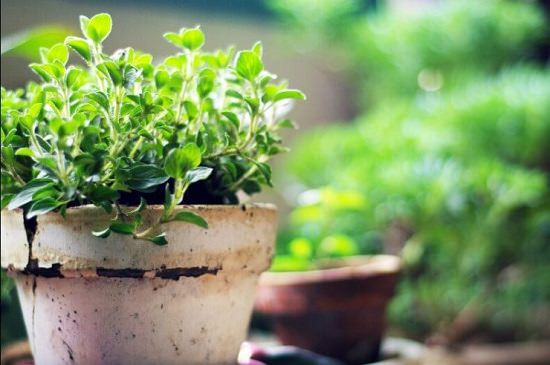
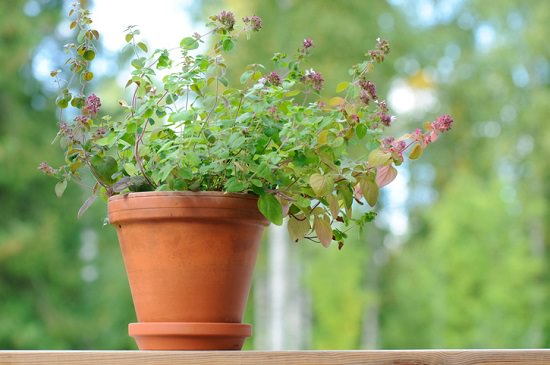
Choosing a Container
Choose a container that is at least 6 inches wide and has holes at the bottom for the water drain. Pick a one that has a depth of minimum 6-8 inches. Once your marjoram outgrows the current pot, you can transplant it into a new one.
Growing Marjoram Indoors
Growing marjoram indoors is relatively easy. As the plant is very drought-tolerant, this makes it a perfect choice for beginner herb gardeners. Keep it at a sunny windowsill or a balcony that gets plenty of air circulation and the plant will continue to thrive, giving you fresh marjoram leaves to add flavor to your food.
Requirements to Grow Marjoram in Pots
1. Location
Plant marjoram in an area that gets full Sun. The plant also tolerates light shade as well, so you can put the plant in a balcony or near a window that gets ample sunlight. This will aid in the optimum development of the plant indoors.
2. Soil Preparation
Use a loose, well-drained soil. Though it grows well in neutral soil as well it is recommended to use soil with a pH of 6.7 to 7.0.
3. Watering
Water marjoram regularly until it establishes well in the pot. Once mature, water the plants only when the topsoil is dry. Do remember that constant moist soil causes marjoram to be less flavorful.
Marjoram Plant Care in Pots
1. Fertilizer
As marjoram is hardy, you don’t have to worry much about fertilizing the plant. However, if you do feel like feeding, using a half-strength, balanced fertilizer, after planting marjoram and then twice during the growing season.
2. Pruning
Start pruning the plant, when it reaches about 6 inches of height. Removing the spent flowers and leaves of the plant encourages the growth of new buds and also helps to enhance its flavor. Regular harvesting automatically prunes the plant.
Pinch or cut the flowers, right before they start to appear, using a pair of scissors or pruning shears. During warm/dry season or summers, you might have to prune the plant twice; once at the beginning and once, when the season ends.
For the marjoram growing in the garden, right after the first frost cut the plant to the ground. Marjoram usually goes dormant during this time and cutting its stems short, protects the plant in the winter season. Cover the stub after cutting, with a layer of mulch; about 5-inch soil, for added protection.
3. Mulching
Mulch the marjoram plant in warm weather to keep it safe from too much heat. Mulching also protects its roots.
Pests and Diseases
Marjoram faces no significant pest problems. Though aphids and spider mites may attack the plant, they can be easily taken care of, by spraying a strong stream of water on the leaves.
Marjoram is also relatively safe when it comes to serious disease problems. If you have grown the plant in wet soil or weather, it may suffer from root rotting and might damp off.
Storing and Harvesting Marjoram
Marjoram is ready to harvest after sowing, in 60 days. Snipping leaves with a garden pruner or scissors is the best way to harvest it. Cut leaves as you need, once the plant reaches 6 inches in height or above. The flavor of marjoram intensifies in summers and hot weather. Regular harvesting will renew the plant’s growth. Do remember to harvest before it flowers to get the best taste. You can also extend the harvest by regularly removing the flowers.
1. Refrigeration
Keeping the leaves in a plastic bag helps them to remain fresh and retain their flavor for 3-4 days.
2. Drying
To keep the flavor intact, dry the leaves in a refrigerator. Spread fresh leaves on a baking sheet and cover them with a paper towel. You can also use an uncovered bowl to dry out the leaves. Stir the leaves daily and they will dry in about 3-7 days. Marjoram leaves can also be dried using a mesh bag by hanging them in a warm, dry, and a shaded place.
3. Storing
Once the leaves are dried, store them in an airtight container to retain their flavor for long.
Cooking with Marjoram
Marjoram is a key ingredient in Greek, Italian, and Middle Eastern dishes. It is also used fresh in salads, cheese, and oils. Thanks to its strong aroma, it is used to add a distinctive flavor in stews and while roasting meat. Wrap it in a cheesecloth or a bundle to use it as a ‘Bouquet Garni’ to greatly enhance the flavor of slow cooking dishes.