
Composting Made Easy! Making your own is the best way to enrich your soil organically. Here are simple steps to follow!
No fancy tricks or complicated formulas here, just simple and fun ways to give back to Mother Earth. So, buckle up because this is all about Composting Made Easy!
Composting Made Easy for Beginners
Preparing garden compost is simple as it only needs a few ingredients. These include nitrogen, carbon, air, and water. To get these ingredients, you can collect kitchen and yard waste, but remember that complete decomposition is a lengthy period that may take months. So, how to make garden compost? Follow these steps.
1. Setting Up Your Bin
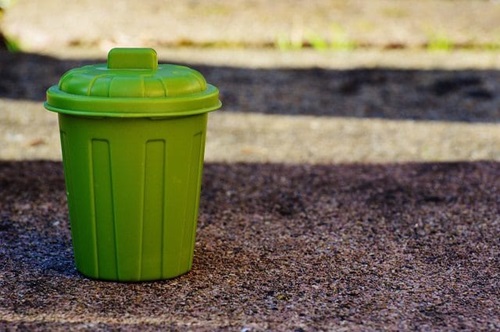
Starting your compost is easy-peasy! To get going, you need a bin. Don’t worry if you can’t find one; you can grab a ready-made container from a garden store. No fuss, just a simple start!
Bin Basics: You should create an airflow at the bottom by poking small holes with a gardening fork. Now, lay down a foundation: add twigs, small sticks, or straw-like stuff about 4-6 inches deep. This helps with drainage and makes sure the compost has enough air.
45 Functional DIY Compost Bin Ideas For Gardeners
2. Ingredients for Awesome Compost: Greens and Browns
Making it is just like following a recipe – you need the right ingredients. They are nitrogen, carbon, air, and water. Sounds fancy, but it’s not! Here’s how to make compost step by step.
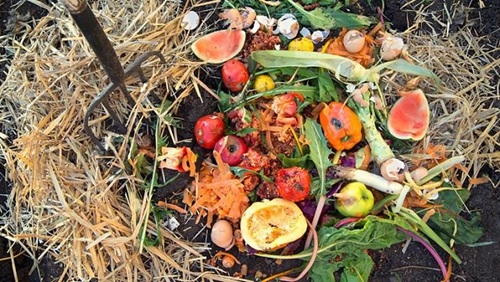
Greens (Nitrogen): Collect nitrogenous compounds; these are primarily greens. They include plants such as cut grass, raw peelings from vegetables, coffee grounds, diluted urine (yep, you read that right!), manure, and weeds. These are the fast rotters!
Browns (Carbon): Proceed collecting carbon compounds, which are mostly ‘the browns.’ They include cardboard, dead leaves, cereal boxes, hedge clippings, and brown pruning. These are the slow rotters!
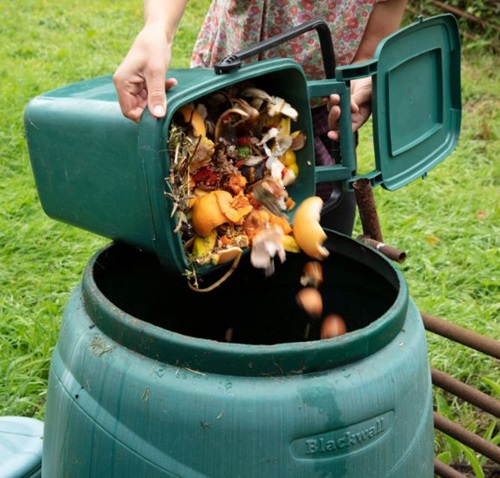
3. Fill Your Bin in Layers
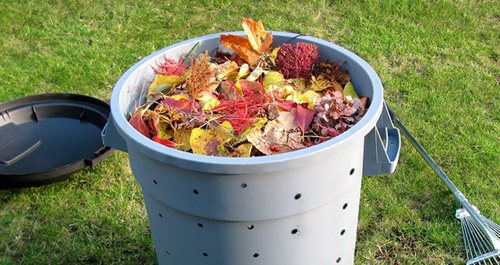
Once you have everything ready, let’s fill up that bin with your browns and greens! You need to make different layers.
- Twigs: The bottom layer with twigs and sticks for airflow, as shared in the first step.
- Compost: Add those nitrogen-rich greens. Mix them up with carbon-rich browns for a brilliant compost!
- Water: Keep adding water as you go. Your heap needs to stay hydrated!
Mixing Magic: To avoid stinky smells, mix fast-rotting greens with slow-rotting browns. Think of it like combining freshly cut grass with tiny sticks. Chop big things into bits, shred cardboard and crush eggshells. Also, add some bacteria or nutrients to speed up the process.
How to Do it: Let us take the example of freshly cut grass. This may be combined with feeble sticks or other wood compounds. Why is this so? The main reason behind this is to prevent odors.
Know what things you can’t compost here
4. Checking the Heat and Mixing it Up
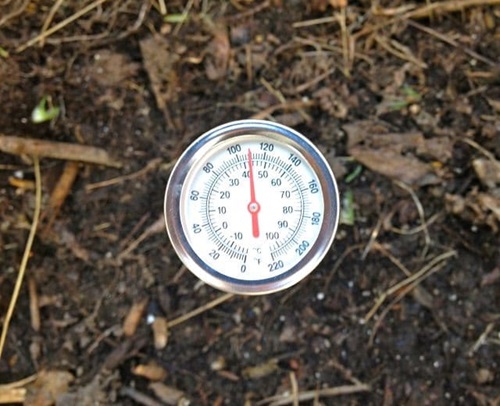
In three days’ time, place your hand over the top of the heap to feel if it’s hot. If so, this shows the start of the decomposition process. Visit the bin after one week and repeat the same procedure.
If it has a cool feel, start mixing it. However, if it still feels hot, wait an extra week. Use a garden fork or a shovel to thoroughly and effectively mix the matter inside the container. Stir and move the contents from top to bottom in a continuous manner.
This helps in the decomposition rate by adding oxygen, the final ingredient. Repeat this process for the next four to six weeks.
Tip: If the mixture appears dry, it is advisable to add water before you start mixing.
19 In Ground Compost Bin Ideas | DIY Underground Compost Bins
5. The Waiting Game: Is Your Compost Ready?
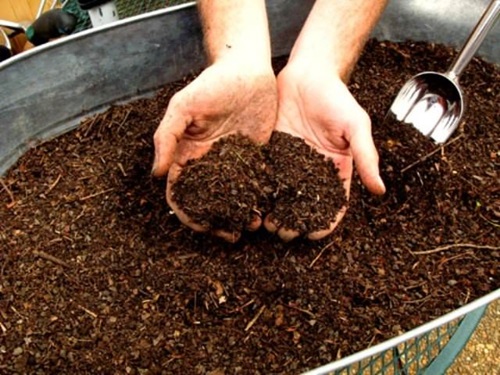
Patience is key in composting. You should go for the look test. A ready heap is dark brown. That’s when you know it’s time to spread it in your garden!
You should also give a good whiff. To determine if your heap is ready, look for a dark brown color, which often has the smell of earth.
6. Compost Challenges and Solutions
If you do not get a brown color or a smell like the earth’s, you might need to give it some time. Here are common reasons why your compost might not be ready and steps to take care of them.
- Not Heating Up: You need to check the balance of greens and browns. If it’s still not heating, add more nitrogen-rich greens.
- Smells Weird: You should mix it up more often, add more browns, and avoid putting in meat or dairy.
- Taking a Long Time: You should chop things up and make them smaller. Add more greens, and make sure it’s not too dry.
- Compost is Too Wet: You need to add more browns like cardboard or leaves and mix it well.
By taking care of these, you can start using your compost for healthier plants in no time.
How to Start Composting in an Apartment Balcony
7. Using Your Compost in the Garden
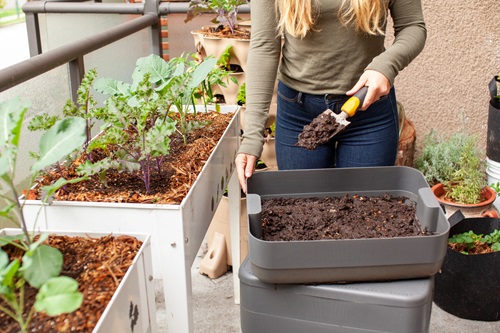
Now that you’ve got it ready let’s put it to work in your garden. Here’s how to use it:
- Mix It In: Sprinkle it around the base of your plants. Mix it into the topsoil gently, and let your plants soak up the nutrients.
- Top Dressing: Spread a thin layer of compost on the soil surface. This will help retain moisture, keep weeds at bay, and give your plants the love they deserve.
- Compost Tea: No, not the tea you drink! Mix some compost with water, let it sit for a bit, and then use it to water your plants.
Benefits of Composting
- Composting gives your plants yummy nutrients, making them strong and happy.
- You become a waste superhero by turning kitchen scraps into useful stuff for your garden.
- Forget expensive plant food – it is a budget-friendly friend to your garden.
- Compost helps the soil soak up water, so you use less and still keep your plants hydrated.
- It attracts helpful bugs that keep the bad ones away, creating a balanced and bug-friendly garden.
24 Kitchen Residues and Leftovers That You Can Use in Your Garden
Garden compost is an effective and cheap way of providing organic fertilizer to your vegetables and other garden plants. This article shows you how to make compost step by step and the benefits of composting. As you try these simple tricks, feel happy about helping your veggies and plants stay healthy.
Once you have worms and a bin, follow these six easy steps to set up a worm bin. Soon worms will be recycling food scraps into a healthy, nutrient-rich soil amendment called compost.
Hi Lucy,
I’m James from the Northern Territory in Australia.
How do I draw worms into my compost?
Or how do I collect worms from my garden to put in my compost?
I look forward to your reply.
Regards,
James Pallett.