
In this guide, we share all the Ways to Propagate Zinnias so you have no excuse but to grow these long-lasting blooms in your garden!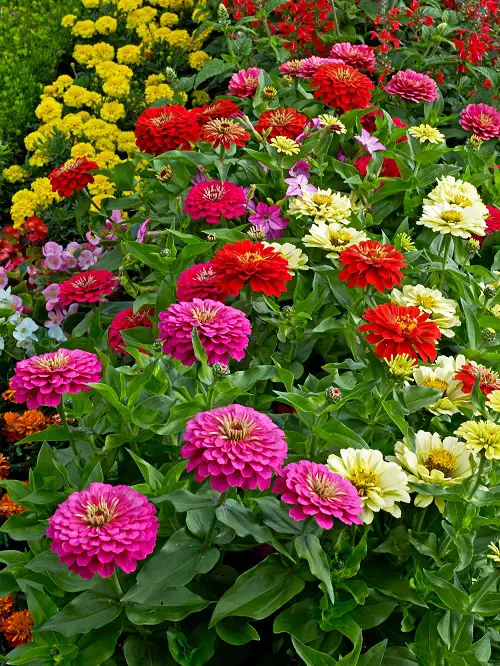
Maybe you want to grow zinnias from seeds for volume, cuttings for cloning your favorite pick, or division for your container garden! Whatever your reason, we list down the choicest ways to propagate zinnias!
Why zinnias? These daisy-like blooms make your garden explode with the boldest, hottest hues for a long time with such little care that you’ll wonder why you didn’t add them to your floral repertoire sooner! They are drought-tolerant annuals that also attract the prettiest butterflies and hummingbirds. Let’s dive in!
Propagating Zinnias from Seeds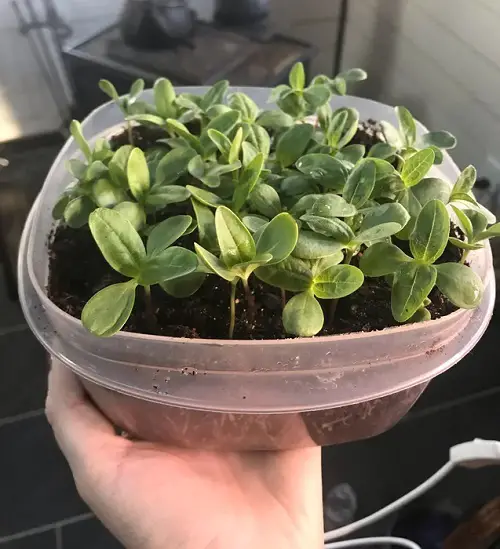
Here’s the simplest way–seeds! Zinnias are summer flowers; they love warmth and cannot tolerate frost at all. Sow seeds in late spring or early summer once all the frost expectations are passed, and the soil is warm and cozy. Depending on the weather in your region, wait for daytime temperatures to reach at least 60F (15.5C) before planting.
You can plant zinnias all year round in a hot climate (USDA Zones 9 to 11) except for the peak summer when daytime temperatures cross the 90 F (32 C) mark.
If the weather is warm, sow seeds outdoors directly into desired containers or garden beds where zinnias grow best. Seeds are especially helpful in starting and packing your garden with various blooms.
Zinnias appear as single, double, and composite flowers in different shapes, hues, and sizes. If you want to attract butterflies, go for single-flower varieties like the popular Zinnia elegans since these pollinators prefer combing through thinner layers of petals to get to their nectar.
Let’s get started with seeds!
1. You’ll need a pack of viable Zinnia seeds. You can get them at local garden centers or online—just make sure they are fresh, ideally within the last year or two.
2. Next, you’ll need a plastic tray with individual cells or small pots. Fill these with a well-draining seed starting mix for seeds—it should be slightly acidic to neutral.
3. Sow the seeds about 1/4 inch deep in the soil and mist generously to hydrate the soil.
4. Cover these with plastic wrap to trap moisture and keep them in a bright and warm place that receives some morning sun and bright daylight.
The seeds will germinate in about 8-14 days, and slowly, they’ll start growing shoots and roots. Once the seedlings have 3-4 sets of true leaves, you can transplant them into bigger pots or garden.
Tip: Watch out for pesky damping-off disease, which strikes if the seedlings are kept in overly moist conditions. If you see signs of thinning, leggy seedlings, or fuzzy mold on the soil, reduce the watering and improve air circulation.
Propagating Zinnia via Cuttings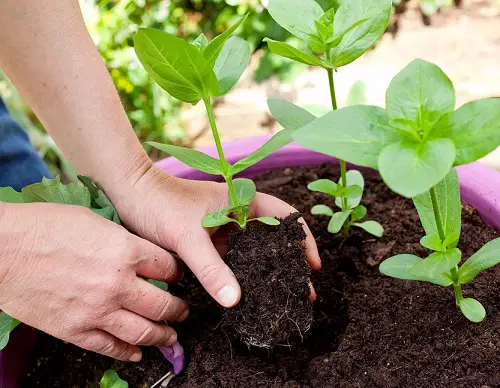
Once you have a garden full of zinnia blooms and want to clone your favorites, propagate your top picks from cuttings. This method helps you replicate specific plant traits quickly and reliably. It and is cost-efficient too!
Depending on your zone, cuttings are best undertaken from mid spring to early fall and if you live in a frost free region (Zone 10, 11), you can do it till late fall. In cooler places, start taking cuttings in late spring till mid summer (April to July), however, with some protection from cold weather you can definitely do this in late summer and early fall as well.
- Timing is everything when snipping off a Zinnia cutting. Do it in the morning when the plant is well-hydrated, and avoid cutting if it’s really hot or dry outside.
- Select a non-flowering stem that’s at least 4-6 inches long and has 3-4 sets of leaves. It shouldn’t be woody or too limp, somewhere in between.
- Make a clean slanting cut just below a leaf node. Then, remove the lower leaves from the stem, leaving only a few sets at the top.
Now comes the easy part!
4. Grab a pot, fill it with a potting mix, and moisten it thoroughly. For moisture retention and aeration, add one part peat moss and one part perlite to two parts soil.
5. With your finger or a pencil, make many holes in the soil, depending on the size of the pot and the number of cuttings. It should be slightly wider than the stem. Now, insert the cuttings into each hole and firm the soil around to provide support.
The rest of the drill is the same as for seeds: keep them in a bright spot with dappled sunlight and give them a good misting now and then. Roots should sprout in about 2-4 weeks. Once the roots are well-established, you can gradually adjust the cuttings to outdoor conditions before transplanting them to separate containers or garden beds.
Tip: Encourage bushier zinnias by pinching off some of the top growth. Do this once the cutting has established roots and formed a few sets of new leaves. This will stimulate lateral branching, resulting in a fuller, more compact plant. Read here for more such tips!
Propagating Zinnias via Division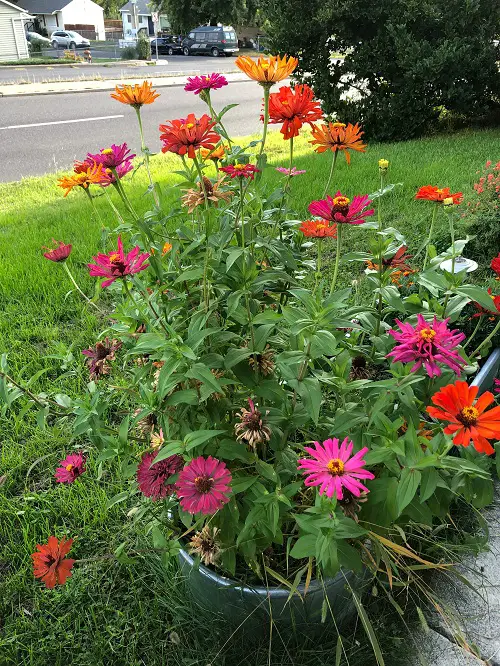
Dividing is not the most effective way to have more zinnias, but you can try. Called vegetative propagation, it’s a fantastic way to inject life into mature, overcrowded, clumpy plants. It helps you get a head start on the season and multiply these flowers, instantly deriving more from a single source. It also keeps them youthful and tame!
Choose cool weather to allow these old fogeys to settle down without extreme heat stress. In hot regions, divide in spring or in late fall; in cooler regions, divide your zinnias after early spring or do it in early fall.
Remember that most zinnias are annuals; hence, division isn’t the common way to grow them unless you want to spread out mature plants that outgrow their space.
- Choose a healthy, mature Zinnia plant with multiple stems and a well-established root system–it should be at least a year old.
- Once you have the chosen one, water it to loosen up the soil over two days.
- Now, once the soil is loose enough, carefully dig around the base of the plant with a garden fork, creating a six-inch circle around the stem.
- Gently lift the plant from the ground or pot, taking extra care not to snap its roots. The best way is to dig in as deep as you can so you can extricate the roots with the soil intact. Once out, shake off soil chunks clinging to the roots.
- Using a sharp knife or pruning shears, divide the root ball into two different sections, each with a healthy portion of the roots and at least one or two shoots.
- For pots and containers, fill them halfway, position the root ball in, and cover them up to the brim with the remaining soil. Then, give it a good watering to seal the deal!
- Ground planting is a different ball game, though! Pick a spot with well-draining soil that gets plenty of sunlight. Dig holes large enough to hold the root balls and place them inside, gently backfilling the holes with soil to firmly hold the division.
- Water the divisions thoroughly to help them settle in and establish roots. You can also apply a layer of mulch around the plants to retain moisture and suppress weeds.
Tip: Dividing can be a bit stressful for Zinnia plants, so it’s wise to deadhead any existing flowers and avoid fertilizing for a few weeks after division. This will help the plant focus its energy on recovery and root growth.
Propagating Zinnia in Water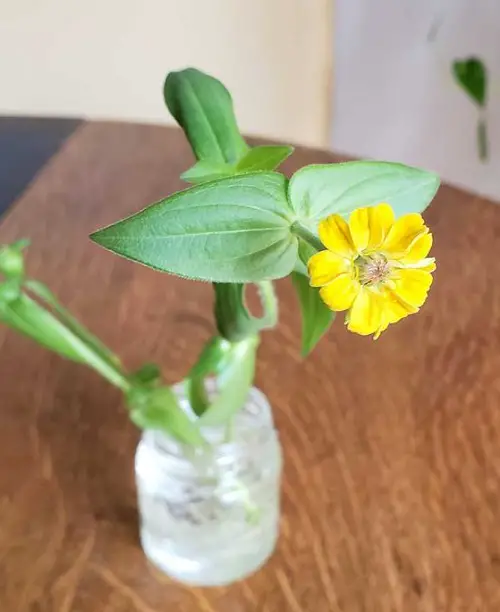
Bet you didn’t expect this one! Saved the best secret for the end. Zinnias can be tried for water propagation. You can bypass the entire seedy fuss and grow zinnias in water from cute little snips!
Choose warmer months for water propagation.
- First, you need to head out to your Zinnia plant and take a cutting like we showed you.
- Simply drop the trimmed cutting into a clean vase or jar filled with room-temperature water. The water should submerge just the bare stem, so the leaves above are high and dry. You can even throw a small piece of charcoal into the water to keep it clean and bacteria-free.
- Place this vessel in a brightly lit spot away from direct sunlight and let it grow. Change the water every other day and in 3-4 weeks, the roots will have grown an inch or two in length–that’s your cue to transplant this cutting into a new pot.
You may hear claims of propagating Zinnias via layering, and you can try that too, however, the best two methods are propagation from seeds and cuttings and these are more than enough to get you started on your zinnia journey!
Now that you know how to grow them, you’ll need help finding the right varieties for your garden! Check out our article on 23 varieties of zinnias, and share your experiences in the comments below!