
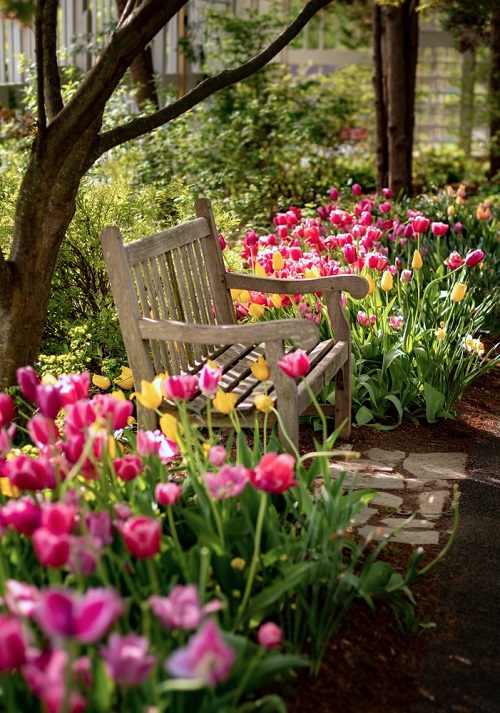
What to Do with Tulips After They Bloom? Keep them or snip them? Not sure? Let’s find out!
Well, the simple answer to this question is that you have to deadhead the blooms once the tulip blooming phase is over. Additionally, there are further steps regarding what to do with tulips afterward for future blooming and good health. Keep reading!
Check out Stunning Yellow Tulips to Grow
What to Do with Tulips After They Bloom?
After tulips have finished flowering, which may be between mid to late April or by late May or early June, you can do a lot of things to make sure they are healthy and prepare them for future growth. Certain varieties, like Parrot tulips and Darwin Hybrid Tulips, are perennial and can bloom for multiple seasons with proper care.
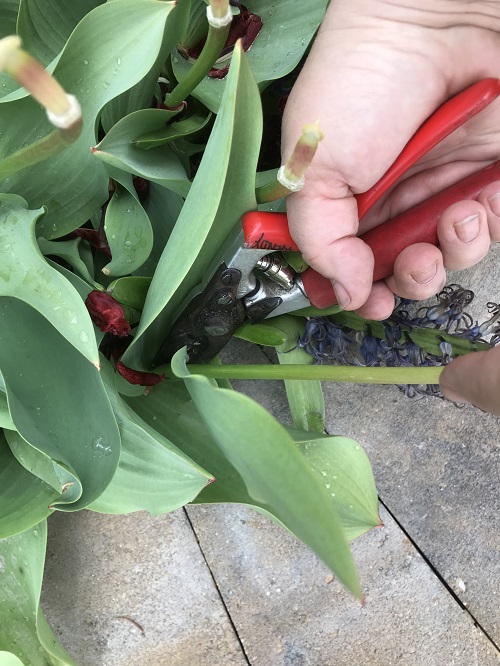
1. Deadheading
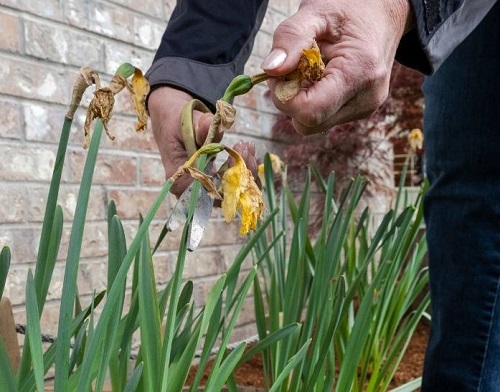
The first and foremost thing you should do is remove or snip off the dead flowers from the base with scissors before the seed heads appear. Make sure you do not damage the stems in the process.
Why is this done? Basically, it prevents the plant from investing its energy in seed production and instead focuses on growing roots, storing nutrients, and building strength for next year’s growth.
Note that the more nutrients the bulb contains, the easier it will be to flower for the upcoming year. Also, if you miss this deadheading phase, remove the seed heads. Simple!
2. Importance of Foliage
Halt, cease, desist if you are cutting the foliage! Do not cut the tulip leaves! After flowering, this green foliage is needed for photosynthesis, that is, to generate/store the energy for the seeds or bulbs.
If you cut the leaves, you are unknowingly starving the bulbs, which eventually leads to stunted growth.
Pro Tip: You only have to remove or trim the dead leaves when the foliage naturally fades (yellow or brown), which will take approximately 4-6 weeks.
3. Feed the Tulips if You Want to Keep Them!
As already stated, after blooming, the roots and leaves store the energy and nutrients for the bulb. Now is the ideal time to fertilize as it will help the tulips to a great extent.
You can go for any balanced feed or a blend that’s especially formulated for tulips. Just dilute it to 1/2 of its recommended strength and feed once in 5-7 weeks.
4. Bulb Care and Storage
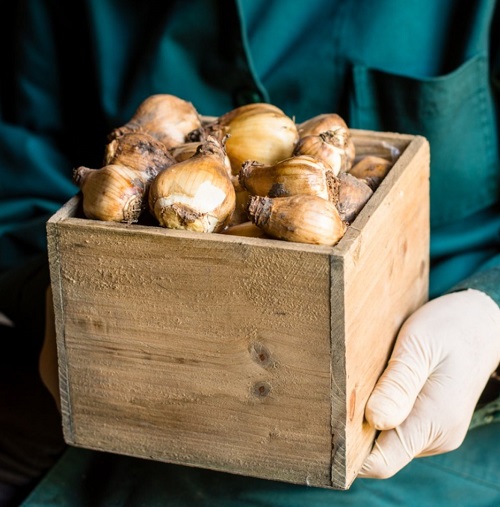
So, if you are thinking of digging up and storing the tulip bulbs, do this after the foliage dies, with the help of a garden fork, and gently remove the bulb from the soil.
Don’t forget to confirm whether it’s a healthy bulb and check for disease or damage—a bulb free from all the spots should be stored in a cool, dry place, packed in net bags at a temperature of 65°F to 68°F.
Pro Tip: At the time of planting, plant the bulb at the same depth as before while maintaining a space of at least 6 inches to ensure appropriate growth and blooming in the approaching season.
5. Some Essential Tips
Always ensure that the tulips need soils that prevent excess moisture retention, so the soil should be well-drained, acidic (slightly), and filled with organic matter.
Also, do not overwater the plant, particularly in summer. After spring, follow the thumb rule of keeping the soil relatively dry—it will extend the flowering time, i.e., delaying early blooming.