Follow the Best Gardening Tricks to Care for Hostas to keep them lush and thriving all year round! We have the best tips!
Do not miss these Best Gardening Tricks to Care for Hostas that will surely keep the plants at the best of their health!
Check out the best types of hostas
Best Gardening Tricks to Care for Hostas
1. Make Sure the Pot Has Drainage Holes at the Bottom
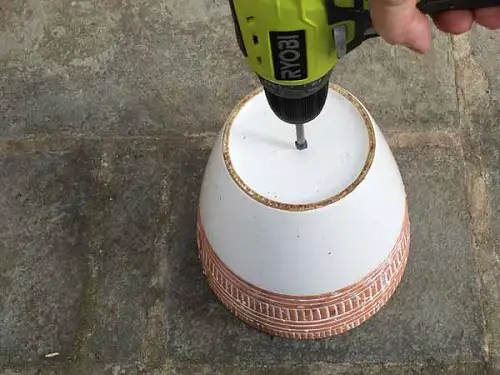
If you are planning to grow hostas in pots, then make sure it has a drainage hole at the bottom as it allows excess water to escape, preventing root rot and drowning of plants.
- It also helps reduce the risk of overwatering and encourages the correct watering of plants.
- It helps to aerate the soil, improving the plant’s root health and allowing more oxygen to reach the roots.
- By growing in pots it prevents soil compaction, allowing excess water to escape and allowing the soil to remain loose and nutrient-rich.
- It helps to regulate the temperature of the soil, allowing excess heat to escape and preventing root burn.
- Also, it helps to reduce the risk of mold, mildew, and fungus growth in the soil.
2. Plant Hostas with Shovel Method
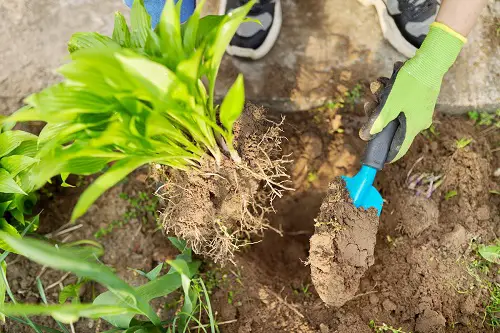
If you have a plant with roots attached to it, then a shovel method is best for planting it in the garden, as it allows you to do so without causing any harm to the rootball and the roots.
This method involves using a shovel to dig small holes in the ground that are the correct size and depth for planting the desired plants. The shovel is then used to scoop out enough dirt to make a small mound around the hole.
Once the mound is created, the desired plants are placed in the hole and covered with dirt from the mound. After the plants are covered, the excess dirt is gently tamped down to secure the plants in place. Finally, the area is watered to ensure the plants have enough moisture to take root.
3. Divide the Plants During Early Spring
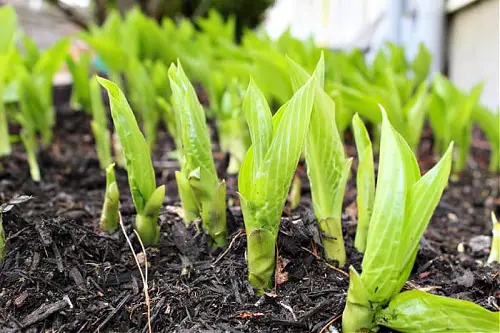
The best time to divide hosta plants is during early spring before they start to produce new growth. To divide hosta plants, carefully dig up the root clump and use a sharp knife or spade to separate the crowns.
Replant the sections in a new location or container with well-draining soil. Water the newly divided plants thoroughly.
4. Restore Dying Hostas in a Jar of Water
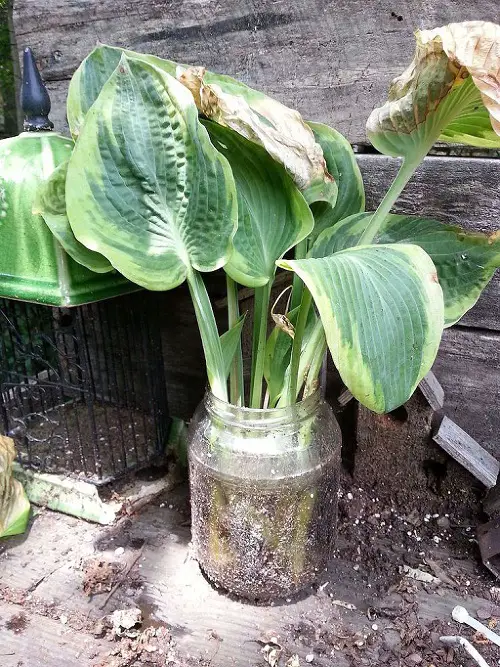
If you have broken one of the hosta leaves by mistake while separating the clump, then don’t panic and revive the dying hosta in a jar of water. Find the details here.
5. Move Hosta When they Become too Big
Divide and transplant hostas when they become too large in size. It is best to divide them between the spring or early summer when the air is still cool and the soil is moist.
Before dividing the hosta, water it thoroughly the day before. Use a sharp spade or knife to carefully divide the plant into smaller pieces, making sure each piece has at least one strong shoot.
Then, replant the divisions in a new area with well-draining soil and filtered sun. Water the newly transplanted hostas frequently until they are established.
6. Keep Slugs Away with Copper Mesh
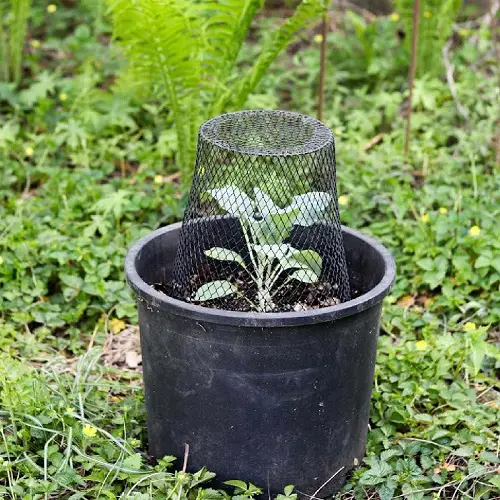
Place a layer of copper mesh around the top edge of your pot, making sure the mesh is flush against the edge of the pot. Secure the mesh with glue or staples – you can also use a layer of pebbles or gravel beneath the mesh to help keep it in place.
Make sure the copper mesh is in contact with the soil. Reapply the copper mesh every few months to ensure effectiveness.
The copper mesh will create an electric charge when it comes into contact with the slimy bodies of the slugs. The electric charge will repel the slugs, keeping them away from the plants.
7. Protect from Nibbling Critters
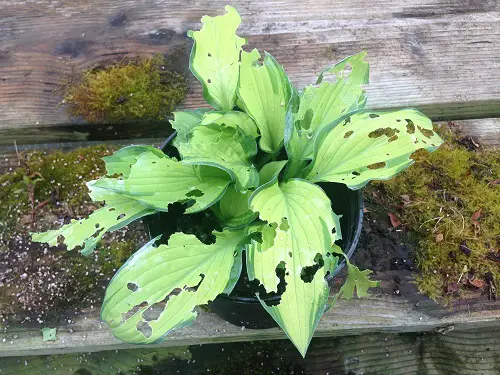
Install physical barriers such as chicken wire, hardware cloth, or metal mesh fencing around the plants. You can also spread a layer of mulch around the hostas to keep the soil moist and discourage critters from digging in the soil.
Sprinkle a few drops of hot sauce or cayenne pepper around your hosta plants to deter critters. Reapply the repellent every few days or after it rains.
8. Be Mindful of the Amount of Sunlight They Recieve

Hostas prefer a spot with morning sun and afternoon shade. They do best in dappled shade or partial shade in general. Avoid the full sun, as this can burn the leaves.
9. Do the After Fall Cleaning
Start by removing all of the dead leaves and branches from the plant. This will help to prevent any pests or diseases from overwintering in the plant.
10. Select The Right Variety
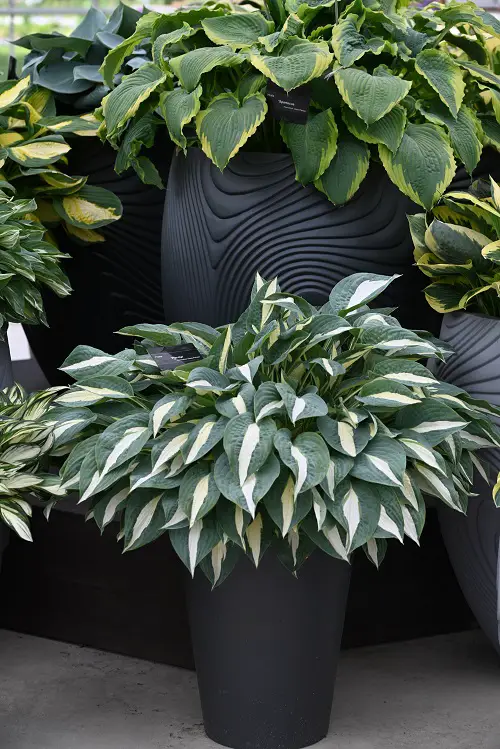
There are thousands of hostas to choose from, and picking the ones that do the best in the mix of sun and shade should be your pick for the garden.
Some of the most beautiful ones you can grow are -‘Sum and Substance’ Hosta, ‘Blue Angel’ Hosta, ‘Francee’ Hosta, ‘Sagae’ Hosta, ‘Krossa Regal’ Hosta, ‘Patriot’ Hosta, ‘Elegans’ Hosta, and ‘Great Expectations’ Hosta.
Learn How to Grow Hostas Indoors
11. Grow Them with Right Plants
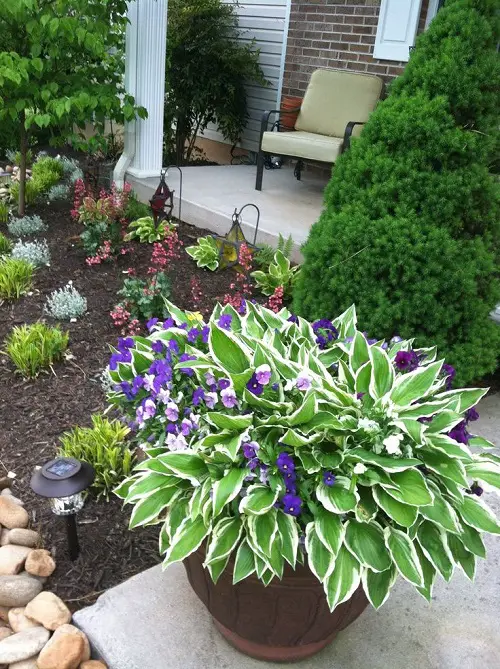
Hostas can be planted anywhere with other plants as companions in the same planter. Some of the best companion plants for hostas are – Ferns, Astilbe, Lamium, Liriope, Bleeding Hearts, Heuchera, Coral Bells, Foxgloves, Bugleweed, Sedges, Impatiens, Lungwort, Ajuga and Coleus.
12. Protect them From Extreme Temperatures
Hosta plants are sensitive to extreme temperatures and can suffer damage if exposed to them. If the temperature drops too low, the leaves can freeze, and the plant may die.
If the temperature gets too high, the leaves can become scorched, and the plant may die.
By protecting hosta plants from extreme temperatures, you can help ensure that they thrive and remain healthy.
13. Make Your Own Soil
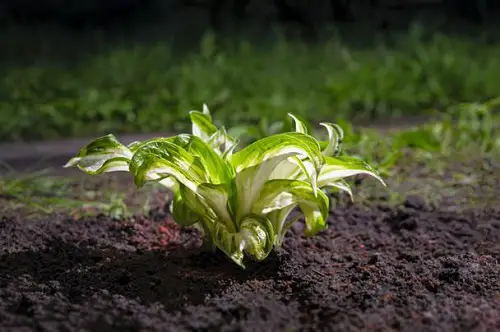
Instead of buying potting mix from a garden center, make your own. Following is the best blend for growing hostas:
- 1 part sandy loam soil
- 1 part peat moss
- 1 part compost
- 1 part coarse sand
- 1 part perlite
- 1/2 part rotted manure or leaf mold
14. Keep Hostas Safe from Deer
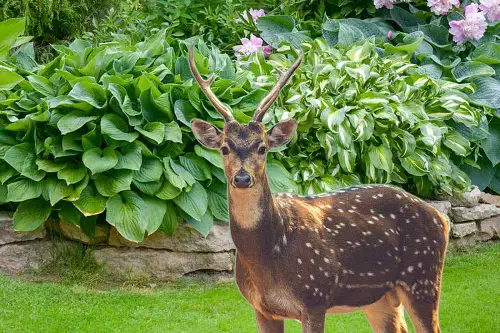
Deer are fond of eating hostas and using the following measures, you can keep your plants safe from them:
- Plant hostas in areas of your yard where deer don’t usually venture.
- Use deer repellents, such as those containing putrescent egg solids or garlic.
- Set up physical barriers, such as chicken wire fences or motion-activated sprinklers.
- Place netting or row covers over hostas to protect them from deer.
- Trim back nearby trees and shrubs to reduce deer browsing.
- Plant strong-scented plants near hostas to mask their scent.
- Hang bars of strongly scented soap near the hostas.
- Place human hair, fur, or other smelly materials around the hostas.
You can also plant deer-resistant hosta plant varieties like – ‘Blue Angel’ Hosta, ‘Elegans’ Hosta, ‘Patriot’ Hosta, ‘Sum and Substance’ Hosta, ‘Krossa Regal’ Hosta, ‘Sun Power’ Hosta, ‘Sagae’ Hosta and ‘Wide Brim’ Hosta.
Here are the Best Deer Resistant Plants You Can Grow
15. Keep Rabbits Away
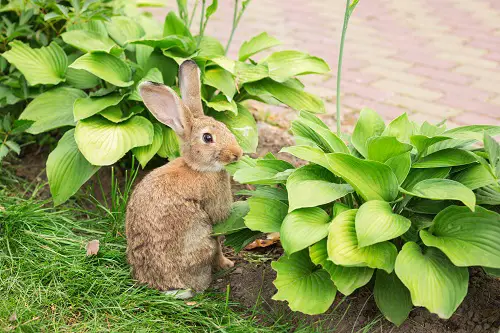
- Plant Rabbit-Resistant Plants: Plant varieties of hostas that are less attractive to rabbits, such as Hosta sieboldiana, Hosta fortunei, and Hosta undulata.
- Install Fencing: Install a fence around your hostas that is at least two feet tall. This will keep rabbits from jumping into the garden and eating the hostas.
- Use Repellents: Sprinkle a commercial rabbit repellent around your hostas. The smell of the repellent will keep the rabbits away.
- Use Motion-Activated Sprinklers: Install a motion-activated sprinkler spraying water when it senses movement. This will scare the rabbits and keep them away.
16. Use Compost as Hosta Food
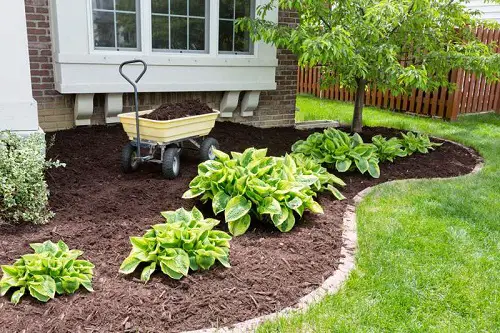
Adding compost to the soil is one of the best ways to ensure your hosta plants are healthy and vigorous. Compost not only provides essential nutrients for your plants, but it also helps improve the soil structure, which is important for good drainage and aeration.
Incorporating compost into your hosta bed also helps reduce the amount of fertilizer you need to apply. Compost is a natural, slow-release fertilizer that can provide your hosta plants with the nutrients they need to grow and thrive.
It is best to apply compost in the spring before new growth starts and then again in the fall after the hostas have finished blooming. Compost should be worked into the soil at least 4-6 inches deep to ensure the nutrients are available to the plant roots.
Avoid applying too much compost at once, as it can overwhelm the soil and cause nutrient imbalances.
17. Wipe Off the Foliage
Keeping the leaves of a plant clean prevents dust and other pollutants from interfering with the plant’s ability to photosynthesize. It also helps the plant to be more efficient in taking in light and carbon dioxide, which is necessary for the plant to produce energy.
Additionally, cleaning the leaves removes debris and pests, which can cause damage to the plant and even make it ill.
- Begin by gently brushing away any dirt or debris from the surface of the leaves with a soft, bristled brush.
- Moisten a soft, clean cloth with lukewarm water.
- Gently wipe the leaves of the hosta plant with a damp cloth, taking care not to scrub too hard or to cause any damage to the leaves.
- Dry the leaves with a clean, dry cloth.
- Repeat the process as necessary until all of the leaves are clean.
18. Add Mulch
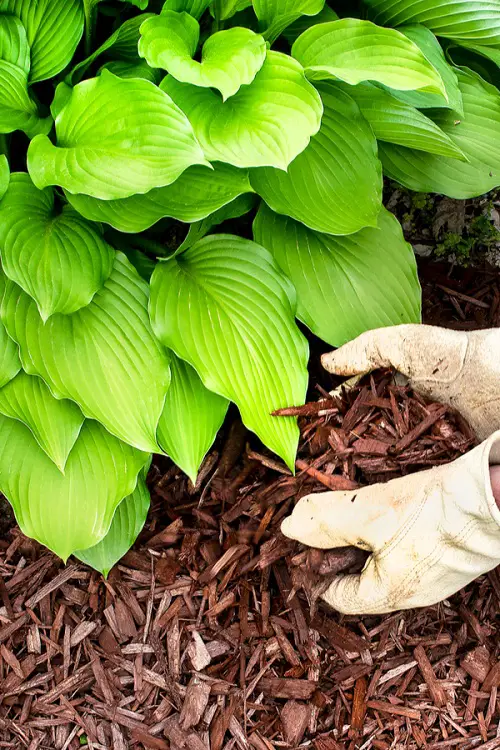
Adding mulch around hosta plants is a great idea because it helps retain moisture and keeps the soil temperature more consistent. The mulch also helps to keep down weeds, which can compete with hostas for space and nutrients.
Besides, the organic matter in the mulch gradually breaks down and adds nutrients to the soil, which helps the hostas to grow.


