
Discover the Simple Seed Germination Tips To Grow Every Seed for better growth and a more success rate while starting plants.
Not all seeds are created equal, and some can be tricky to germinate. Whether you’re a seasoned gardener or a novice, these Simple Seed Germination Tips To Grow Every Seed will help ensure that every seed you plant has the best chance of growing into a healthy, robust plant.
Find How Vinegar Improves Seed Germination
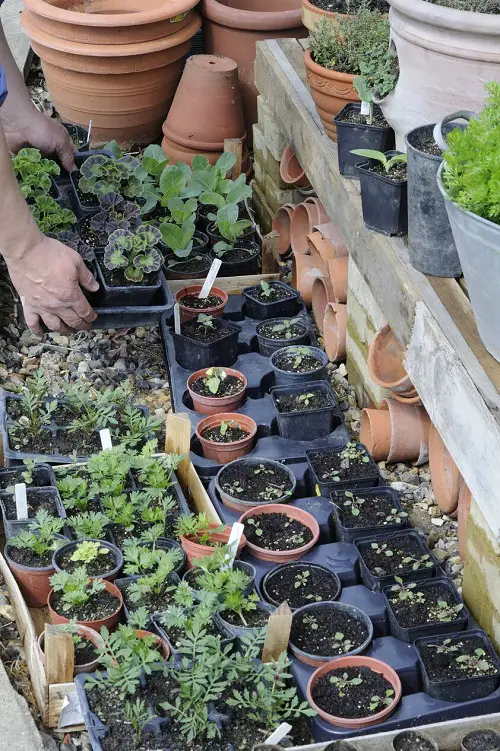
Seed Germination Tips
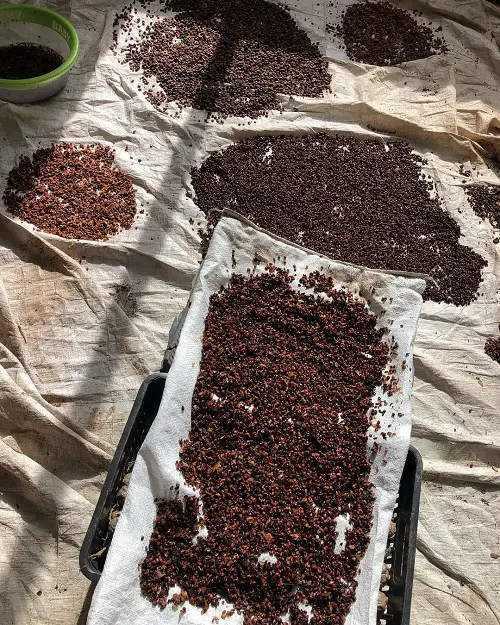
1. Quality Seeds
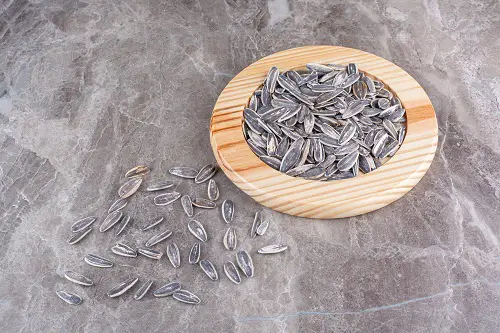
Make sure that the seeds you are sowing are fresh and of high quality. Old or low-quality seeds can significantly reduce the germination rate and result in unhealthy plants.
It is recommended that seeds be purchased from reputable suppliers. Also, check the expiry date before sowing.
Note: Starting with quality seeds can increase your chances of successful germination and grow healthy, robust plants.
2. Seed Germination Temperature
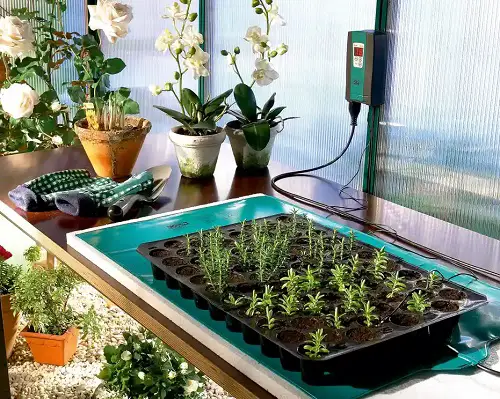
Different plants require different temperatures for germination. Generally, most seeds prefer temperatures between 65-75°F (17.22-23.89°C) for successful germination.
If you’re starting your seeds indoors, consider using a seedling heat mat to maintain a consistent temperature.
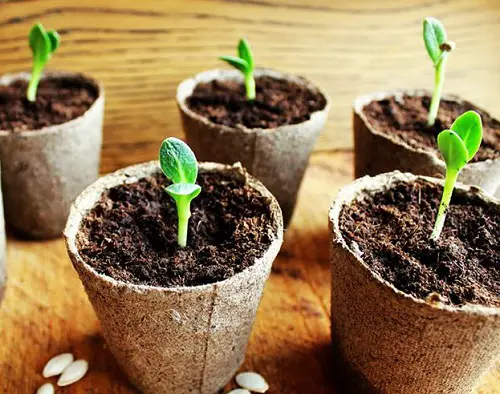
3. Plant at the Right Depth
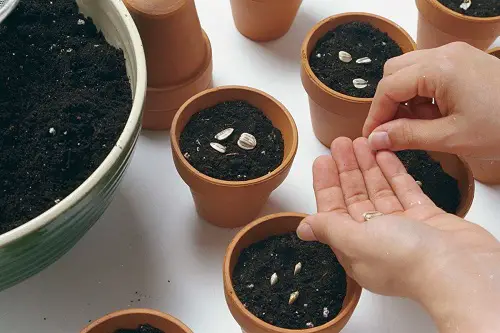
Planting seeds at the appropriate depth is crucial for successful germination. As a general rule, sow small seeds no more than 1/8 inch deep while planting larger seeds up to 1/2 inch deep.
Always read the seed packet for specific planting depth requirements.
4. Soil Moisture
Do remember seeds need consistent moisture to germinate successfully. Water your seeds regularly, but be careful not to overwater, which can lead to mold or rot.
Covering your seed trays or containers with plastic wrap or a humidity dome can help retain moisture and speed up germination.
5. Special Treatment
To improve their germination rate, it is worth noting that some seeds require special treatment before sowing. Pre-treatments like scarification, pre-chilling, or soaking can help to break down seed coatings or activate enzymes that help in germination.
However, not all seeds require pre-treatment. It is important to do your research before planting to determine if any pre-treatment is necessary.
Follow 16 Expert Tricks to Germinate Seeds Faster
6. Aeration Conditions
Oxygen is a vital requirement for every living cell, whether it’s a plant or an animal. During the process of imbibition, seeds absorb water and begin the germination process. It requires oxygen for respiration. This process enables the embryo to derive energy from the stored food.
However, it is crucial to note that excess water in the soil can limit the access of the seeds to adequate oxygen. Therefore, it’s essential to maintain even moisture levels in the soil to ensure proper germination by not letting the soil become too wet.
7. Adequate Light
Light is an essential element of seed germination. Most seeds require a minimum of 6-8 hours of sunlight per day to germinate.
If you’re starting your seeds indoors, place them near a south-facing window or use grow lights to provide adequate light.
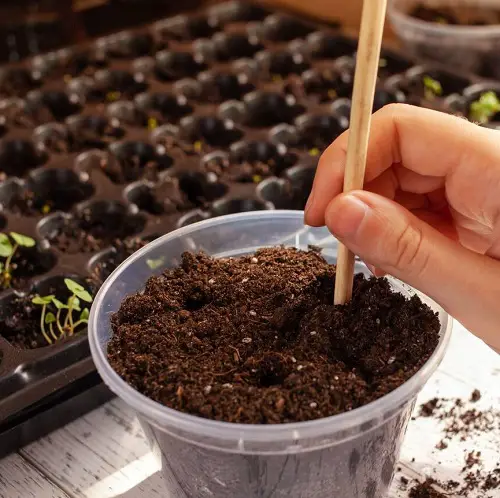
8. Choose the Right Soil
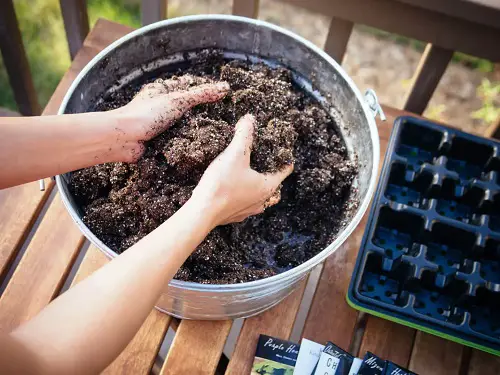
The ideal soil for seed germination should be loose, well-draining, and nutrient-rich. It is also important to ensure that the soil pH is within the appropriate range for the plants you’re growing.
You can test the pH of your soil using a simple soil testing kit available at most gardening centers. You can also perform the test at home with this method.
9. Mild Fertilizing
When starting seedlings, they will initially rely on the nutrients stored in the seed itself. They won’t require additional fertilizer until they start to develop their first set of true leaves. At that point, the seedlings will require a small amount of fertilizer to help support healthy growth.
- Use a liquid fertilizer with an N-P-K ratio of 10-10-10. Dissolve 1 teaspoon of fertilizer in 1 gallon of water.
- Water the seedlings with plain water. Make sure the soil is evenly moist throughout.
- Pour the fertilizer solution over the seedling. Avoid getting it on the plant’s leaves or stem.
- Water with plain water again. This will help to rinse off any fertilizer that may have been applied too heavily.
- Repeat this process every 3 weeks.
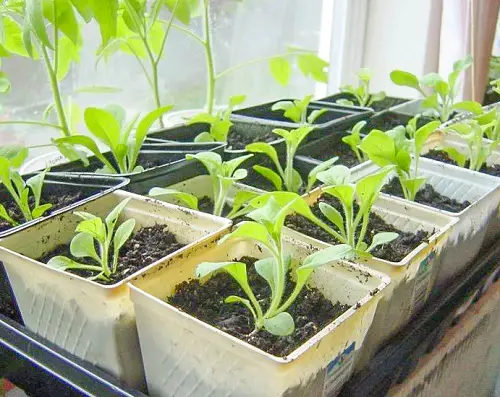
10. Hardening Off Seedlings
When you’re ready to transplant your seedlings outdoors, it’s important to “harden them off” first. This process involves gradually acclimating the seedlings to outdoor conditions over several days.
Hardening helps the seedlings adjust to the stress of outdoor conditions and prepares them for the shock of transplanting.
Start by placing the seedlings outdoors for a few hours each day in a sheltered location, such as a porch or under a tree. Gradually increase the amount of time they spend outside over several days, exposing them to increasing amounts of sunlight, wind, and temperature fluctuations.
TIP: Be sure to bring them indoors at night and protect them from any extreme weather conditions.
11. Bottom Heat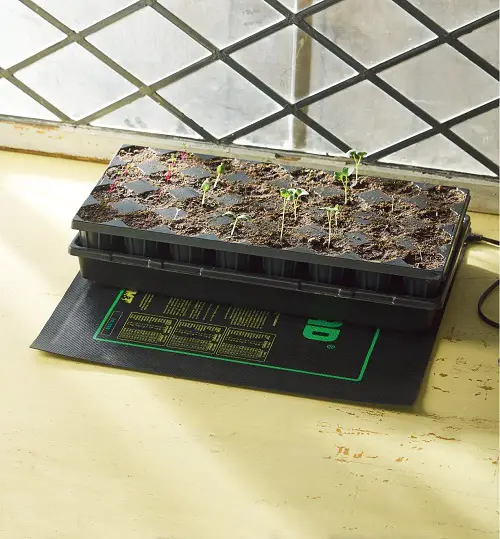
Many seeds, such as peppers and tomatoes, require warm soil to germinate properly. Using a seedling heat mat can provide bottom heat and speed up germination. Seedling heat mats are specially designed to maintain a consistent temperature range, typically between 70 and 80°F (21-27°C), which is ideal for seed germination.
When using a seedling heat mat, it’s important to follow the manufacturer’s instructions carefully to avoid overheating the soil or damaging the seeds. Place the heat mat on a flat, stable surface and plug it in, then place the seed tray on top of it.
12. Mulch the Soil 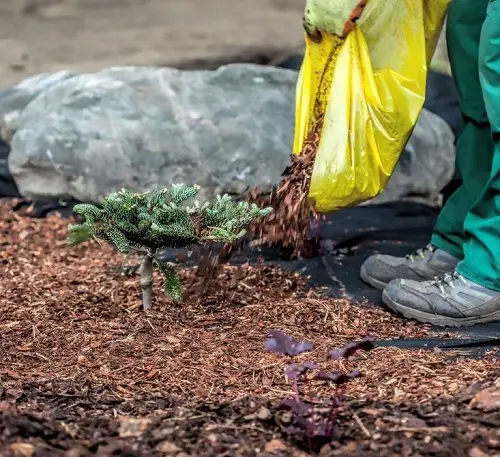
By adding a layer of organic mulch to the soil can help retain moisture, regulate soil temperature, and prevent weeds from growing around seedlings. Organic mulches, such as straw or shredded leaves, also break down over time and add valuable nutrients to the soil.
Mulch should be applied to a depth of 2-4 inches (5-10 cm), depending on the type of mulch and the climate. In dry climates, a thicker layer of mulch can help keep moisture in the soil and prevent it from drying out too quickly.