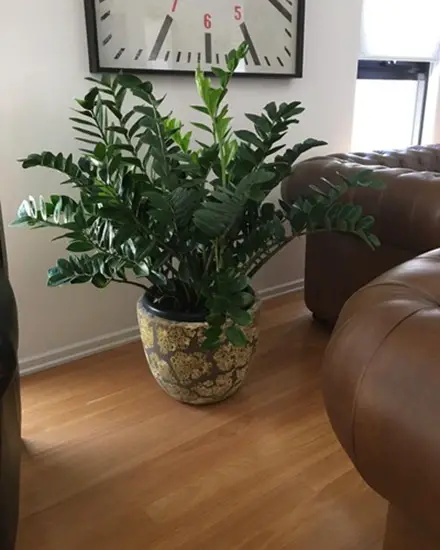
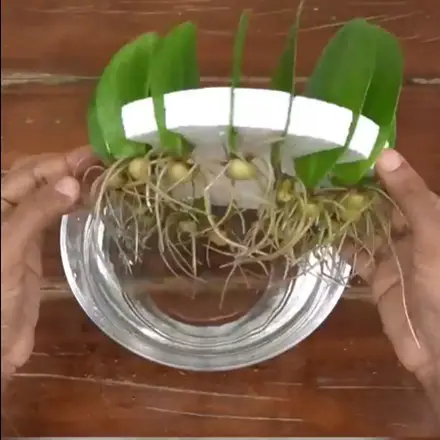
Discover the Easiest Way To Multiply And Make Unlimited ZZ Plants so you can have more of these in your home!
Do you love Zz Plant and want a whole jungle of these tough, low-maintenance succulents? We have the secret to effortlessly multiply it from one to many. You’ll be amazed at how easy it is to grow a ZZ Plant army this way!
Easiest Way To Multiply And Make Unlimited ZZ Plants
1. Pick the Perfect Leaves
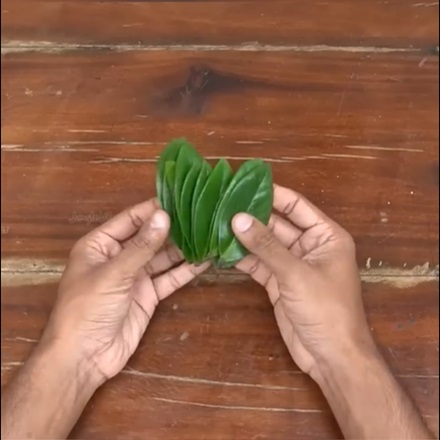
A good start will determine how many ZZ plants you get, so always start by choosing the best leaves from your ZZ plant. How do we define “best?” Go for rich green, glossy, and fully mature leaves—skip anything broken, dull, or yellowing.
Healthy leaves contain more stored energy, which is crucial for root and rhizome development. Once you have identified the leaves, it’s time to cut them.
Harvest the leaves from the parent ZZ plant early in the morning when it is naturally hydrated. This will reduce stress on both the mother plant and the leaf cuttings.
When cutting the leaf stalk, aim for a clean, slanted cut to get a big petiole for root formation. All you need is a sharp knife or scissors. Pretty easy, right?
Pro Tip: Harvesting leaves in the morning can minimize stress, but it’s not strictly necessary. Basically, you have to choose a time when the plant is not under stress from heat or direct sunlight.
2. Build a Support System Using Styrofoam Disc
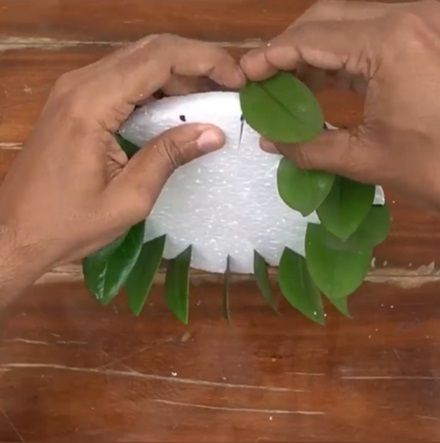
The support system is the essential part of this propagation hack. Just take a styrofoam disc and cut small slits around its edges. Then, gently insert the petioles of the ZZ plant leaves into these slits while ensuring the leaves stay upright.
Once you’re done, it will look like the image above. The styrofoam setup helps keep the leaves stable and prevents them from touching the water directly. If you don’t have styrofoam, you can use a plastic lid–just ensure the material is waterproof.
3. Use a Water Bowl
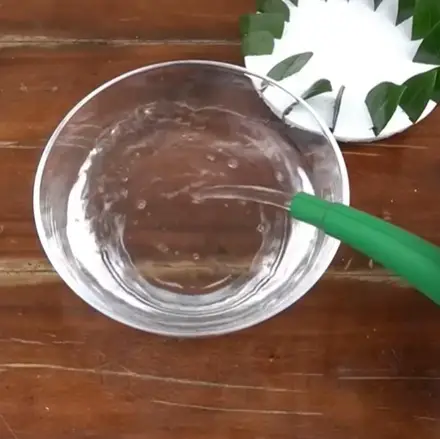 Then comes the part of the water bowl. Choose a bowl wide enough to balance the disk on its rim so the cut ends can be submerged with the leaves remaining dry. Glass bowls are a good choice as you can see the roots growing and monitor the health.
Change the water every 5-7 days, and pay attention to the kind of water you’re using. Handle the styrofoam disc very carefully to avoid disturbing the leaves!
Filtered or distilled water is a good option, but tap water should be avoided as it contains high chlorine levels. If you still want to use it, let it sit for 24 hours before use to allow chlorine to dissipate.
Pro Tip: You can add a pinch of cinnamon powder to the water. This natural antifungal agent will help keep the cuttings disease-free.
4. Monitor Root and Rhizomes
We know you’d be checking your bowl again and again to see progress, but be patient (ZZ plants are slow growers) and don’t disturb the setup. Just keep it in a spot with bright, indirect sunlight.
In about 4-8 weeks, you’ll notice small roots forming at the base of the leaf stalks, followed by rhizomes (bulb-like structures), which can take another 4 weeks. These rhizomes are the ZZ plant’s secret powerhouse—they store energy for future growth! That means we’re almost done!
5. Transplant the ZZ Plant Rhizomes
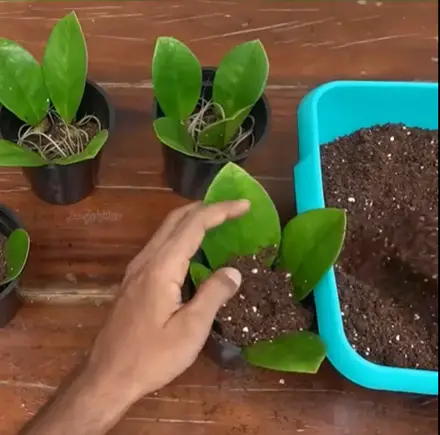
Carefully transfer the cuttings to pots once the roots are about an inch long and the rhizomes are visible.
Place them in small pots filled with a well-draining soil mix. You can create your own by mixing equal parts perlite, peat moss, and potting mix. Just put this mix into the pot, then make a hole with your finger, plant your ZZ there, and finally cover the rhizomes with the mix.
Remember to expose the leaf bases and sprinkle a thin layer of activated charcoal at the bottom of the pot before adding soil (Here’s how to use it properly). The charcoal will improve drainage and prevent fungal growth.
6. And Wait!
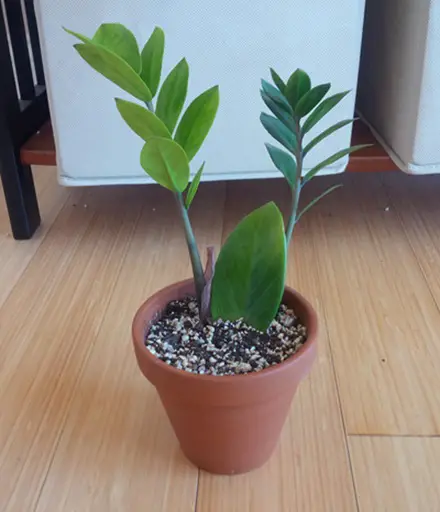
Water lightly after planting, and make sure the pots have drainage holes to prevent waterlogging. Then, it’s all about the care, and wait until your Zz plant turns bigger! Here’s what to do if you run into any problems.
With these few easy steps, you can get unlimited ZZ plants! You can place them in new locations around your home or share them with your gardening buddies.


