
Perk up your wilted plants with our guide on How to Revive Hydrangeas Again for a blooming garden all season long!
Do you know How to Revive Hydrangeas Again? Don’t worry; with a little love and care, you can add a new life to these beautiful blooms and have them thriving in no time!
How to Revive Hydrangeas Again?
1. Reviving Drooping Hydrangeas
If you find your hydrangeas drooping, here are the common culprits–not enough water, too much of the sun, excessive fertilizer, or because the soil is draining too quickly.
All of these can be managed by giving them enough water. Give your flowers a generous watering once a week and feed them a bit of compost. You should also apply an inch-thick layer of mulch around the base of the plant.
2. Reviving Sun-Burnt Hydrangeas
Full sun for more than six hours can scorch the leaves and dry out the soil, leading to wilted leaves and flowers. So, to help it recover, you should consider moving it to a spot with more shade or providing some sort of sun protection.
For starters, trim away any badly affected shoots to stimulate new growth, and keep it in a spot that gets bright and indirect light for most of the day. Your hydrangea should be back to normal in no time!
3. Reviving Hydrangeas Dying Due to Excess Fertilizing
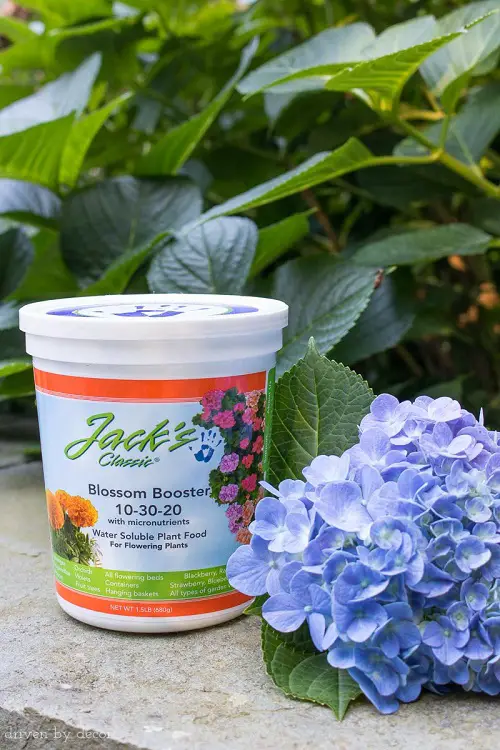
Over-fertilizing your hydrangeas can cause root burn, which causes the plant to droop, turn brown, and eventually die. We don’t want that, do we?
A balanced fertilizer like 10-10-10 or 14-14-14 is great for hydrangeas. These ratios provide a good balance of nutrients to support plant health and flower production. Hydrangeas benefit from fertilization in early spring before new growth emerges.
If your hydrangeas show signs of nutrient deficiency or slower growth, you can give them a second application in late spring or early summer.
4. Reviving Hydrangeas with Root Rot
Root rot symptoms in hydrangeas include the leaves turning brown or yellow with a wilted appearance and dark-colored roots with a soft texture. If you notice any of these, you have to take care of root rot.
To prevent root rot, use a well-draining growing medium and water only when the topsoil feels dry to the touch. You have to find the perfect watering balance so the soil doesn’t remain dry but is not waterlogged.
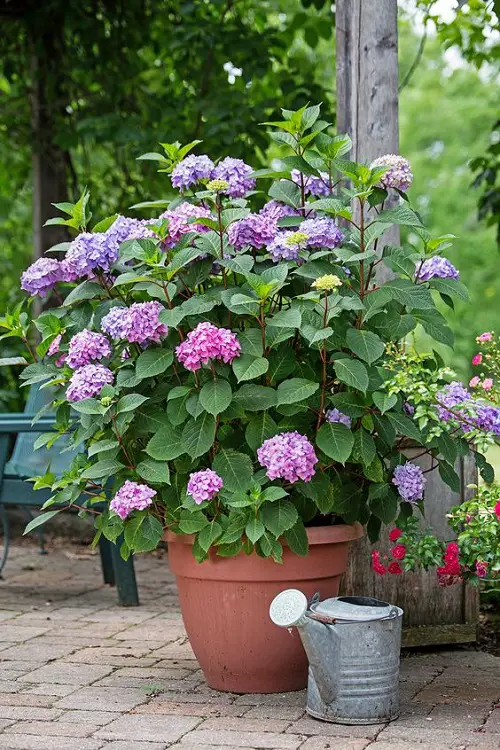
5. Reviving Hydrangeas Dying in Small Pots
Small pots tend to dry out quickly, causing drought. This is because they heat up quickly in the sun and have less soil capacity to retain moisture.
To take care of this, give it a suitable pot. Hydrangeas can vary in size depending on the specific variety. Still, a general guideline is to provide a pot at least 12-14 inches in diameter and depth (for sufficient root development and ample plant growth space).
6. Reviving Frost-Damaged Hydrangeas
If your hydrangea leaves and flowers have turned black or brown overnight, it’s probably due to frost damage.
To revive frost-damaged hydrangeas, carefully prune back any significantly damaged growth using a pair of pruners, avoiding cutting back into the wood. This will promote new healthy growth over the summer.
Bonus – Taking Care of Newly Planted Hydrangeas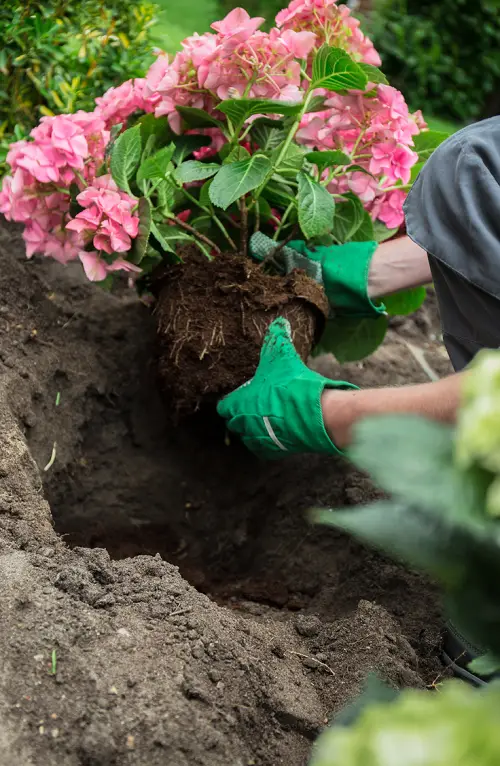
After establishing themselves, hydrangeas generally exhibit hardiness, but during their first season, they are more susceptible to death as they adjust to their new environment.
It is best to plant hydrangeas in the Spring or Fall, so they have enough time to adapt to the soil before the intense heat of summer. However, if you’ve already planted one and it’s struggling due to the heat, don’t worry! You can shade it with an umbrella or cloth and water it frequently to help it cope.
Another helpful tip is to apply a 1-2 inches layer of mulch to retain moisture.