Everything About Growing Plumeria in Pots

Raul Cornelius is a Senior Editor at BalconyGardenWeb and an expert in flower and herb cultivation based in Phoenix, Arizona. A frequent speaker at horticultural events, he is also an active contributor to Facebook flower groups. Holding an MBA and a BCom, Raul blends his gardening skills with strong leadership and analytical abilities. Passionate about writing and photography, he enjoys early mornings with coffee and books, and nature bike rides during weekends.
Learn About Our Editorial Policy

2-Minute Read

Growing Plumeria in Pots is a best way to enjoy its spectacular show of fragrant flowers in a small space like a balcony or patio.

Growing Plumeria in Pots 1
redd.it

Growing Plumeria in Pots is a great way to disperse its captivating floral scent that is often compared to a combination of jasmine, gardenia, and tuberose. Keep on reading to know about how to cultivate it easily!

Learn How to Grow Azaleas in Pots here


Plumeria Plant Information
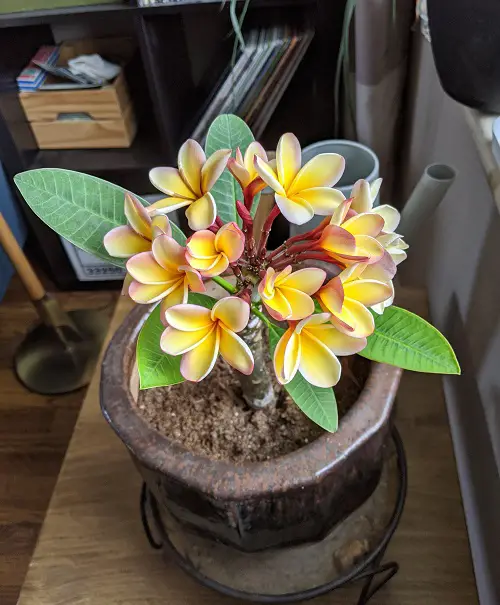
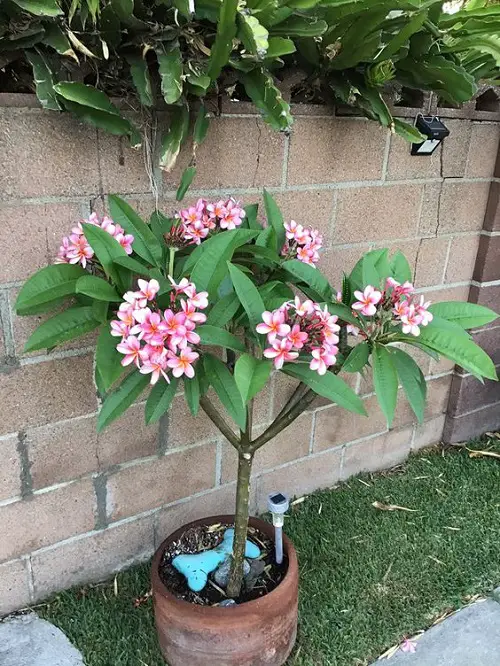
Plumeria, also popular as frangipani, is a captivating tropical plant celebrated for its stunning and fragrant flowers. Native to Central America, Mexico, and the Caribbean, plumeria has become popular worldwide for its beauty and versatility.

With its thick, succulent branches and glossy green leaves, plumeria adds an exotic touch to gardens and landscapes. The flowers, which bloom in a variety of colors, including shades of white, yellow, pink, and red, are characterized by their waxy texture and delightful fragrance.

Whether grown in pots or planted in the ground, plumeria thrives in warm climates and requires well-draining soil and ample sunlight to flourish. With proper care and attention, plumeria can reward gardeners with its enchanting blooms and bring a touch of tropical paradise to any setting.

Read about Red Peace Lily Plant Information here


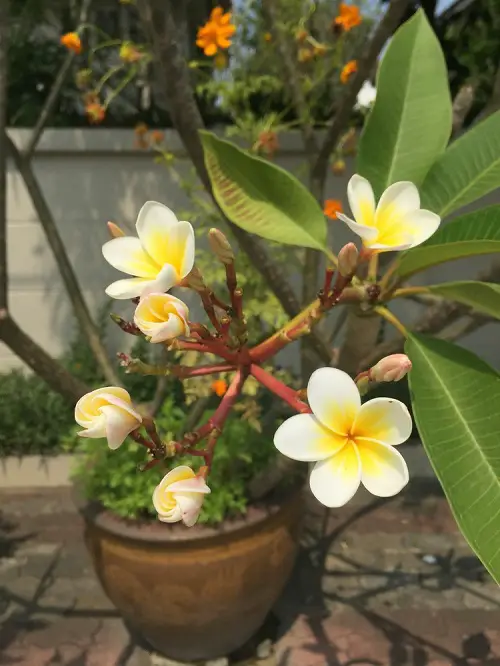
Best Pot Size for Growing Plumeria in Containers
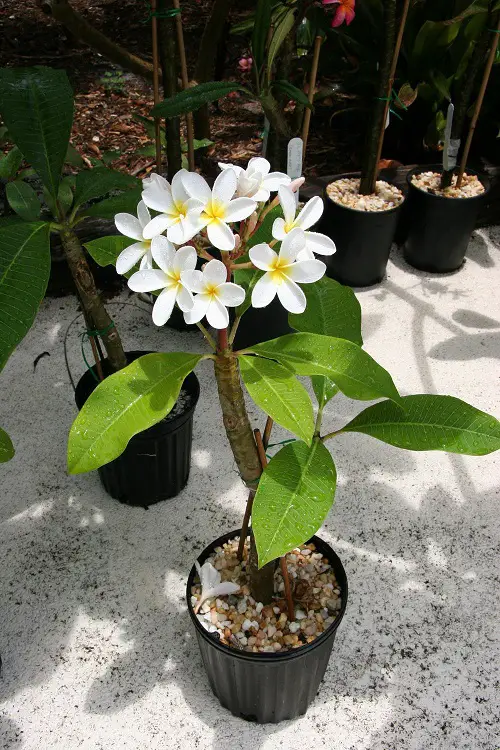
You can start the plant in an 8-10 inches pot, which will be good for a few initial years. After that, depending on the growth and spread, keep on re-potting it every 2-3 years in a one-size bigger container than the old one.

Here are Plant Pot Sizes from Inches to Gallon


How Big Do Plumeria Get in Pots?

In pots, plumeria plants typically reach heights between 4 and 8 feet (1.2 to 2.4 meters). The height can be controlled to some extent by pruning and shaping the plant.

The spread or width of plumeria plants in pots is influenced by their growth habit and how they are pruned. Typically, the spread can range from 3 to 6 feet (0.9 to 1.8 meters), but some varieties with wide branching patterns can exceed this range. Regular pruning can help maintain a compact shape and control the spread.

Look out for these Top 8 Mistakes to Avoid When Repotting Houseplants


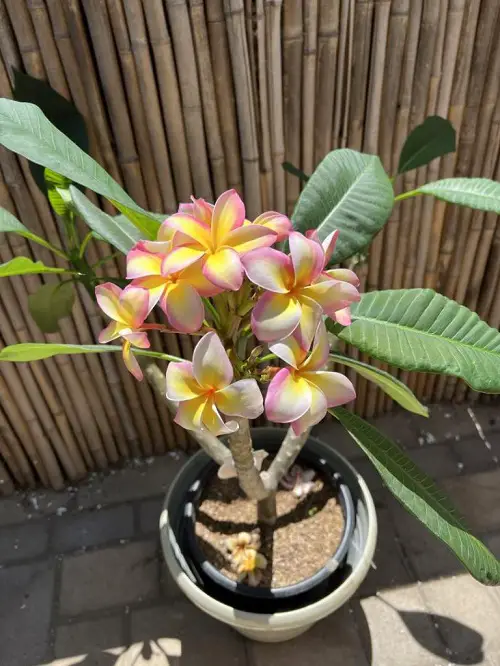
Best Plumeria Varieties for Pots

Growing Plumeria in Pots 2

Opting for compact and dwarf specimens is recommended as they are more manageable in size. Consider these excellent options that are well-suited for container cultivation.

  • Plumeria rubra ‘Dwarf Watermelon’: This variety, commonly referred to as “Dwarf Cherry Clusters,” showcases an abundance of vibrant pink flowers.
  • Plumeria rubra ‘Penang Peach’: This particular type remains compact in size and showcases charming white flowers adorned with delicate yellow centers.
  • Plumeria obtusa ‘Dwarf Pink Singapore’: With its diminutive size, this variety presents delightful white flowers with delicate pink edges, capable of blooming throughout the year.
  • Plumeria rubra ‘Thailand Red’: This variety’s exceptionally compact form makes it an ideal choice for containers, while its abundant yellow-pink blooms add a burst of color.

Propagating Plumeria in Pots
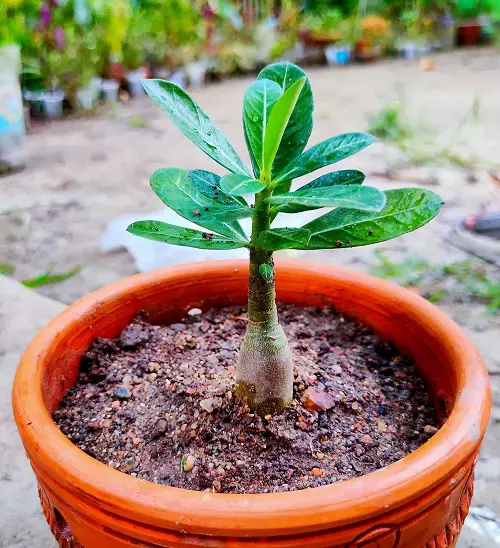
From Cuttings

  • Choose a mature and healthy plumeria plant from which you can take stem cuttings. Ensure that the parent plant is disease-free and has a good track record of blooming.
  • Using a sharp, sterile knife or pruning shears, take a stem cutting from the parent plant. The cutting should be around 8-12 inches long and have at least 2 to 3 nodes.
  • Place the cutting in a dry and shaded area for a few days to allow the cut end to callus over. This helps prevent rotting when the cutting is planted.
  • While the cutting is drying, prepare a well-draining potting mix for your plumeria.
  • Once the cutting has callused, you can plant it in a pot.
  • After planting the cutting, water the pot thoroughly to settle the soil and provide initial moisture to the cutting.
  • Place the potted cutting in a warm and bright location that gets indirect light.
  • Over the next few weeks, the cutting will develop roots.

From Seeds

  • Harvest the seeds from the pod once they are fully dry and the pods have opened.
  • Prepare a seed-starting mix consisting of well-draining soil or a blend of peat moss and perlite. Fill small pots or seed trays with the seed-starting mix and moisten it lightly.
  • Place the Plumeria seeds on the surface of the soil, spacing them a few inches apart. Gently press the seeds into the soil to ensure good contact. Do not bury the seeds too deep as they require light to germinate.
  • Cover the pots or trays with a clear plastic dome or place them inside a plastic bag to create a humid environment that promotes germination.
  • Mist the soil surface regularly to keep it lightly moist but avoid overwatering, as excessive moisture can lead to rotting. The seeds will germinate in a few weeks.

Propagate Any Plant Cutting Quickly Using this Trick


Requirements for Growing Plumeria in PotsGrowing Plumeria in Pots 3

Location

Plumeria thrives in bright, indirect sunlight and benefits from a minimum of 6 hours of full sun exposure. For potted plumeria, choose a location that stays brightly lit for the most part of the day. Avoid keeping the pot in the shade, as it will result in little to no flowers.

Soil

The optimal potting medium should be slightly acidic and well-draining. A sandy commercial mix can be a suitable choice. Alternatively, you can create your own mix by combining equal parts of regular potting soil, pumice or perlite, and coarse sand.

Look out for these 9 Signs that Show Your Soil is Bad & You Should Discard It

Water

It is advisable to wait until the top 2-3 inches of soil have dried out before providing a slow and deep watering. Ensure that any excess water drains out completely from the bottom of the container, avoiding prolonged soaking.

Here are the best ways to water plants

Temperature and Humidity

Plumeria plants prefer daytime temperatures between 70°F and 90°F (21°C and 32°C) for optimal growth. They can tolerate temperatures as low as 50°F (10°C) but protect them from frost or freezing temperatures, which can severely damage or kill the plant.

These flowers generally prefer moderate to high humidity levels, ranging from 50% to 70%. In regions with low humidity, you can increase humidity around the plant by misting the leaves regularly or using a humidifier.

Here are 10 Ways To Increase Humidity For Houseplants That Work


Plumeria Care in Pots

garden.org

Fertilizer

Opting for a high-phosphorus liquid flowering plant food is an excellent choice. The NPK ratio of 10-30-10 is highly effective. Feed with a 1/4 or 1/2 dose once in 6-8 weeks for a boost in growth and flowers.

If you want to feed the plant with a balanced liquid fertlizer, you can go ahead with that without any worried. Just dilute it to 1/2 of its strength, and use it once in 7-8 weeks.

Alternatively, you can also go for 10-30-10 or 10-30-20 blends.

Check out these amazing DIY Dandelion Fertilizer Recipes

Pruning

The best time to prune plumerias is in late winter or early spring before new growth emerges. Pruning during this dormant period allows the plant to recover and redirect energy to new growth and flowering.

Use clean and sharp pruning shears or a pruning saw to make clean cuts. Sterilize your tools with rubbing alcohol or a diluted bleach solution before pruning to minimize the risk of spreading diseases.

Start by removing any dead, diseased, or damaged branches. Make clean cuts at the base of the branch or just above a healthy bud or branch junction. Removing these branches helps improve the plant’s overall appearance and prevents the spread of diseases.

Pests and Diseases

Common pests that may affect plumerias include aphids, mealybugs, spider mites, and scale insects. To control these pests, regularly inspect the plant for signs of infestation, remove affected parts, and consider using insecticidal soaps or horticultural oils as directed.

To keep it safe from diseases, avoid overwatering, make sure it gets proper air circulation, and avoid wetting the foliage.

Click here to learn the Amazing Natural Pesticide Recipe that can Kill any Pest

Recent Posts

Join our 3 Million Followers:

2.6MFollowers
300kFans
69kSubscribers

Related Articles

LEAVE A REPLY

Please enter your comment!
Please enter your name here