Grow Garlic in Disposable Coffee Cups and say goodbye to the store-bought garlic! Learn this simple and sustainable hack.
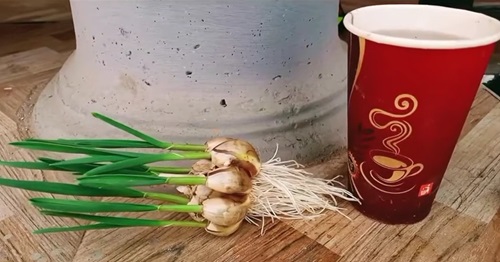
Growing garlic greens at home is very simple; it doesn’t require a garden plot or fancy containers! Instead, you can easily grow garlic in disposable coffee cups for its edible greens and transplant them in grocery bags for a homegrown harvest of garlic bulbs!
Grow Garlic in Disposable Coffee Cups
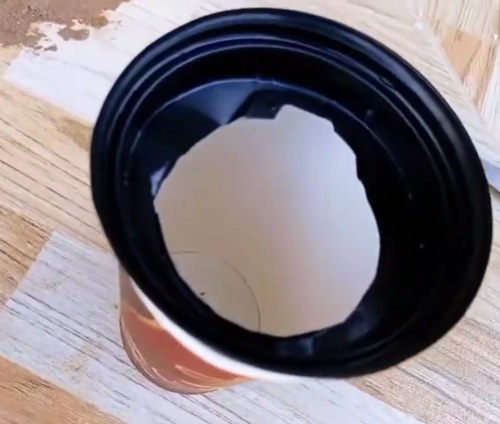
1. Make a Hole on the Lid
To get started, gather a few disposable coffee cups. Use a pair of scissors to cut a hole in the cap. Make sure this hole on the lid can hold the garlic bulb and prevent it from slipping inside in the water.
2. Select Your Garlic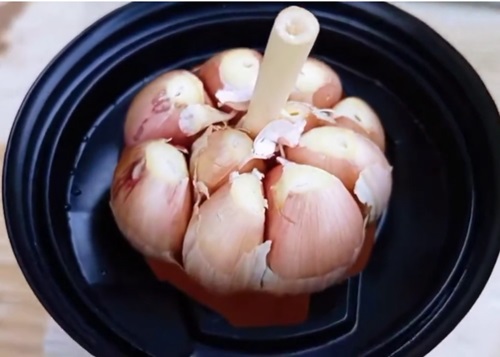
Pick a fresh and healthy garlic bulb with firm cloves and check for signs of disease. Next, gently remove the loose and extra-papery skin from each clove, keeping the primary protective layer intact.
This skin will help the clove retain moisture when it begins to sprout. Finally, adjust the garlic in the lid hole with the pointed side up, and the root ends facing down.
Pro Tip: Trim off the tips of the cloves on top slightly to promote faster shoot development.
3. Fill Water in the Mug
Pour clean, chlorine-free water into the cups to the level where the water starts touching the root end of the bulb. The level of water is essential to ensure root and shoot development while preventing the garlic from rotting.
Pro Tip: For improved results, change the water regularly every 3-4 days. If the water turns cloudy, change it immediately!
4. Root Development

If you maintain proper light conditions and regularly change water, your garlic will flourish with delicate new roots within 10 days. However, you still have to wait for the roots to develop more!
Pro Tip: Try placing the cups in a bright space and ensure enough indirect light. You can keep them near a kitchen windowsill or any other well-lit spot in your home.
5. Emerging Shoots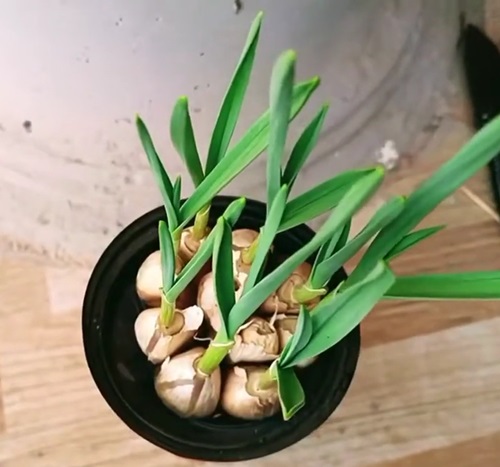
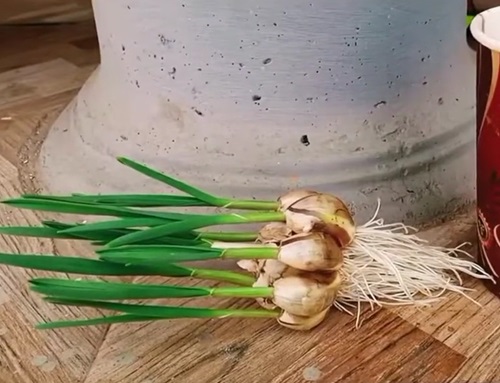
After 12-14 days, the lush green shoots will grow (4-6 inches) 10-15 cm in height, and the roots will be mature enough to be transplanted into the soil. These healthy shoots are a good sign that your garlic is growing well.
If you are growing garlic only for the greens then continue growing that in water. But if you want to harvest bulbs, then it’ll need to be translated into soil; for that, check out the steps below!
Steps for Transplanting to Soil
6. Take out Garlic from Water
Take the garlic out of the cup and check its long, healthy roots and shoots. Then, gently separate the cloves from one another and keep them aside while you prepare the soil.
7. Prepare the Grocery Bag
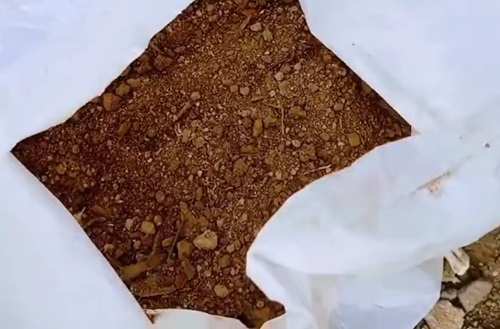
Prepare a well-draining soil mix capable of retaining moisture to help your garlic cloves form great-quality bulbs.
The soil must be loamy and fertile, so to prepare your own potting mix, use 40% loam, 20% compost, 20% cocopeat or peat moss, 10% sand, and 10% perlite or pumice.
Fill the bags with this soil up to 10 inches (25 cm).
8. Plant Cloves Separately
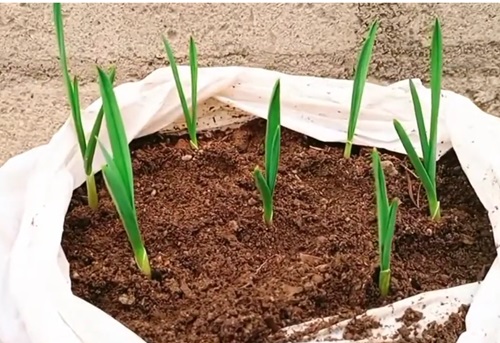
Be gentle in this step. Carefully plant each clove 1-2 inches deep and 4-5 inches apart. Poke your finger to make some holes to place the cloves upright with the pointed side up and cover them with soil. Press gently around each clove to make sure all are planted nicely.
Your garlic garden will be ready for delightful homegrown and organic garlic harvests after 6-8 months. After planting, sprinkle or spray water lightly and place them in a bright spot where they receive at least 6 hours of direct sunlight daily.
Tip: Check on your garlic regularly, maintain a proper watering routine, and avoid factors like overwatering.


