
Do you dispose the side shoots of your plants? Don’t Throw! Propagate Tomato Suckers & Make More Tomato Plants!
Most gardeners snip away the side shoots of the vegetable as they suck out the important nutrients from the plant. Although, it is not the case with tomatoes. But what to do with them? Don’t Throw! Propagate Tomato Suckers & Make More Tomato Plants.
Want to grow tomatoes from slices? Click here
What are Tomato Suckers?
Suckers are the side shoots that sprout from the point where the branches meet the main stem, botanically termed as ‘axil’ of the plant. If they are left on the plant, the yield gets affected as the nutrient is divided. So it is a wiser option to snip them away and clone more varieties for free.
Learn how to grow tomatoes from tomato slices here
Don’t Throw! Propagate Tomato Suckers & Make More Tomato Plants
1. Identify the Suckers
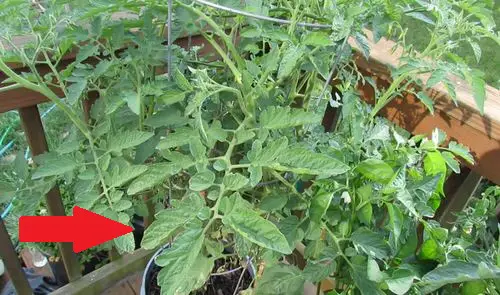
You can easily identify the suckers as shown in the picture. These are small shoots that emerge from the joint, joint where the leaves meet the stem.
Learn how to grow unlimited tomatoes from cuttings here
2. Pick the Ones with the Most Growth
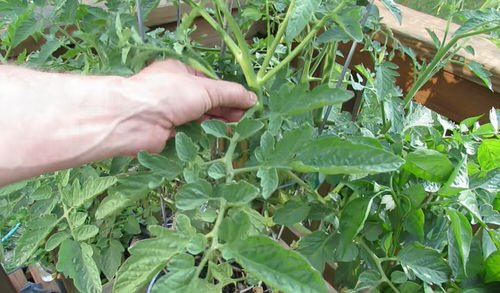
Pick the ones that have grown to about 4-6 inches. Consider getting suckers from indeterminate tomato varieties, as they carry higher chances of successful propagation.
On the other hand, suckers taken from determinate varieties will not fruit if the plant has already served a seasonal harvest.
Want sweeter tomatoes? Click here
3. Snip Using a Shear
Once you have spotted the healthy suckers, snip them off using a sharp, sanitized spear. You can also pluck them with your hands but using a garden tool will ensure you don’t end up hurting the plant.
Learn the top secrets of growing tomatoes in containers here
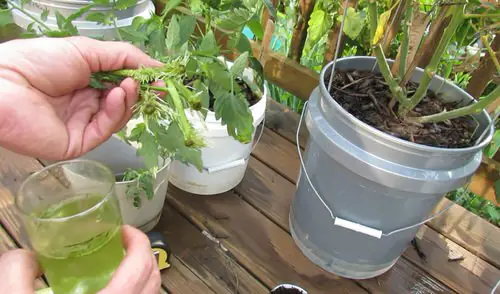
4. Put them in a Glass of Water for 7 Days (Optional)
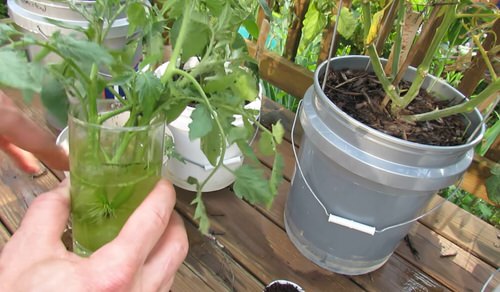
Fill a glass with filtered non-chlorinated water and dip the suckers in it. Make sure no leaf touches the water as that will breed diseases. Change the water in 3-4 days or when it starts looking muddy.
Leave the glass in the shade under indirect sunlight.
Alternatively, you can directly skip to step number 6.
Learn about growing a tomato tree here
5. Formation of Roots
After a week, you’ll notice that the suckers have started setting roots. You can easily doctor the root formation by taking them out of the water. Once the roots have grown to about 1 inch long, it’s time to transfer them to the soil.
Want to grow tomatoes in limited space? Get the best tips here
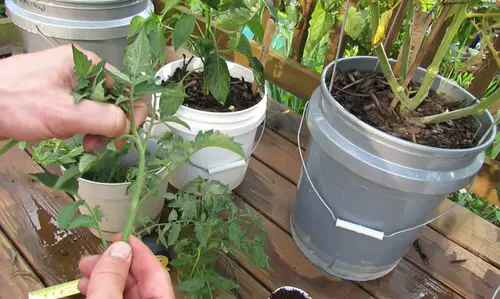
6. Transfer them into a Growing Medium
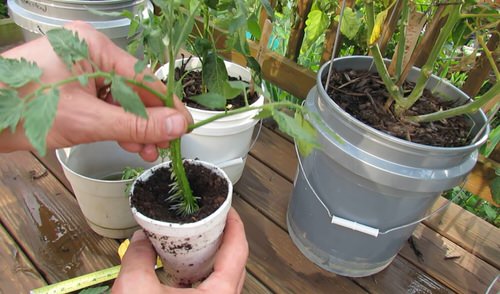
Get a disposable cup or a desired pot of your choice and fill it with a well-draining potting mix. The ideal medium for growing tomatoes goes like this—equal parts of loamy soil, coco peat, and perlite amended with a handful of well-rotted organic manure.
Such a blend will allow proper drainage with the much-needed nutrients to grow tasty and juicy tomatoes.
Put these things in the tomato planting hole for a bumper harvest
7. Watch them Grow!
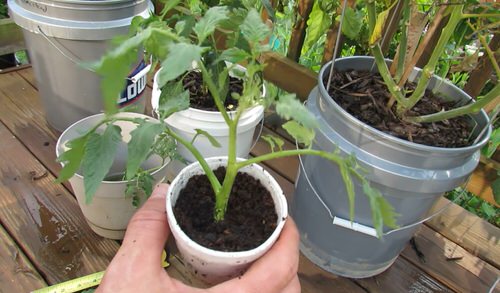
Leave the cup in indirect sunlight for another week to develop more extensive roots and transplant it to your garden. Ensure the plant with 4-5 hours of bright sunlight.
And yes, you are good to go! The plants will now thrive on producing juicy fruits in the next 50-60 days.