
Check out the easiest DIY Bloom Boosting Fertilizer Recipes that you can make to ensure plants have the best blooms again and again!
Plant enthusiasts rejoice! These natural DIY Bloom Boosting Fertilizer Recipes are great for boosting the brilliance and vitality of any flowering specimen!
Check out the DIY rose fertilizers from your kitchen here
DIY Bloom Boosting Fertilizer Recipes
Bloom booster fertilizers are special mixes made to help plants produce more flowers. They usually have more phosphorus and potassium but less nitrogen to make sure plants get everything they need but focus on flowers instead of too many leaves.
1. Mustard Cake
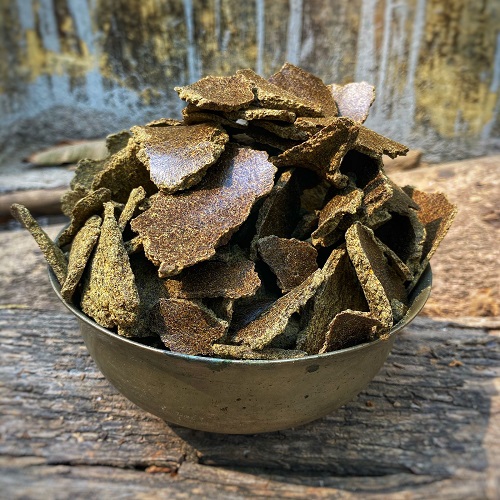
Typically, mustard cake has about a 4-1.5-1 (N-P-K) ratio, making it an excellent source of nitrogen, which encourages the production of flowers. It is also great for preventing bud drop, which is a common problem faced by many gardeners.
However, moderation is the key, as too much of it can promote vegetative growth. To use it, submerge the cake in a bucket of water overnight. The next morning, dilute the solution with water in a 1:1 ratio and use it once in 6-8 weeks to water the plant.
2. Hair Clippings as a Flower Bloom Fertilizer
Ingredients
- Human or dog hair clippings
Preparing Process
- Cut the hair into small pieces to mix easily into the soil. Blend the chopped hair evenly into the soil around your plants.
- Ideal during the growing season for healthy foliage. Once every 6-8 weeks as hair releases nutrients slowly.
Benefits & Precautions
Hair clippings provide nitrogen, crucial for lush foliage and vibrant blooms. Ensure hair is free from chemicals, dyes, or treatments. Excess nitrogen can harm plant growth and the environment.
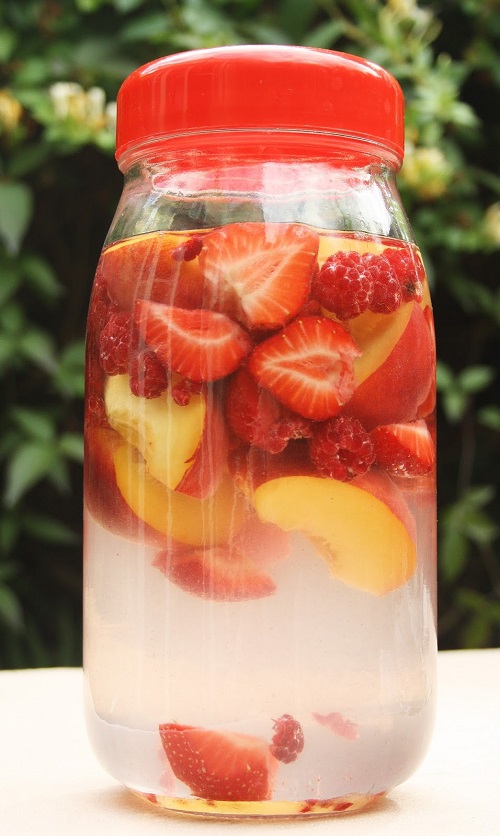
3. Fermented Fruit Juice (FFJ) Fertilizer
Ingredients
- Apples, Strawberries, Raspberries (Or 3 fruits rich in phosphorous and potassium).
- Equal weight of brown sugar.
Procedure
- Chop fruits into small cubes and add 4-5 teaspoons of sugar.
- Place the solution in a container, leaving space for fermentation.
- Cover with breathable material and store in a dark, dry area.
- Allow fermenting for 5-10 days, depending on temperature.
- Once fermentation completes, strain to collect the liquid.
- Dilute FFJ in water at a 1:3 ratio. Apply as a foliar spray or soil drench weekly during flowering.
For added benefits, mix with other fertilizers at lower concentrations. Combine with equal parts vinegar to adjust acidity.
Benefits
- FFJ is cost-effective and natural.
- It enriches plants with vital nutrients and beneficial microbes.
- Enhances flower quantity and quality.
Precautions
- Avoid high concentrations to prevent plant damage.
- Apply during cooler times of the day.
Look at the Best Snake Plant Fertilizers for Excellent Growth.
4. Fertilizer with Grass Clippings
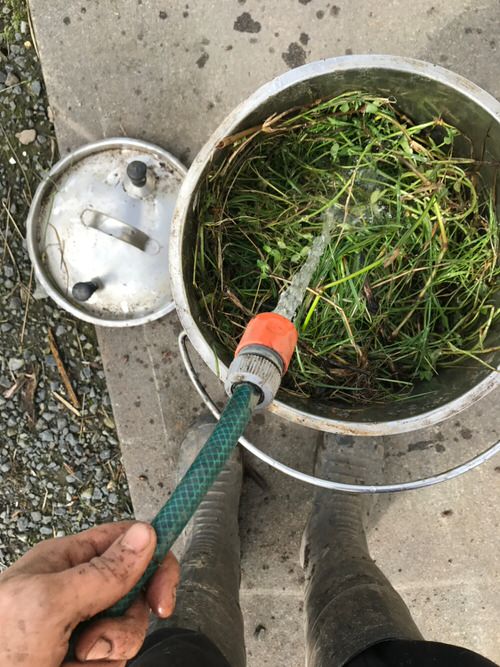
Turn grass clippings into a powerful, eco-friendly fertilizer to enhance your garden’s flower blooms.
Ingredients
- Grass clippings
Procedure
Gather clippings after mowing your lawn. Make sure they are free from chemicals or pesticides. Spread them out to dry for a day or two, reducing moisture and preventing mold. Once dry, chop the clippings into smaller pieces for better decomposition and nutrient release.
Apply in spring or early summer during active flower growth. Spread a 2-3 inch layer around your flowers. It retains moisture and suppresses weeds. Mix clippings into the top 4-6 inches of soil around your flowers.
Benefits
Supplies essential nitrogen, potassium, and phosphorus. Reduces weed growth for less competition. Keeps soil moist, cutting down on watering needs. A great way to recycle and reduce chemical fertilizer use.
Precautions
Don’t use clippings from lawns treated with herbicides. Too much can hinder soil aeration and create odor. Ensure the mulch isn’t too compacted to allow water through.
Learn here what to Do With Grass Clippings.
5. DIY Gelatin Powder Flower Fertilizer

Ingredients
- Gelatin Powder (Unflavored)
- Water
Procedure
Combine 1 tablespoon of gelatin powder (unflavored) with 2 cups of water. This ratio ensures an ideal concentration. Stir the mixture until the gelatin powder fully dissolves. This step is crucial for making the nutrients available to your plants.
Use this mixture during your flowers’ growing season for optimal results. Gently water your flowers at their base with this mixture. This helps the roots absorb the nutrients effectively.
Benefits
Gelatin is a great source of nitrogen, vital for robust foliage growth.
Precautions
- Stick to the recommended mixture ratio to avoid nutrient imbalance. Excessive application can harm your plants. It’s all about balance.
- Watch how your flowers react to the fertilizer. Adjust your approach if you notice any signs of stress or overfertilization.
Check out Fascinating Gelatin Uses in the Garden.
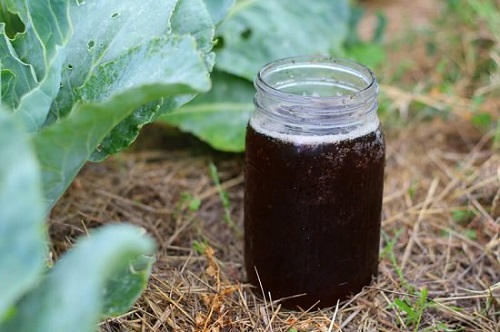
6. DIY Homemade Liquid Bloom Fertilizer
Ingredients
- Select fruits high in potassium and vegetables rich in beta-carotene. For North America, consider herbs or weeds like Comfrey for phosphorus. Good choices include carrots, squash, and pumpkin. In Asia, bananas, squash, pumpkin, papaya, mango, jackfruit, and pineapple are excellent.
- Brown sugar or molasses aids fermentation.
Procedure
- Choose fruits based on regional availability and plant needs.
- Combine fruits with an equal weight of molasses. For 1 kg of fruit, use 1 kg of molasses.
- Place the mixture in a plastic jug, covering it loosely. Ferment for 7-10 days, adjusting for temperature.
Fermentation Tips
- Optimal Temperature: Go for 25-30 degrees Celsius. Colder temperatures may prolong fermentation, which is acceptable.
Application Instructions
- Dilute 1 tablespoon of fertilizer per 2 liters of water.
- Suitable for foliar spray or soil drench during the bloom and fruiting phases.
- Customizable for each growth stage.
Benefits
Strengthens plants during flowering and fruiting. It improves fruit flavor and sweetness. Offers a 100% organic alternative to commercial formulas.
Precautions
Avoid citrus fruits in the mix. Be mindful of application amounts to prevent plant damage. Store properly for longevity.
Try these 7 Secrets To Have More Blooms In The Garden
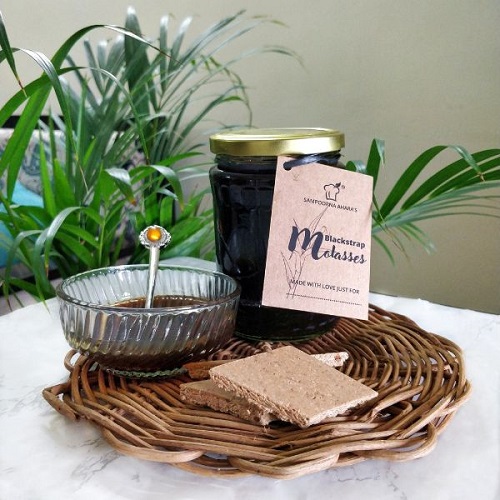
7. DIY Blackstrap Molasses
Ingredients
- Blackstrap molasses & water.
Preparing the Solution
Combine 1 tablespoon of blackstrap molasses with 1 gallon of water. This ratio is important to maintain. Also, ensure the molasses completely dissolves in the water. This well-mixed solution delivers essential nutrients to your plants.
The best time to use this fertilizer is during the growing season, especially in spring and late summer. Water your flowers at their base with the molasses mixture. Be careful to avoid getting the solution on the leaves to prevent stickiness.
Benefits
It is packed with vital minerals like potassium, calcium, magnesium, iron, and trace elements, all crucial for plant and flower growth. The sugars in molasses enhance microbial activity in the soil, improving its structure and nutrient availability.
Precautions:
- Stick to the recommended dilution ratio and use it sparingly.
Look at the Best Homemade Fertilizers for Tomatoes
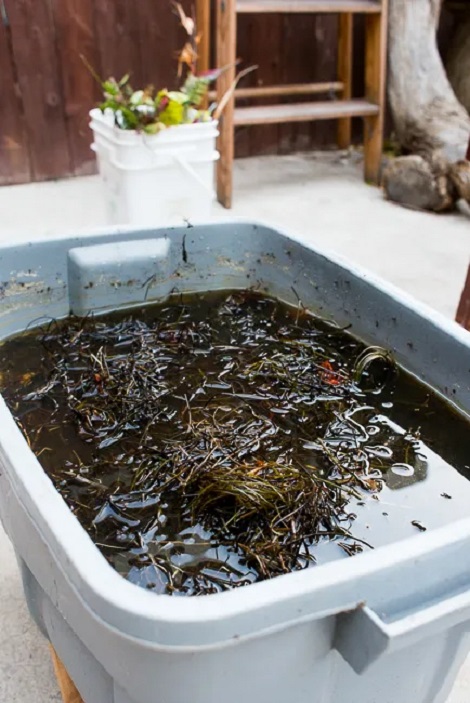
8. DIY Bloom Boosting Seaweed Fertilizer Recipe
Ingredients
- Dried Seaweed
Procedure
Begin by thoroughly rinsing the dried seaweed. This step removes excess salt, preventing soil salt buildup. Place the seaweed in a container, fully cover it with water, and soak it for 24-48 hours. The soaking period allows the seaweed to rehydrate and release nutrients.
Post-soaking, strain the liquid into a new container, separating the solid seaweed. This liquid is your valuable seaweed fertilizer.
Best applied from spring to late summer. Mix 1 part seaweed fertilizer with 4 parts water. Spray directly on plant leaves for foliage nutrient absorption. Combine 1 part seaweed fertilizer with 10 parts water. Use this to water plants at the base, aiding root nutrient uptake.
Benefits
Seaweed fertilizer provides essential minerals like potassium, calcium, and magnesium. It contains natural hormones (cytokinins, auxins) that promote growth, flowering, and fruit development. Regular use can boost plant resilience to diseases and stress.
Precautions
Adhere to recommended dilution ratios to prevent over-fertilization. Observe plants for reactions. Adjust concentration or frequency if you notice issues like leaf burn.
Check out Peace Lily Fertilizers to Boost Growth
More Recipes to Make Flowers Bloom
All of the above recipes are tried and tested methods that will help you get more flowers. But we have a few more for you, just in case.
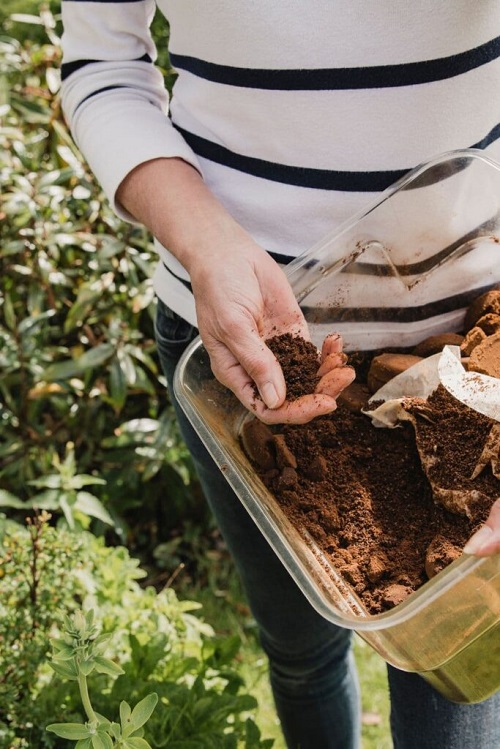
9. Coffee Ground Fertilizer
Harness the power of dry coffee grounds for a user-friendly application that prevents clumping. What to do? Gather them and sprinkle a thin layer to cover the soil around the flower base to infuse organic nitrogen, enhance soil structure, and potentially ward off pests.
10. Banana Peel Fertilizer
Transform ripe banana peels into a potassium-rich fertilizer by burying them near your plants. Just chop them up into little pieces and bury them in the soil around the plant (2-3 peels per plant).
Ideal for supporting flower development and root growth – it will give you a gradual release of nutrients and plenty of blooms.
11. Cooking Water Fertilizer
Why not go with sustainability by using leftover water from boiling vegetables or pasta as a nutrient-rich fertilizer? Dilute it with water in the ratio od 1:1 and use at the time of bud formation.
12. Eggshell Fertilizer
Strengthen plant roots by delicately scattering crushed eggshells (2-3 eggshells per plant) around the flower base. Clean them up well and crush them into a fine powder.
Make sure there’s no egg white or yolk stuck to the shell before you start grinding. This will provide a quick calcium boost.
13. Compost Tea
Boost blooming with nutrient-packed compost tea. Combine 1 part compost with 5 parts water, stir it well, and let it steep for 10-14 days. Dilute the solution with water in a 1:1 ratio and use it once a month to water the plants.
14. Epsom Salts Flower Bloom Fertilizer
Create a blend of Epsom salts and water for a magnesium and sulfur nutrient infusion. Apply this solution (1 tablespoon of Epsom salt in 1 gallon of water) at the plant base once in 6-8 weeks for best results.
15. Wood Ashes Flower Bloom Fertilizer
You should definitely try this one and strengthen the stems by delicately sprinkling wood ashes. Apply a thin layer to cover the soil near the plant’s base during the growing season (Once a year is enough).
Do remember to avoid acid-loving plants.
16. Vinegar-Based Fertilizer
Here’s something for acid-loving plants. Mix 1 part vinegar with 3 parts water. Apply this solution at the plant base during the growing season.
Do it every 4-6 weeks and notice the change in blooming.
17. Green Tea Flower Fertilizer
Give your flowers a nitrogen-rich boost by repurposing used green tea bags (Don’t use the ones with additives). Add a tea bag to a gallon of water and steep it for 24 hours.
Use this solution to water the plants once a month.