
Are you looking for accurate Tips to Correctly Pot Indoor Plants? Here is an ultimate guide that’ll help you to transplant your houseplants well.
If you follow the right tricks at the time of planting your houseplants they’ll remain healthy. Follow these Tips to Correctly Pot Indoor Plants and keep your green friends thriving for a long time.
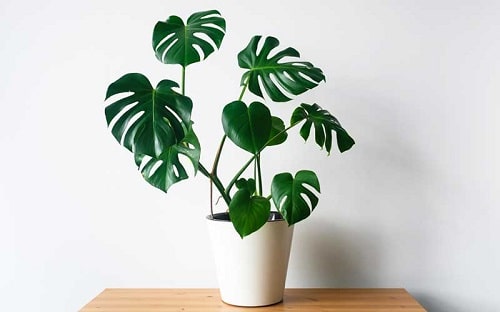
Here are the best indoor plants according to different lighting conditions
Quick Tips to Correctly Pot Indoor Plants
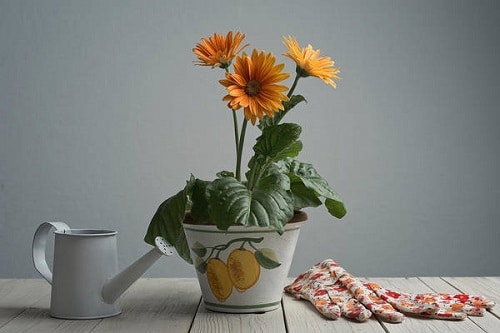
- Always choose a pot with drainage holes according to the size of your plant. Your pot should never be too big, just one size bigger than the rootball is fine.
- Ceramic and terracotta pots are porous and work best with plants like cacti and succulents. They help in preventing root-rot. In the case of other plants, you might have to water more often.
- Plastic pots are lighter and easy to clean. They are best for those who forget to water.
- Layer with good quality potting mix.
- Water the plant and place it according to its need for sunlight.
Re-Potting: Signs to Look for
Repotting sometimes needs only a change of potting mix and not of a planter. In case you want to change the pot, go for a size or two bigger than the old one. Generally, plants require repotting every 12-18 months, depending on the growth rate. If you notice the below signs, then it’s time to re-pot:
- The plant is growing at a slower speed (apart from winter dormancy).
- Roots are popping through the drainage holes or topsoil.
- Soil dries out faster than normal and needs frequent watering.
- Salt and mineral build-up on the planter or plant.
Here are the mistakes to avoid when repotting houseplants
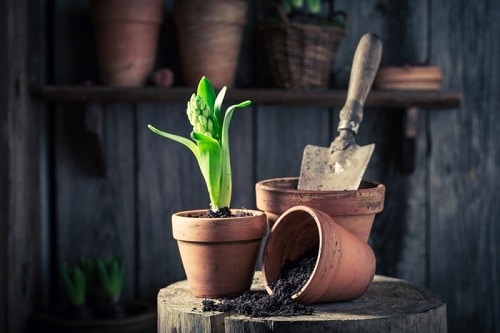
How to Correctly Re-pot Indoor Plants
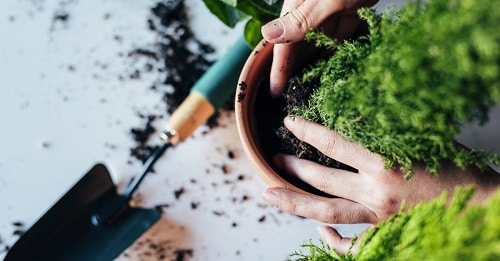
- Remove the Plant From an Existing Planter: Using a trowel, take out the excess soil from the top and sides of the pot. Now, turn the pot upside down and tap the sides while gently pulling the stem out.
- Loosen the Roots: Carefully loosen the roots with hands. Prune the threadlike long roots and let the thick roots stay at the base of the foliage.
- If the Plant is Rootbound: It means roots are thriving in a tight circle. In such a case, untie the roots, and don’t be afraid to trim out large and small roots. You will not harm the plant in this case and it will be perfectly fine.
- Always use Fresh Potting Mix: Add a fresh potting mix in the new pot. We have a great article on how to DIY it here.
- Set the Plant: Make sure that the plant is at the center of the pot. Also, ensure that the plant’s crown—where the plant stem meets the roots—stays at the soil level. Add more soil/potting mix around the stem to make it secure. Avoid adding too much soil.
- Watering: Water the plant and locate it according to its sunlight requirement.
What To Do After You Re-pot Your Plants
Once you re-pot the plants, it is normal for them to go into a state of shock. They might appear wilted and thirsty, but avoid watering the plants for about a week, as it will give the roots the time they need to heal. During this period of 5-7 days, avoid exposing the plant to direct sunlight and put it at a cool spot.
Also, as most of the potting mixes have a bit of fertilizer, it is wise not to feed the plant for 5-7 weeks.
This is adorable, great instructions too! Thank you for sharing;)