Learn How To Grow Hula Berries! These petite and delectable fruits are a delightful blend of sweet and tarty flavors.
These fun-loving hula berries will surely bring a smile to your face with their unique taste and vibrant appearance. And the best part? They’re easy to grow! Let’s learn How To Grow Hula Berries?
Learn how to grow giant strawberries here
Hula Berries Plant Information
Hula Berries, also known as “pineberries” or “white strawberries,” are a unique and delicious type of berry that offers a delightful twist on traditional strawberries.
- Taste: Hula Berries are renowned for their distinct flavor profile. They combine the sweet and tangy taste of strawberries with a subtle hint of tropical pineapple. This unique combination creates a refreshing and delightful taste experience that sets them apart from regular strawberries.
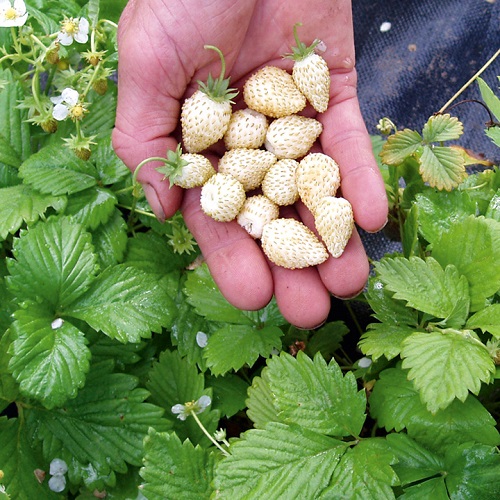
- Size: Hula Berries are typically smaller in size compared to conventional strawberries. They are usually about the size of a small to medium strawberry, with a similar shape and texture.
- Origin: Hula Berries are a result of careful breeding and hybridization. They were developed by crossing different strawberry varieties, including Fragaria chiloensis and Fragaria virginiana. The exact origins of Hula Berries can be traced back to agricultural research conducted in Europe during the late 20th century.
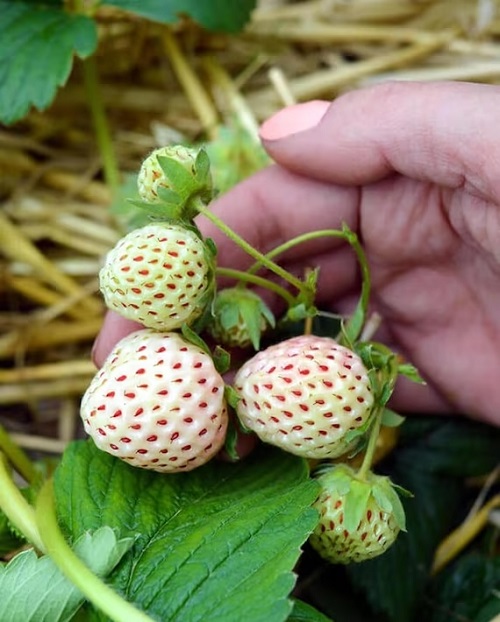
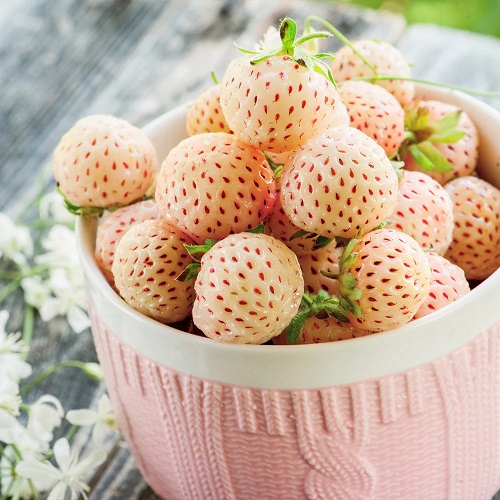
- Appearance: What makes Hula Berries visually striking is their white or pale yellow color with tiny red seeds speckled across their surface. This unique appearance is reminiscent of white or golden strawberries, adding an element of surprise and intrigue to their overall aesthetic.
Botanical Name: Fragaria x ananassa
USDA Zones: 4-8
Check out How to Propagate Money Tree | Money Tree Propagation Guide here
How To Grow Hula Berries?
Propagating hula berries at home can be done through two primary methods: by dividing the crowns or by using seeds. Growing the plant from seeds is really easy and here’s how to do it:
- Collect hula berry seeds from ripe fruits. You can gently scrape the seeds from the fruit’s surface and rinse them to remove any pulp.
- Fill seed trays or pots with a high-quality seed starting mix.
- Sow the hula berry seeds on the surface of the soil, pressing them gently into the mix.
- Lightly cover the seeds with a thin layer of vermiculite or seed starting mix, as hula berry seeds require light to germinate.
- Mist the soil surface with water to ensure it is moist but not saturated.
- Place the trays or pots in a warm location with indirect sunlight.
- Keep the soil consistently moist by misting or watering gently as needed.
- Germination may take anywhere from 2 to 4 weeks.
Pro Tip: If you want fruits fast, then it would be a good idea to get a well grown plant from a garden centre.
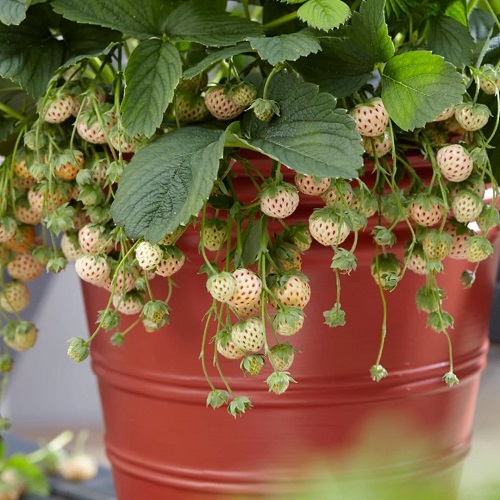
How To Grow Hula Berries – The Right Pot Size
A pot with a diameter of at least 12-14 inches is generally suitable for one plant. This size allows enough space for the plant to establish a healthy root system and produce a decent crop of berries.
Read about Growing Hatiora Salicornioides | Dancing Bone Cactus Care here
Requirements for Growing Hula Berries
Sunlight
Hula berries thrive in full sun to partial shade. Ideally, they require at least 6 to 8 hours of direct sunlight each day for optimal growth and fruit production.
If you live in a hot climate, providing some afternoon shade can help protect the plants from excessive heat.
Ensure that the plants receive adequate sunlight by placing them in a location that receives the appropriate amount of sun for the majority of the day.
Soil
Hula berries prefer well-draining soil that is rich in organic matter. The ideal soil pH for hula berries ranges from 5.5 to 6.5, slightly acidic to neutral.
Prior to planting, prepare the soil by incorporating compost or well-rotted manure to improve its fertility and drainage. Avoid heavy clay soils that retain excessive moisture, as this can lead to root rot.
If you’re growing hula berries in containers, use a high-quality potting mix specifically formulated for strawberries or a mix of peat moss, perlite, and compost.
Watering
Proper watering is essential for hula berries to ensure healthy growth and fruit production. While they require consistent moisture, it’s important not to overwater them, as this can lead to root rot – water only when the topsoil feels a little dry to the touch.
- Monitor the soil moisture regularly and adjust the watering frequency based on the weather conditions. Water more frequently during hot and dry periods.
- Avoid overhead watering, as wet leaves can promote the development of diseases. Instead, water at the base of the plants using drip irrigation or a soaker hose.
Temperature Range
The optimal temperature range for hula berries is between 60°F (15°C) and 90°F (32°C) during the day.
However, they can handle temperatures as low as 20°F (-6°C) during the dormant period and short periods of temperatures above 95°F (36°C) if provided with adequate moisture.
Read about How to Grow Magnolia Alba Easily | White Champaca Care here
Hula Berries Care

Fertilizer
Before planting, incorporate organic matter, such as compost or well-rotted manure, into the soil to provide initial nutrition.
- Once the plants are established, apply a balanced fertilizer, such as a 10-10-10 or 14-14-14 formulation, following the manufacturer’s instructions.
- Apply the fertilizer in early spring when new growth appears, and then continue to fertilize every 4-6 weeks throughout the growing season.
- Avoid over-fertilization, as it can lead to excessive vegetative growth at the expense of fruit production. Follow the recommended dosage on the fertilizer packaging.
Pruning
Pruning hula berries helps maintain plant health, improve airflow, and increase fruit production.
- In late winter or early spring, before new growth begins, prune away any dead or damaged leaves, stems, or runners.
- Remove any runners that are outside the desired planting area to prevent the plants from spreading excessively.
Pests and Diseases
Common pests include slugs, snails, aphids, and spider mites. Monitor the plants regularly and take appropriate measures to control these pests, such as handpicking, using organic insecticidal soaps, or applying appropriate pesticides as a last resort.
Diseases affecting hula berries include powdery mildew, gray mold, and strawberry leaf spot. To prevent diseases, provide proper spacing between plants for good air circulation, avoid overhead watering, and remove any infected plant material promptly.
Fungicides may be necessary for severe cases, so consult with your local garden center or extension office for suitable recommendations.
Check out How to Grow Anthurium Clarinervium here
-
Harvesting Hula Berries
Hula berries are typically ready for harvest within 60 to 75 days after planting from nursery transplants, depending on growing conditions and the specific variety.
- Hula berries are ripe and ready to be harvested when they turn bright red and develop a pineapple-like aroma. The berries should be firm but not overly hard or soft. Gently touch the berries to assess their ripeness.
- Hold the berry between your thumb and forefinger, using a gentle pinch to detach it from the stem. Avoid pulling on the berries, as this can damage the plant.
- Hula berries have a short shelf life once fully ripened, so it’s best to harvest them frequently, ideally every other day or as soon as they are fully ripe.
- Enjoy Fresh or Store Properly: Hula berries are best enjoyed fresh soon after harvesting. If you don’t plan to consume them immediately, store them in a cool place or refrigerate.


