Here’s a detailed guide on How to Grow Oats in Home Garden! Get yourself acquainted to get the plentiful harvest right in your own garden!
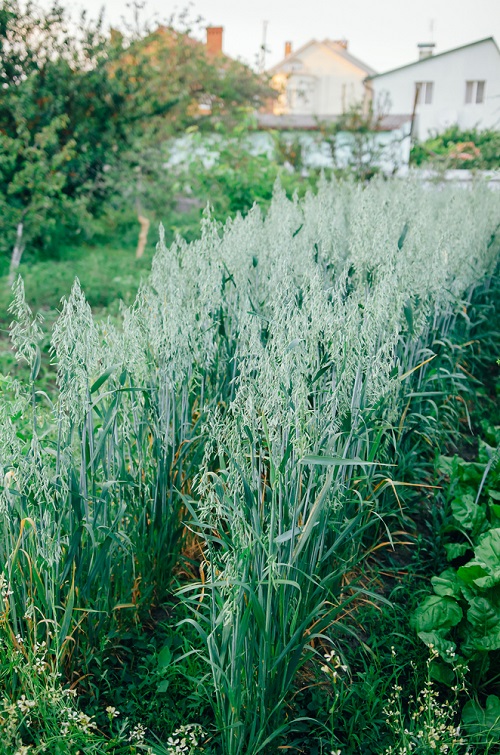
Growing oats at home can be a rewarding endeavor. They can be used for eating or brewing, or simply to add beauty to your garden. The following guide will provide a comprehensive look at How to Grow Oats easily!
Here’s all about growing mushrooms in buckets!
How to Grow Oats – Choosing the Right Variety
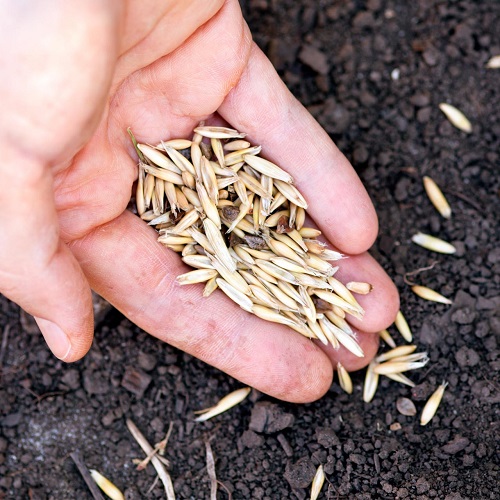
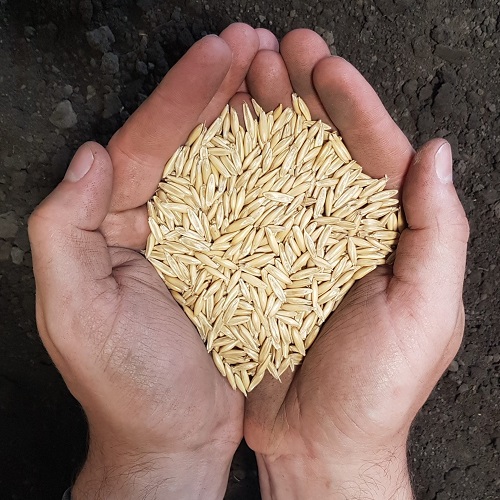
There are many varieties of oats you can plant, including whole oats, hulless oats, and ornamental oats. Whole oats have a husk that needs to be removed before you can eat them.
Hulless oats have thinner husks that are easier to remove. Ornamental oats, like “Northern Sea Oats,” are not typically eaten but can add a lovely touch to your garden.
Grow Wheatgrass for 7 Days and Harvest It for Months With This Trick
Getting Oats Seeds
Getting oats seeds for home propagation is a simple process. Here are a few ways you can acquire them:
- Online Stores: There are many online gardening stores and seed distributors that sell a variety of oat seeds. Websites such as Amazon, eBay, or specialized gardening websites often have seeds for sale. Make sure to read reviews and choose a reputable seller.
- Local Garden Centers or Nurseries: Your local garden center or nursery is likely to carry oat seeds, especially during the planting season.
- Seed Exchange Groups: If you’re a part of a local gardening community or online gardening group, there might be seed exchanges where you can acquire oat seeds.
- Save Your Own Seeds: If you’ve previously grown oats, you can save some seeds from your own harvest for the next planting season. After the oats have been harvested, separate the seeds from the chaff. Clean the seeds and let them dry completely before storing them in a cool, dry place.
When purchasing seeds, remember to look for the specific type of oats you wish to grow (hulled, hulless, or ornamental), and make sure they are suited to your climate and soil conditions. You might also want to check if they are organic, non-GMO, or heirloom seeds, based on your personal preference.
Find How Vinegar Improves Seed Germination (Proven by Science) here
How to Grow Oats
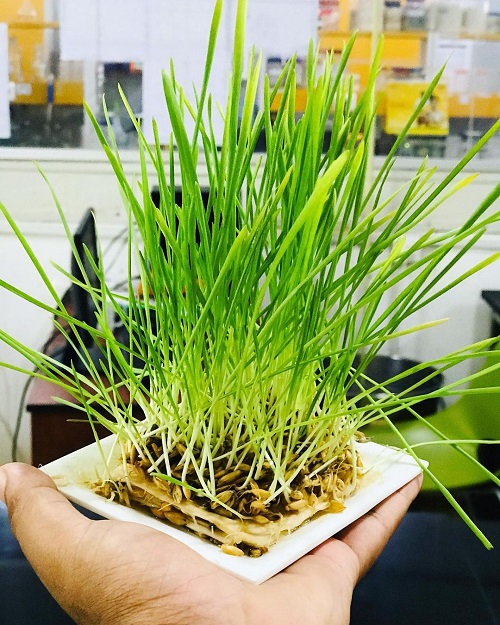
1. Planting Time
Oats are a cool-season crop, which means they prefer cooler temperatures. In most regions, it is best to plant oats in early spring or late summer. They can tolerate a light frost but do not do well in hot summer conditions.
2. Sowing Seeds
Before sowing, prepare your soil by removing any weeds and large rocks. Rake the soil to a fine tilth and make rows that are about 1-2 inches deep. The rows should be about 20-25cm apart.
Sow oats seeds about 1 inch deep into a well draining soil and cover lightly with the growing medium.
Here are 12 Simple Seed Germination Tips To Grow Every Seed
Requirements for Growing Oats
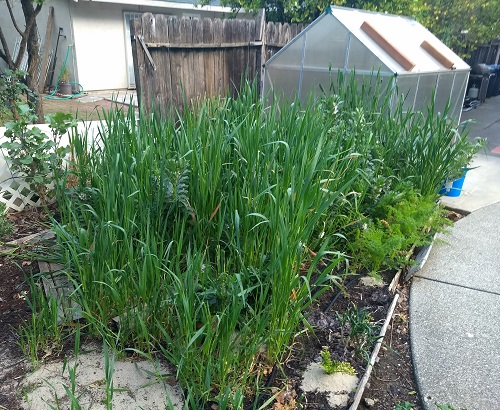
Sunlight
Oats require full sun, which means they should receive at least 6 hours of direct sunlight per day. A location that receives full morning sun and partial afternoon shade could be ideal since it protects oats from intense afternoon heat.
Soil
Oats prefer well-draining soil with a pH of 6.0 to 7.0. They can tolerate a range of soil types, including loamy, sandy, and clay soils, as long as there is good drainage. If you’re working with heavy clay soil, consider adding organic matter to improve its texture and drainage.
Learn How to Check the Soil pH at Home here
Water
Watering requirements for oats are moderate. The soil should be kept consistently moist, but not waterlogged. Oats are relatively drought-tolerant compared to other grains, but lack of water can impact their growth and yield.
Here are the best ways to water plants
Temperature Range
Oats are a cool-season crop and can tolerate temperatures as low as 10°F (-12°C) once they are well established. They prefer a temperature range of 50-75°F (10-24°C).
The optimal temperature for oat seed germination is between 60-65°F (15-18°C). Oats should ideally be planted in early spring or late summer to avoid the peak heat of summer, and to ensure that they have cooler temperatures for growth.
Frost Tolerance
Oats have good frost tolerance. Young oat plants can survive temperatures as low as 26°F (-3°C). In fact, a light frost can increase tillering (branching), which can result in higher yields.
Here are 16 Secrets of High Yield Plant Growth
How to Grow Oats – Care
Fertilizing
Oats are not heavy feeders, but they do benefit from some additional nutrients. Use a balanced fertilizer, like a 10-10-10 (Nitrogen-Phosphorus-Potassium), at planting time, following package directions for application rates.
Here are Effective Homemade Lawn Fertilizers That Are Safe From Hazardous Chemicals
If your soil is very poor, a second application midway through the growing season can be beneficial.
Pests and Diseases
Common pests include aphids and armyworms. Use organic or chemical insecticides to manage these pests if they become a problem.
As for diseases, oats can be affected by rust, blight, and root rot. To prevent these diseases, ensure good air circulation, avoid overwatering, and rotate crops every year.
Here are Types of Common Pests in Your Garden & How to Get Rid of Them
Harvesting and Storing Oats
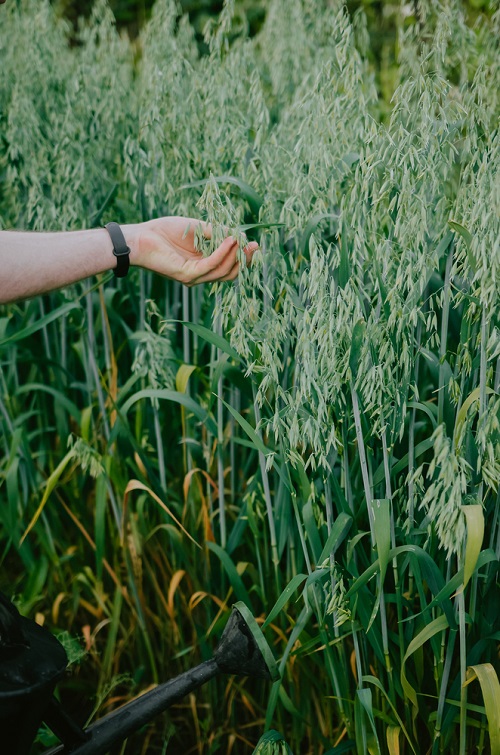
- Timing: Oats are usually ready for harvest in late summer or early fall, about 100-120 days after planting. They’re ready when the stalks turn a golden brown color and the grain is hard. Test a few grains before beginning your harvest. If the grain is difficult to indent with a fingernail, it’s typically ready.
- Cutting: Cut the oat stalks about 2-3 inches above the ground level using a sharp knife, scissors, or a sickle. Bundle them together and let them dry for a couple of weeks in a dry, sunny spot.
- Threshing: This is the process of separating the oats from their husks. You can do this by beating the dried bundles inside a burlap bag or over a sheet to catch the falling grains.
Check out these Money Saving Gardening Tips
Storing Oats:
- Winnowing: After threshing, you’ll need to winnow the oats, which involves removing the lighter husks from the heavier grains. You can do this by throwing the grains into the air on a windy day or in front of a fan. The lighter husks will blow away, and the heavier grains will fall straight down.
- Cleaning and Drying: Clean the oats by removing any remaining husks, then allow the grains to dry completely. This step is essential to prevent the growth of mold during storage.
- Storage: Store your oats in an airtight container in a cool, dry place. Avoid areas with significant temperature fluctuations as this can cause condensation inside the container.
- Use: Before eating, whole (hulled) oats need to be processed further, usually by soaking and cooking. They can also be rolled or cut into steel-cut oats using a home oat roller or steel cutter.
Do you Know Gardening can Make You Money? Learn here
How Many Oat Plants You Need to Grow?
The number of oat plants you need to grow per person depends on several factors, including the yield of each plant, the amount of oats you want to consume per serving, and the frequency of oat consumption.
- Yield per Plant: The yield of oats can vary depending on the variety, growing conditions, and care. On average, a single oat plant can produce around 100-150 grams (3.5-5.3 ounces) of oats.
- Oats Consumption: Determine how much oats you want to eat per serving. Let’s assume you want to consume around 50 grams (1.8 ounces) of oats per meal.
- Frequency of Consumption: Let’s consider you want to eat oats on Monday, Wednesday, and Friday.
Based on the above assumptions, here’s a simple calculation:
- Oats consumption per week per person: 50 grams x 3 meals = 150 grams
- Oats consumption per month per person: 150 grams x 4 weeks = 600 grams
Now, let’s calculate the number of oat plants needed:
- Average oat plant yield: 125 grams
- Oat plants needed per person per month: 600 grams / 125 grams = 4.8
You would need to round up to 5 oat plants per person if you want to eat oats thrice a week and consume 50 grams per meal.

