Learn how to make an illuminated planter in this step by step guide!
Requirements
- Translucent Planter
- White Planter Pot (one size smaller than the translucent planter)
- Solar Power
- Solar LED Light Rope
- Gravels
- Foil (optional)
- Hot Glue
- Drill
Procedure
1. Arrange a Translucent Planter
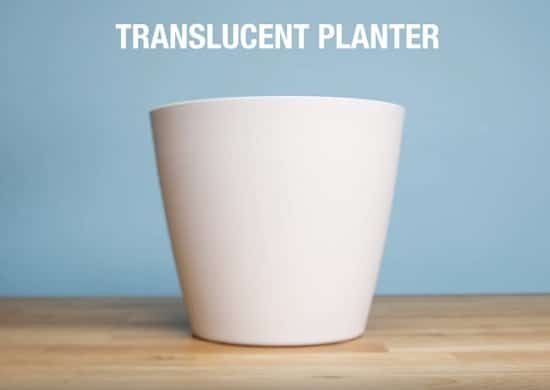
Get a clear pot from any local store. To check if it works, shine a flashlight through the planter.
2. Smaller Planter
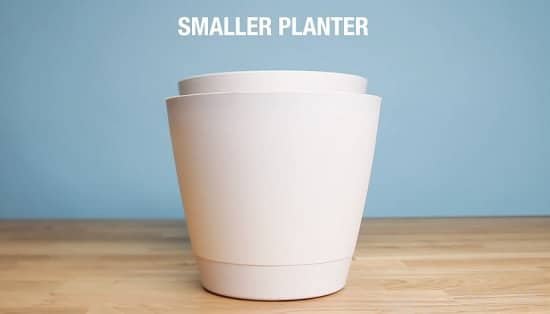
You will need one more planter, it should be one size smaller than the first one.
3. Wrap it in Foil
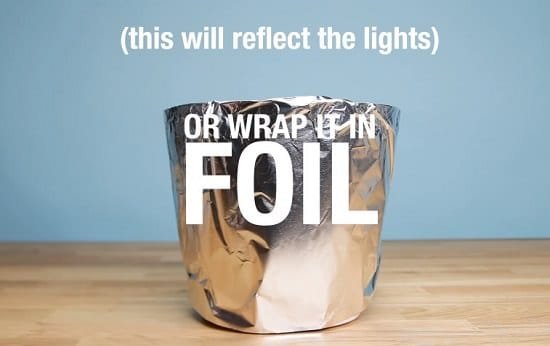
Either paint the small planter using white paint (if it isn’t already) or wrap it in foil. Remember that if you choose the latter option, it may reflect the lights.
4. Drill
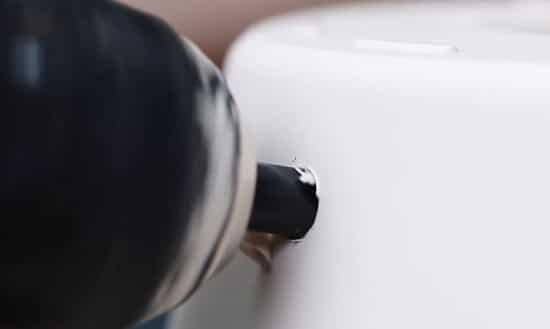
Use a drill to make a hole on one side of the large pot. This way you are creating a passage for the solar LED light rope to move.
5. Put Light Rope
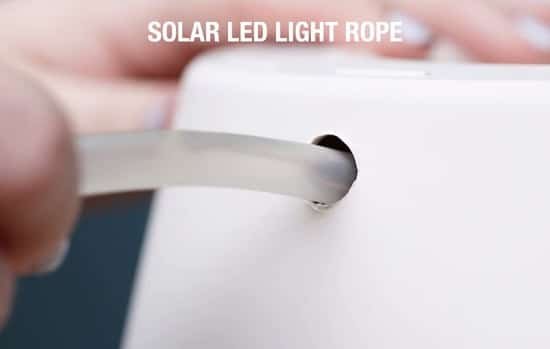
Now insert the solar LED light rope into the hole. Make sure you move most of the rope inside, keeping just a minor part out to connect to the solar power.
6. Glue
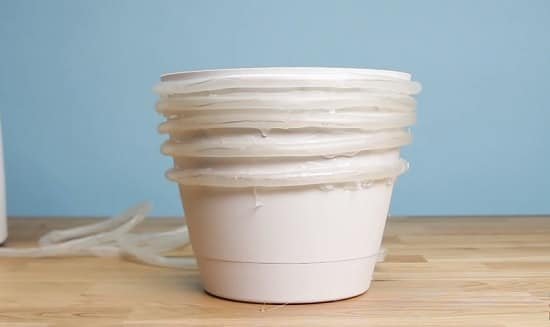
Use a hot glue gun to adhere the inserted light rope to the smaller pot. Roll the LED light rope from top to bottom on the pot.
7. Add Gravels (Optional)

If the smaller planter turns out to be a little short for the project, add gravels to the bigger one to give small pot some height.
9. Arrange the Pots

Put the smaller pot into the bigger one carefully without damaging the light rope. Add soil and plants!
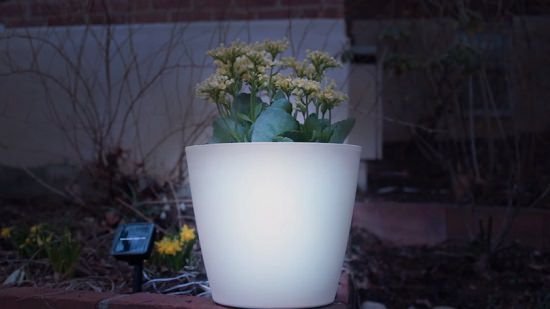
10. Attach Solar Power
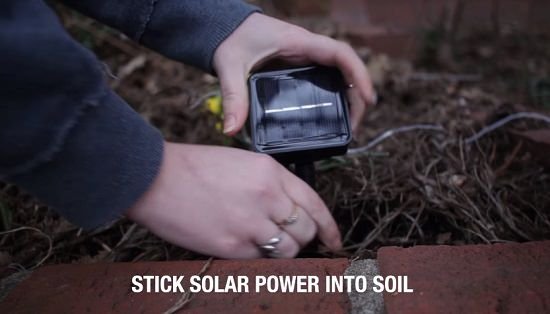
Insert the solar power into the soil and enjoy your homemade solar illuminated planter!
To understand the steps better, watch the tutorial video below.
Great tutorial on making your very own illuminated planter. Each step is meticulously detailed and easy to follow, will be trying this on the weekend. Thanks for sharing!
This is very helpful … I’m going to try and make it… however I have a question … what do you do about the gap in between the pots. You need to water the plants as well as it will rain …. the middle pot will it be level?
I have searched for Translucent Planters for this project. Where can I find large or any size.
Thank you for any assistance.